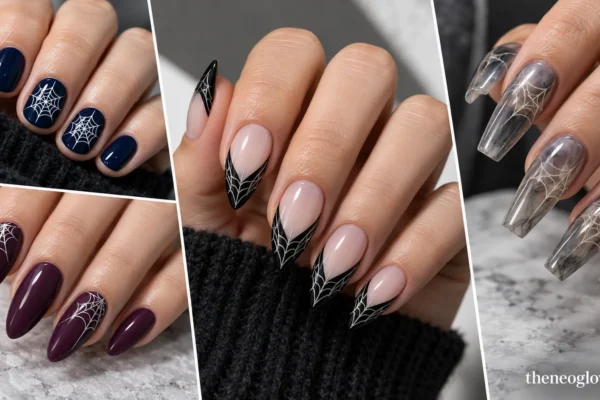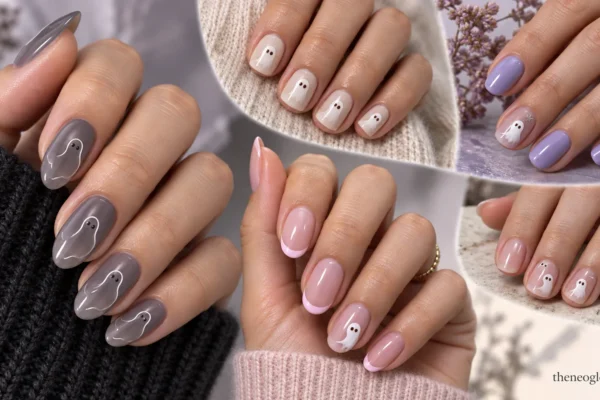
Halloween acrylic nails should show the length and shape you want a technician to build, not just a spooky pattern. A tiny ghost that fits short square acrylics may disappear on a long coffin, while a haunted skyline needs more room. These 19 designs are grouped by extension silhouette, artwork scale, and everyday practicality. Choose your length first, compare the art second, and save a side-profile reference alongside the top view. That keeps salon-built acrylics distinct from natural-nail designs and temporary press-on styles.
Choose the Acrylic Shape Before the Halloween Art
Here, acrylic means a technician-built enhancement—not a press-on or soft-gel extension. Ask which finishing products your technician uses over the acrylic.
| Your preference | Acrylic shape to discuss | Art that suits its proportions | Main everyday consideration |
|---|---|---|---|
| Minimal added length | Short square with softened corners | Compact blocks, one graphic accent, controlled color | Straight edges and fingertip tasks |
| A softer outline | Medium almond | Centered characters, curved bands, vertical accents | Testing the tapered free edge |
| A dramatic Halloween set | Long coffin or tapered square | Clear tips, wide graphics, layered scenes | More length around keyboards, clothing, and pockets |
| A set you’ll wear after Halloween | Manageable square or almond | Flat art, sheer base areas, one statement nail | Avoiding raised details you don’t want daily |
If extensions are not essential, the 21 short Halloween nails guide stays with near-fingertip natural-looking lengths.
Short Square Acrylics: Compact, Graphic Halloween Sets
These sets should look genuinely short from the side, with a tidy square free edge.
1. Jet-Black Offset Clear Panels
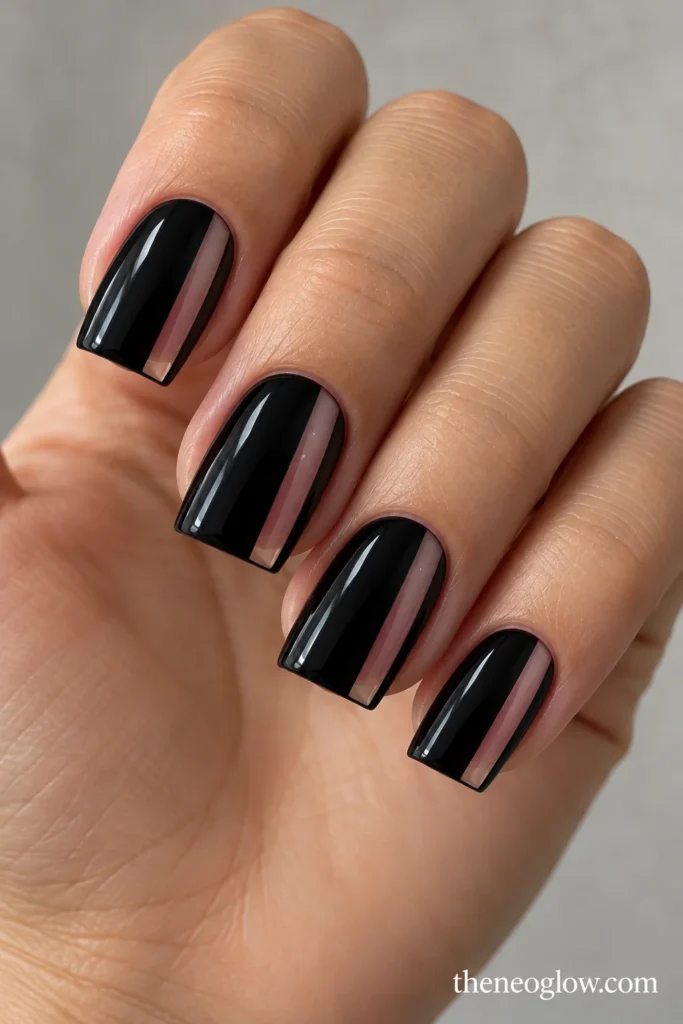
On short square acrylics, coat most of each nail in glossy opaque black, leaving one vertical translucent rosy strip close to the right sidewall. The uninterrupted strip travels from near the cuticle toward the flat tip. The asymmetry makes black acrylic Halloween nails distinctive without bulky decoration.
2. Tangerine Checkerboard Corners
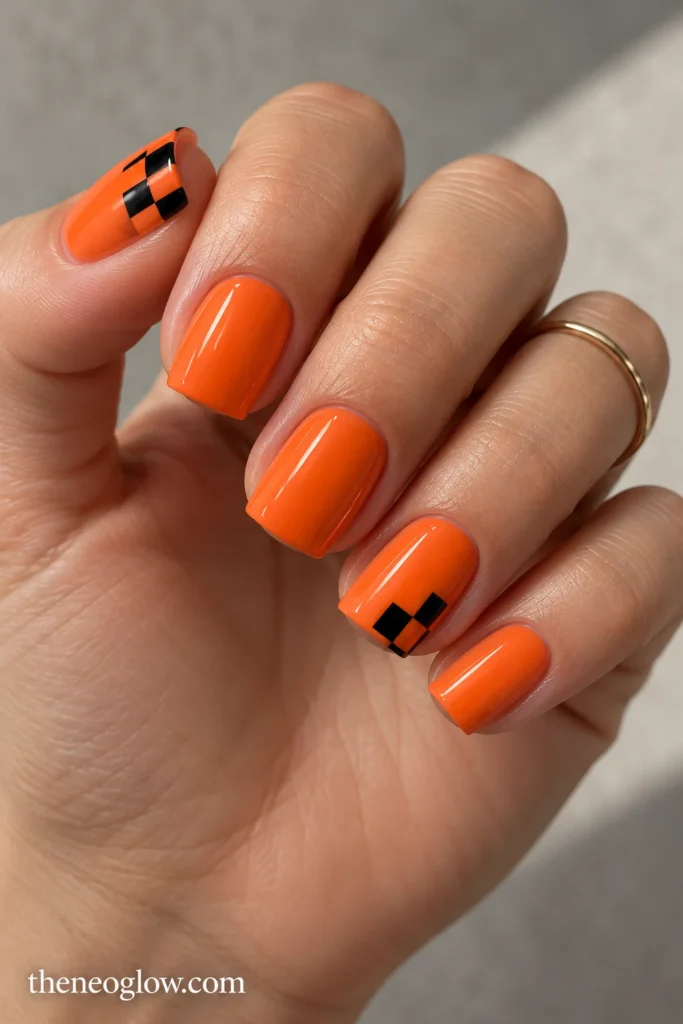
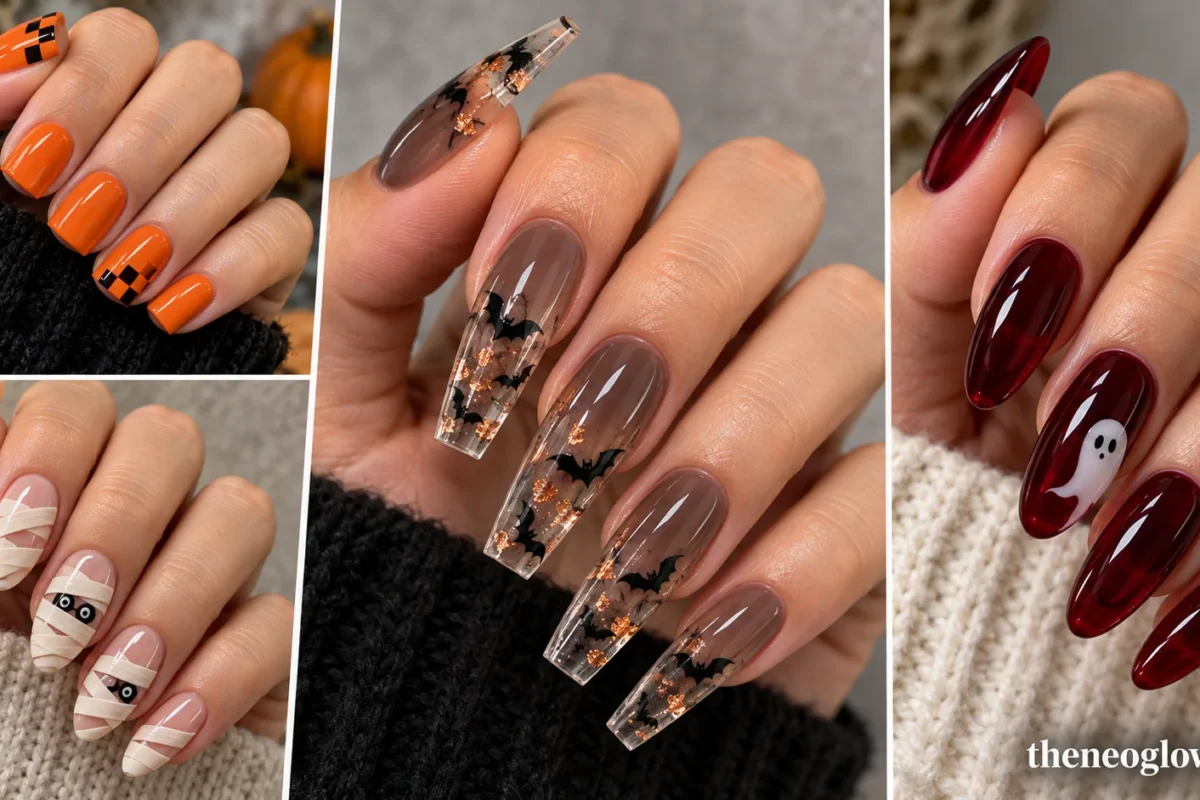
Paint eight nails bright opaque tangerine. On the thumbs and ring fingers, position a bold two-by-two black-and-orange checker square at the outer tip corner, leaving most of the nail solid orange. Large checks fit the short width; a uniform gloss keeps the outline crisp.
3. Hot-Pink Pixel Ghosts
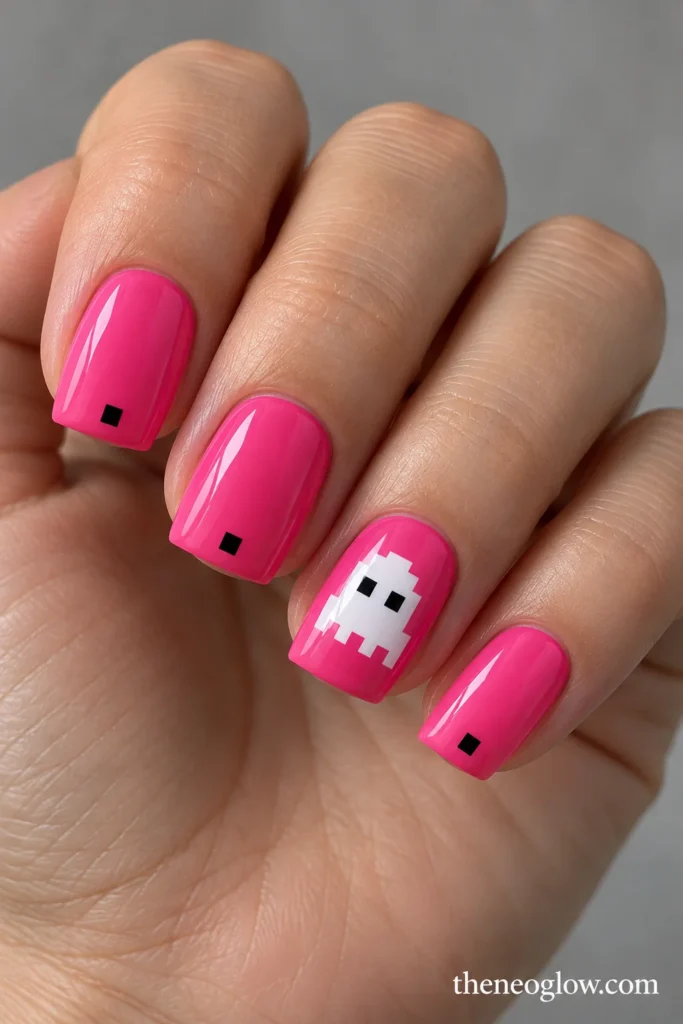
Choose bubblegum-pink cream on a short, evenly squared set. Build one white eight-bit ghost from clearly separated square blocks on each ring nail, adding two tiny black square eyes. Place a single black pixel near the tips of the remaining fingers. The pixel geometry supplies the Halloween character without extra length.
4. Charcoal X-Ray Bone Bars
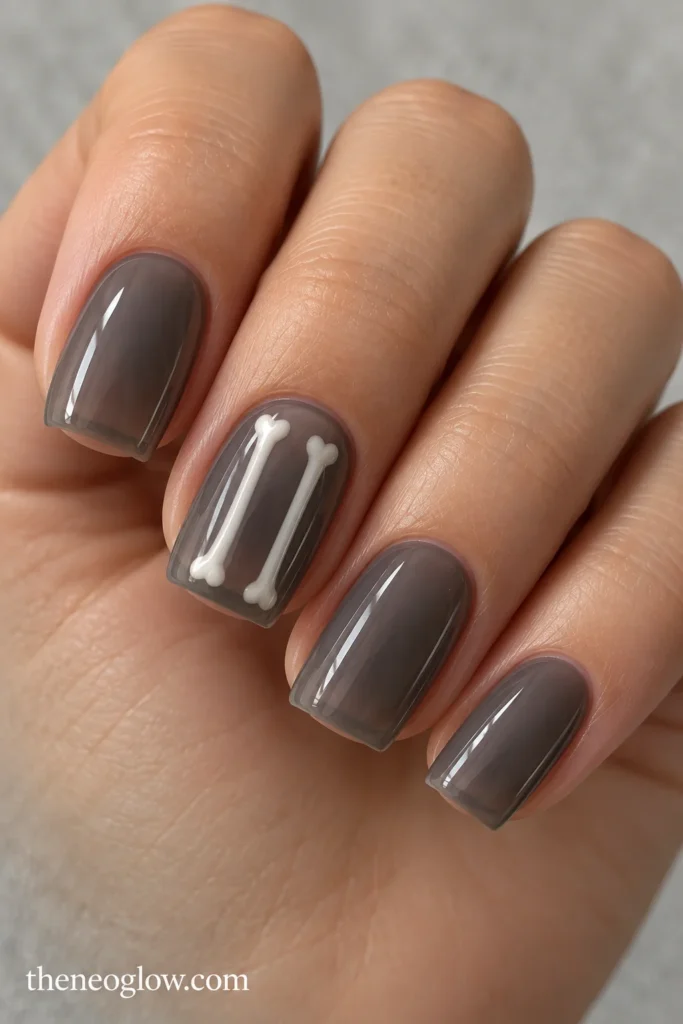
Give the set a translucent slate-gray wash, then paint two slim ivory bone-like bars vertically on the middle nail of each hand. Each bar has small rounded ends, with clear space between the two. Leave the other nails smooth smoky gray. The shapes stay readable without a full skeleton.
5. Beetle-Green Metallic Squares
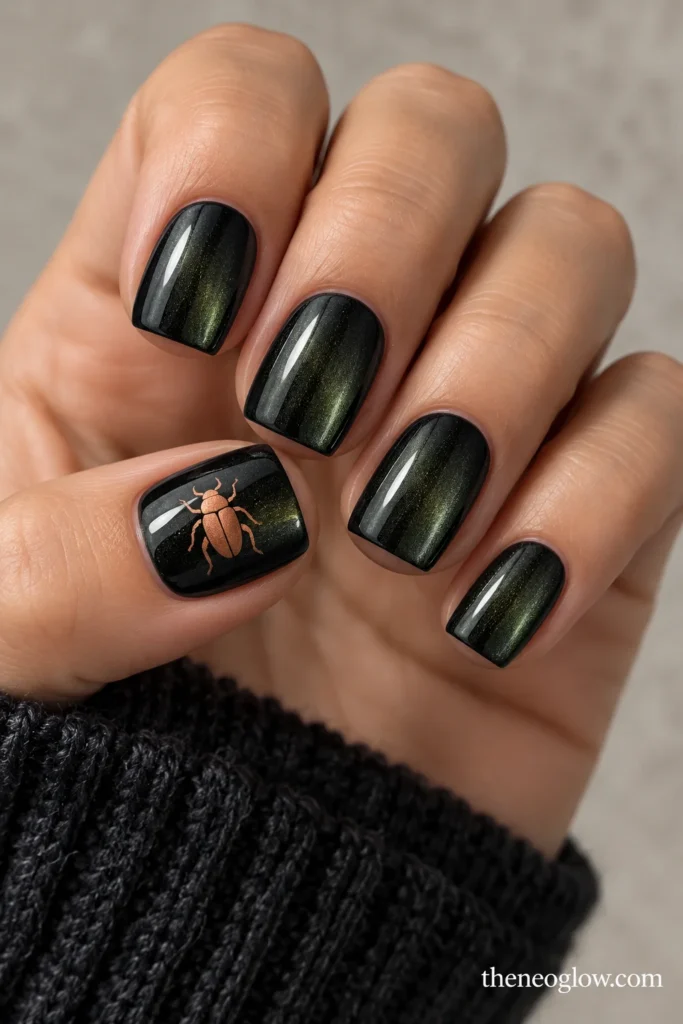
Use deep green-black metallic polish across short square acrylics, with the reflected color shifting between bottle green and graphite. Add one small copper beetle silhouette near the center of each thumb; all other nails remain unillustrated. This insect-led finish avoids familiar webs.
Medium Almond Acrylics: Curved Space for Characters and Color
Medium almonds taper to a rounded, centered tip. Place motifs in the wider middle instead of forcing square graphics onto a curve.
6. Violet Mist With One White Bat
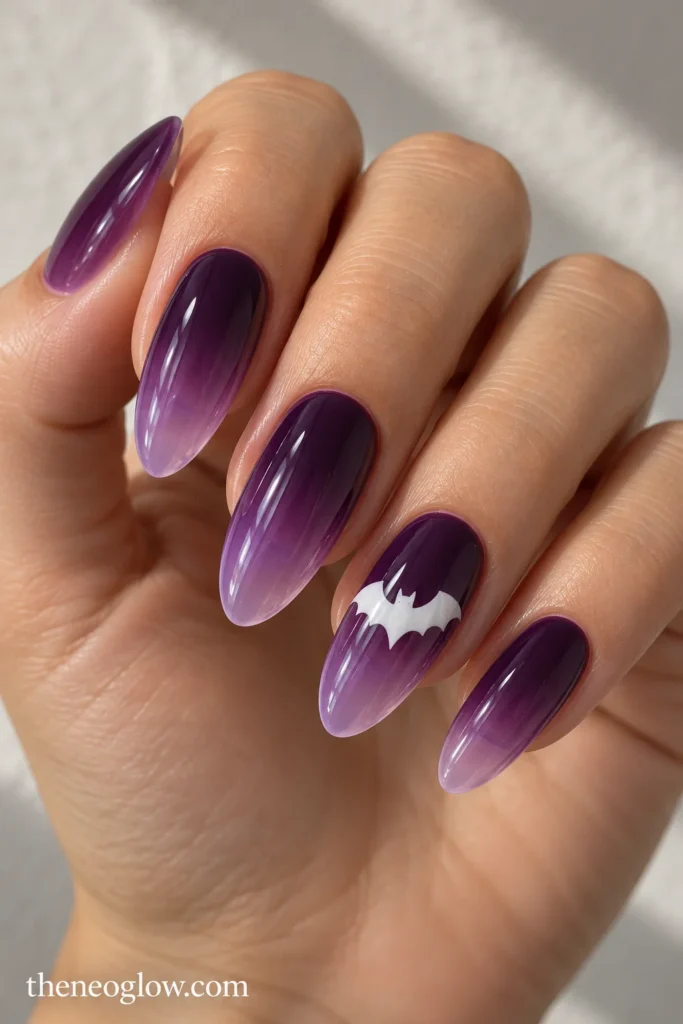
Blend opaque eggplant-purple near the base into a softer translucent violet toward each almond tip. On the ring finger, center one broad white bat silhouette across the widest portion of the nail, with wings kept inside the sidewalls. The one pale shape supplies the Halloween cue.
7. Ballet-Pink Mummy Crossings
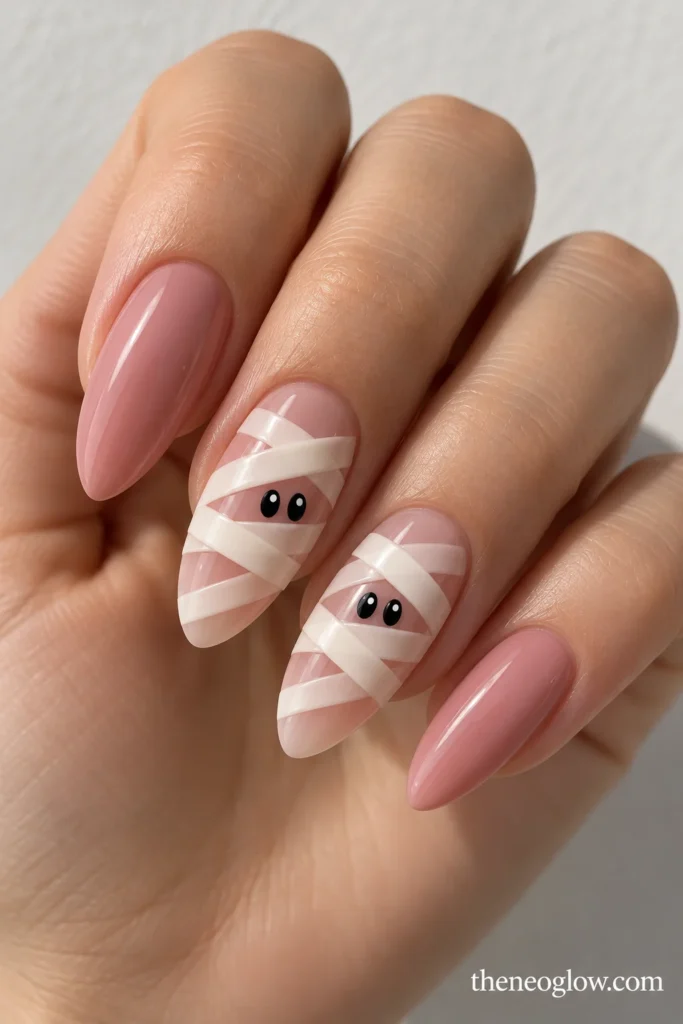
Start with transparent blush-pink medium almonds. Across two accent nails, overlap three wide, softly curved ivory bandage ribbons diagonally, leaving blush gaps between them. Add a pair of small black eyes inside one opening. Keep the remaining fingers solid muted rose. The almond length supports full wrap artwork.
8. Acid-Green Vertical Slime Channel
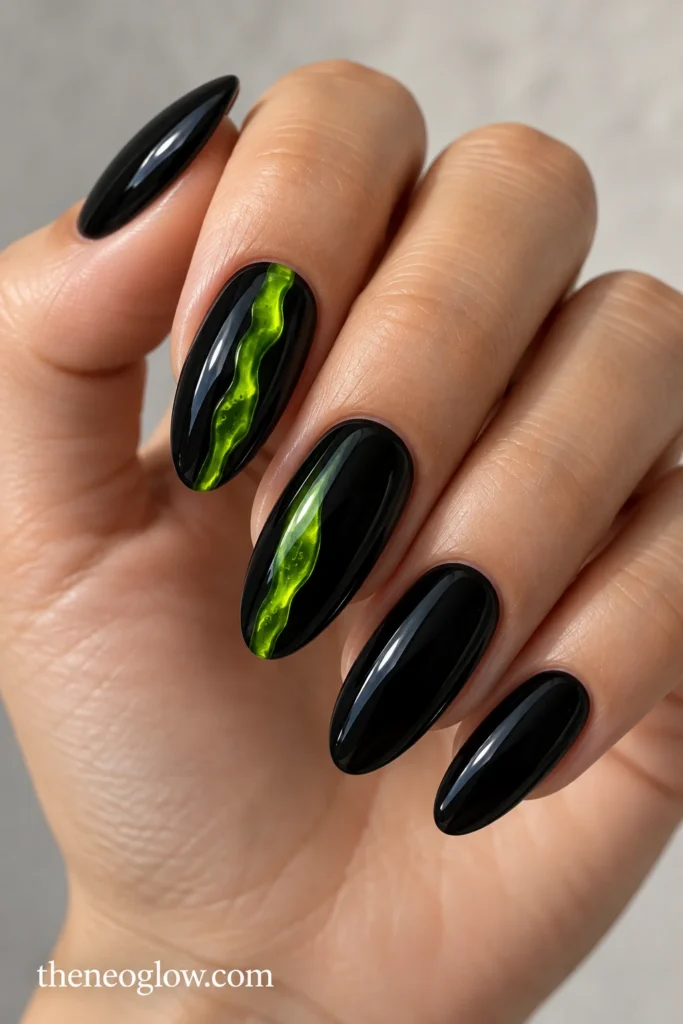
Use opaque glossy black on medium almonds, except for a narrow lime-green translucent stripe running down the center of each middle finger. Make the stripe slightly irregular, like trapped fluorescent liquid, and stop it before the rounded tip. A flat painted channel avoids hanging charms.
9. Amber Lantern Face Accent
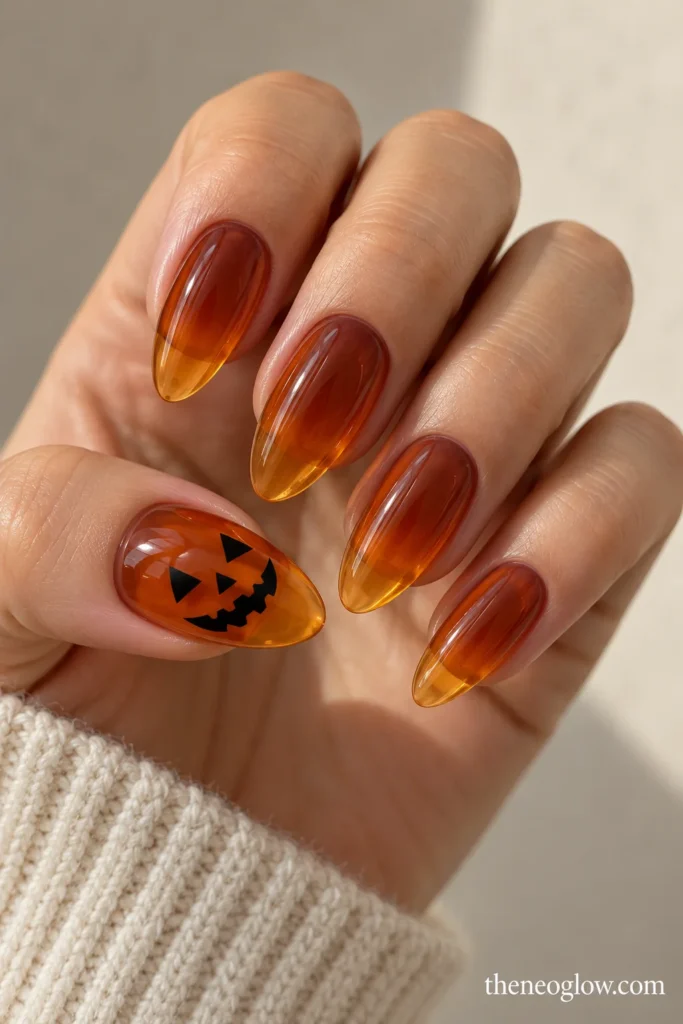
Layer translucent amber over medium almond extensions, deepening the color toward the center and leaving the free edge warm and glassy. Paint a single black jack-o’-lantern face on each thumb: triangular eyes, a small nose, and one jagged smile. Every other nail stays plain amber. One large face is enough.
10. Milky-White Candy Skeletons
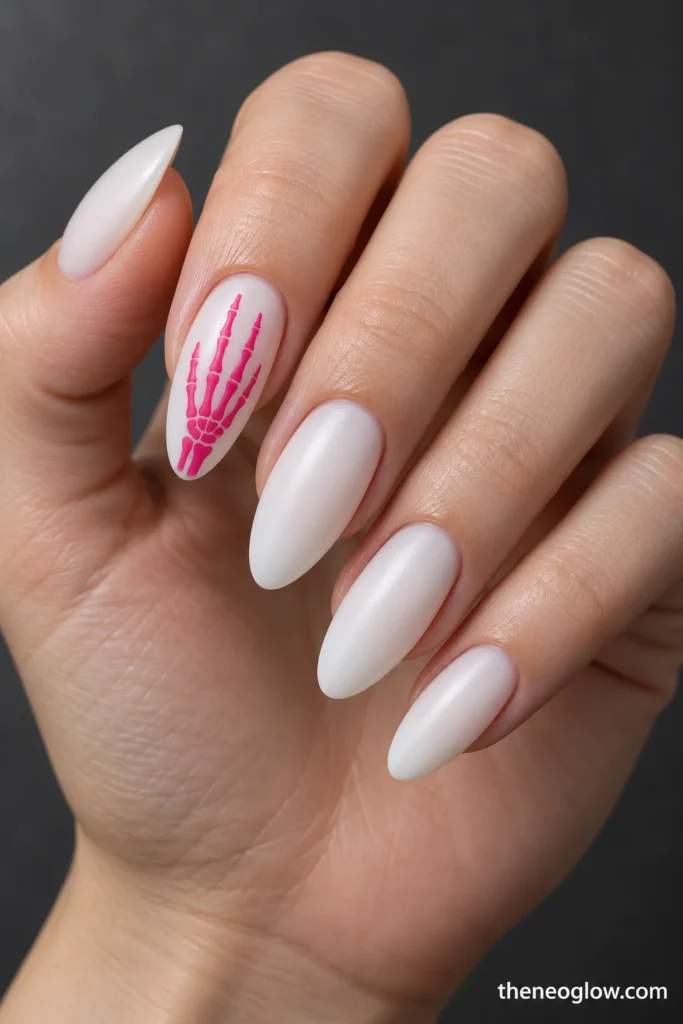
Use satin milky-white almonds with a graphic raspberry-pink skeletal-hand silhouette on only the index finger of each hand. The illustration runs lengthwise from the base, with three simplified finger bones reaching toward the tip. The rest of the set remains unpatterned white. Pink gives bone art an unexpected twist.
11. Lilac Lightning Forks
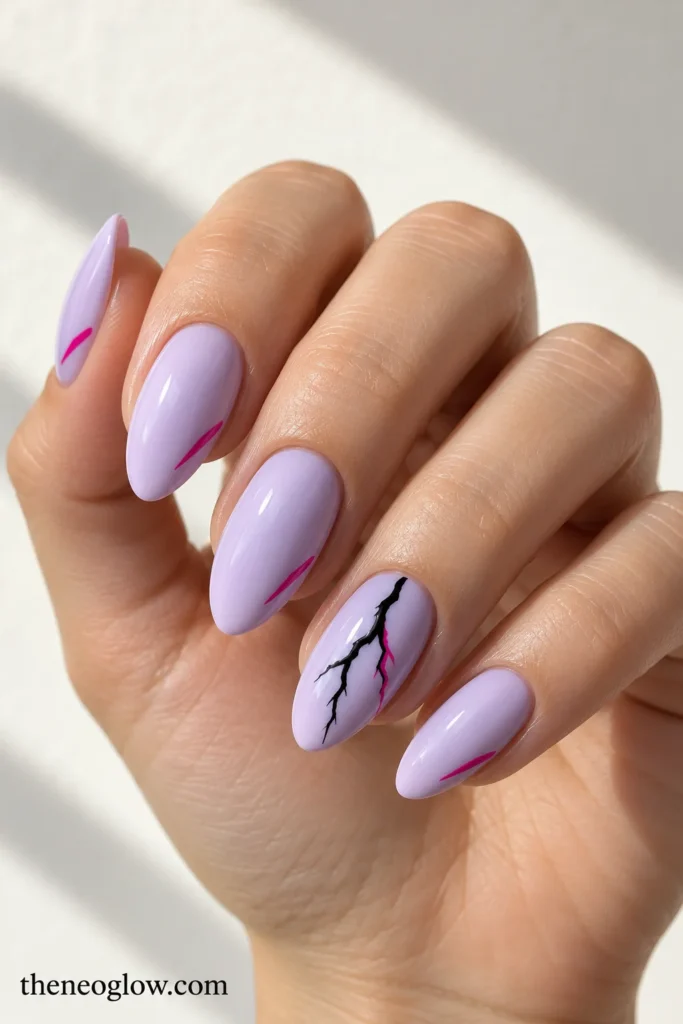
Paint medium almonds a creamy pale lilac. Add a single jagged black lightning fork down the center of each ring finger and outline one branch in sharp fuchsia. On the other nails, use one short fuchsia diagonal stroke near the lower sidewall. The lines follow the almond taper.
Long Coffin and Statement Extensions: Let the Length Work
Coffin acrylics taper into a flat tip. For gothic-only versions, NeoGlow’s gothic coffin nail collection goes deeper into black, red, and silver styling. These choices use different extension-led details.
12. Neon Hazard-Stripe Coffins
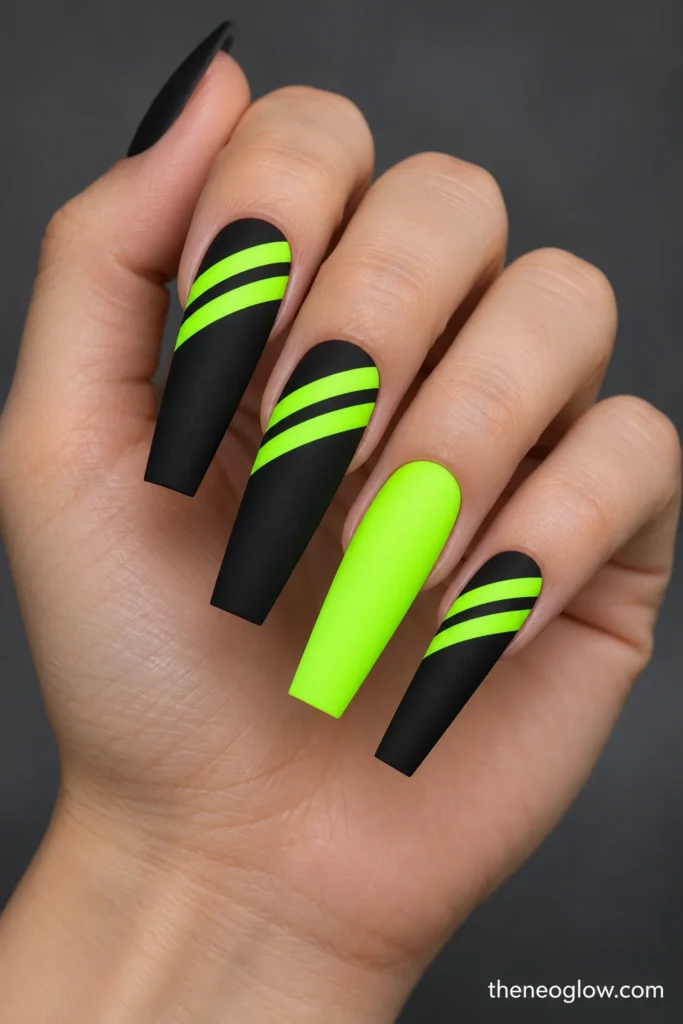
On long coffin acrylics, lay down matte black and cross each nail’s upper third with two broad diagonal fluorescent-lime stripes. Keep a clear black gap between the stripes and let them end cleanly at the tapered sides. One nail per hand can be completely lime. The long, flat ends make the stripes legible.
13. Suspended Bats in Clear Copper Tips
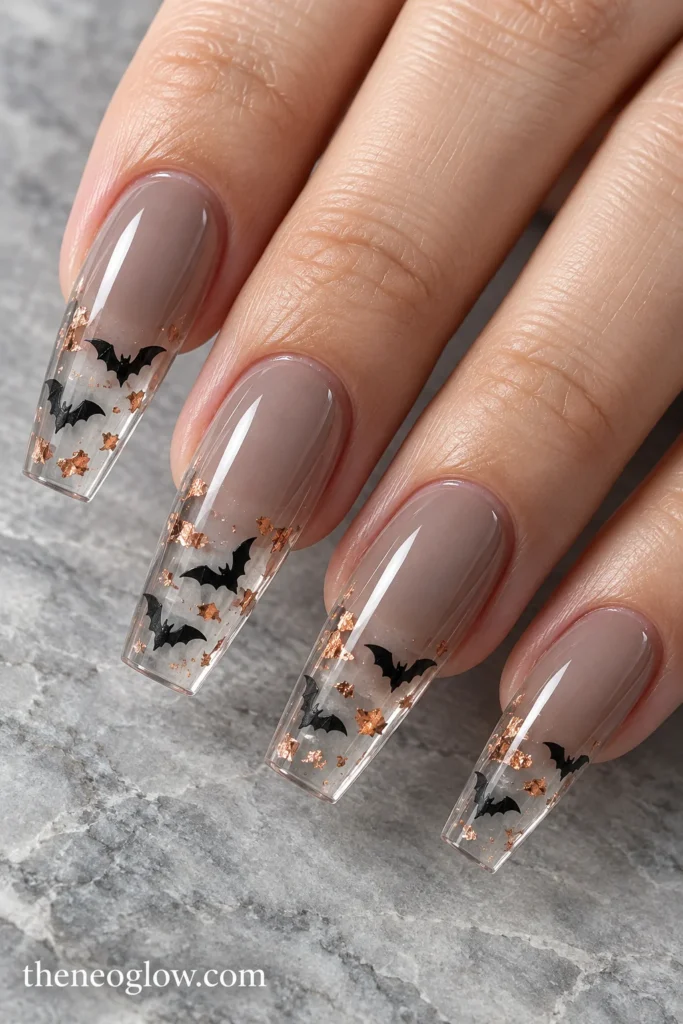
Build a medium-long coffin shape with smoky-taupe color near the nail bed and visually clear extended tips. Inside the clear distal sections, suspend scattered flat black bat silhouettes and sparse copper-colored foil fragments, if the technician’s system supports encapsulation. Keep the tips transparent enough to show space between the motifs. The clear tips become the artwork.
14. Fuchsia Stair-Step Tip Blocks
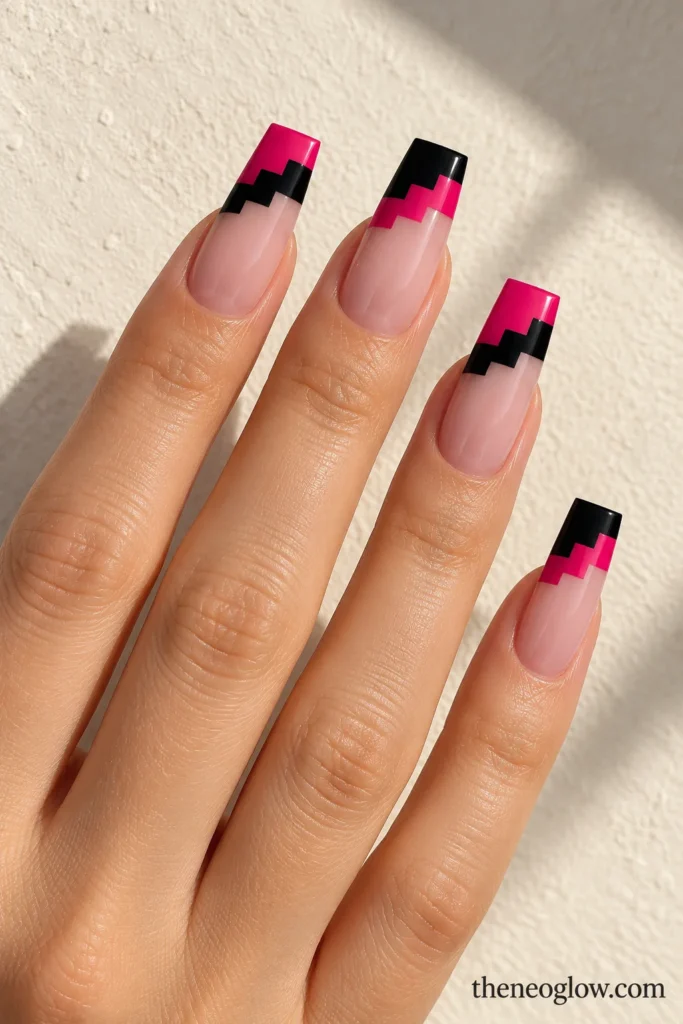
Use a sheer neutral-pink base on long coffin nails. Fill the top third with large alternating fuchsia and black rectangular steps, with straight edges that echo the squared tip. Two accent nails reverse the color order; the others repeat it consistently. The result is graphic rather than delicate.
15. Molten-Orange Rings on Deep Plum
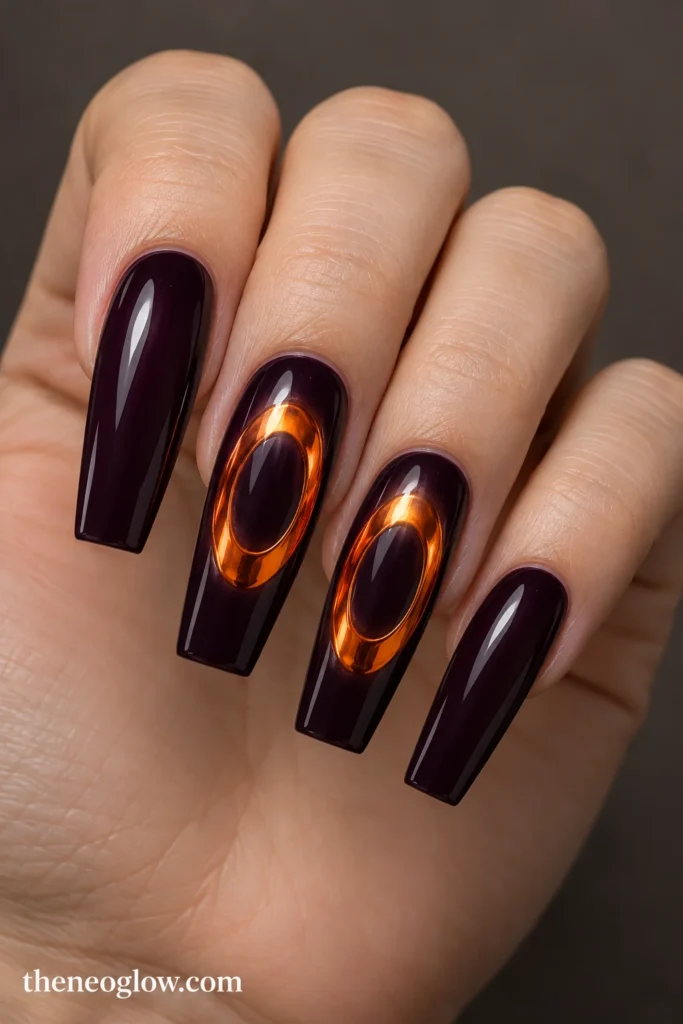
Cover long coffins in opaque near-black plum. Place one irregular glowing orange-chrome oval near the center of each middle and ring nail, leaving a plum “island” inside the ring. The metallic shape should look like a flat pool of light, not a raised charm. The orange outline supplies the drama.
16. Cobalt Monster-Eye Panels
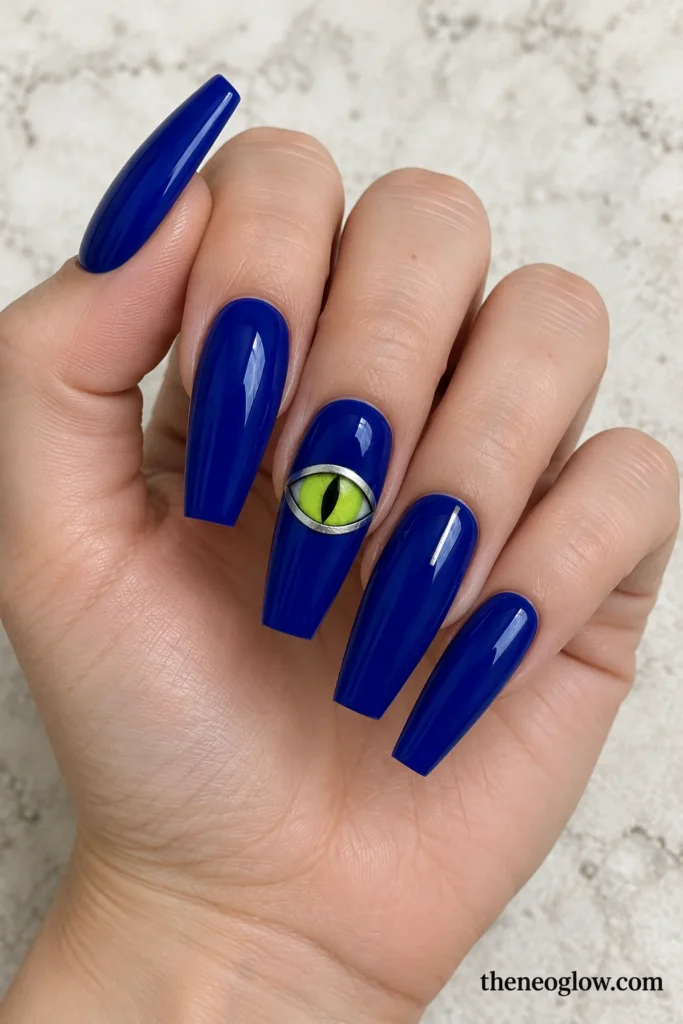
Make the long coffin extensions glossy midnight cobalt. On each middle nail, paint one large horizontal silver eye outline across the widest section, with a vivid chartreuse iris and a narrow black vertical pupil. Keep the neighboring nails solid cobalt except for one fine silver vertical tick. One oversized eye stays striking.
Practical Salon-Reference Routes for Acrylic Wearers
These sets emphasize flat art, negative space, or one statement nail.
17. Black-and-Lime Flat Claw Marks
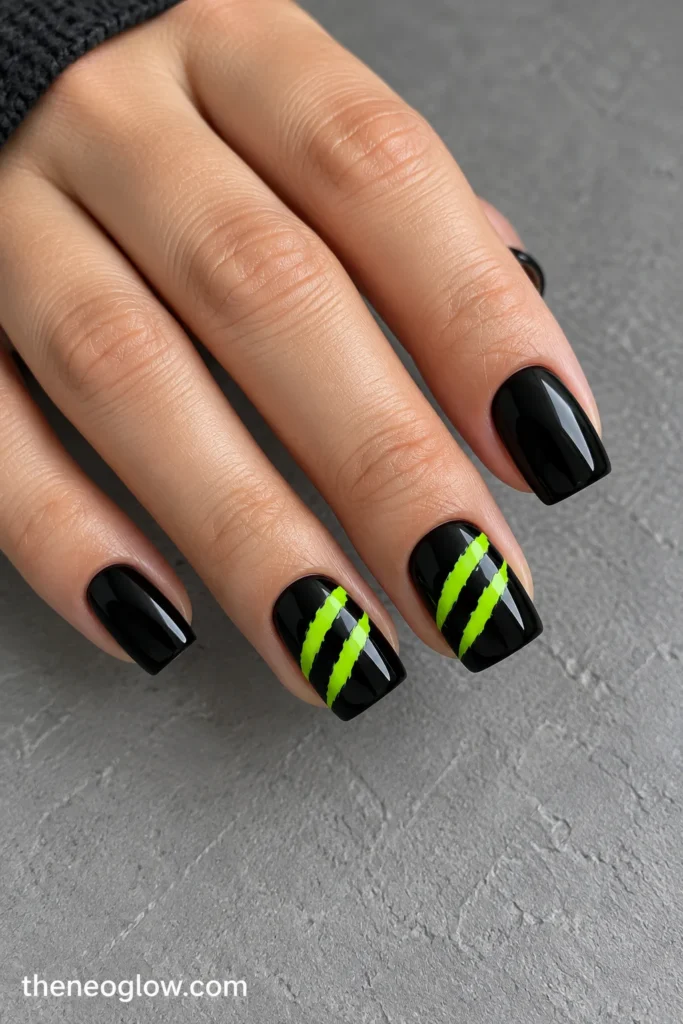
Choose medium-short squared acrylics in opaque black cream. On the ring and middle nails, add two parallel neon-lime diagonal slashes that cross the nail plate without extending off the edge. Seal the design smooth, with no studs or spikes. Choose this for color without raised accessories.
18. Chestnut Cuticle Windows and Mini Bats
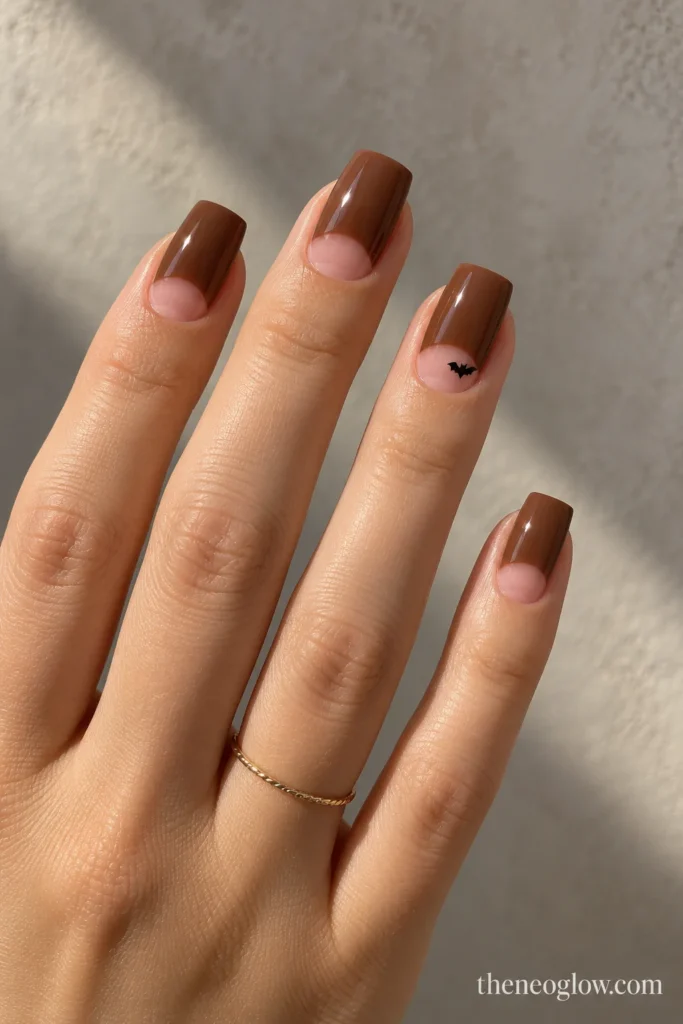
Build medium soft-square acrylics with warm chestnut-brown polish covering the upper two-thirds, leaving a broad clean semicircle of sheer rosy color near each cuticle. On the ring nails, add one tiny black bat near the transition line. The sheer cuticle window is finished color placement—not bare, unfinished acrylic.
19. Black-Cherry Jelly With One White Phantom
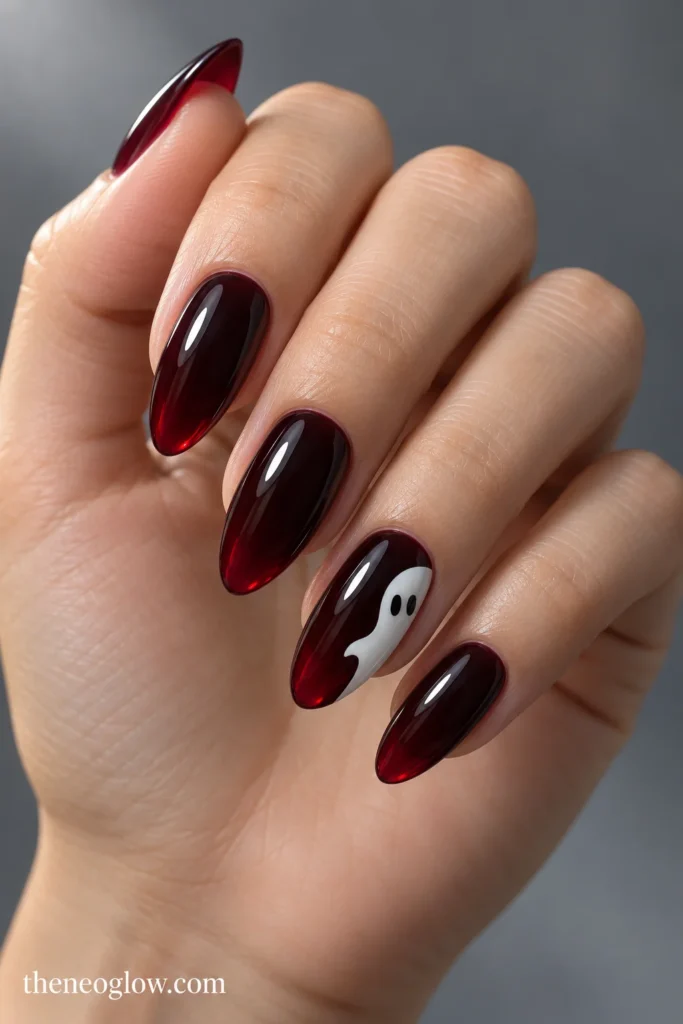
Finish medium-long almond acrylics in translucent black-cherry jelly. Reserve each ring finger for one broad opaque-white ghost shape entering from the outer sidewall, its curved body occupying the middle third and two black oval eyes facing inward. The other nails stay entirely cherry-colored. Request one flat illustrated nail per hand.
What to Confirm Before an Acrylic Appointment
Save the design and specify length, free-edge shape, side profile, base opacity, art placement, and finish. A top view alone cannot show thickness or how far the extension projects. You can adapt the reference colors to your preferences while preserving the shape, placement, and finish.
Check that the salon uses appropriate ventilation and follows its product directions. CDC/NIOSH guidance on nail-salon workplaces explains why dust and chemical vapors matter and describes local exhaust ventilation. For ingredient concerns, the FDA’s nail-product information discusses methacrylates, irritation, warnings, and safe-use labeling. Tell the technician about previous product reactions.
Acrylic enhancements also need a removal plan. The American Academy of Dermatology’s guidance on artificial nails explains potential natural-nail damage, touch-ups as nails grow, and removal methods. Do not peel or pry an acrylic set off yourself; ask how your technician handles maintenance and professional removal. Avoid concealing damaged nails beneath enhancements.
If you only want the Halloween appearance for a brief event, a plastic press-on is a separate system rather than an acrylic service. The natural-looking press-on application guide helps with that different route.
Choose the Nail Structure You’ll Still Enjoy Later
Start with short square for bold compact graphics, medium almond for curved artwork, or long coffin when the extension itself matters. Save your choice and its side-view length before booking. For Halloween looks without acrylic extensions, browse the wider Halloween nails 2026 collection.