Press-ons look most natural when preparation, fit, adhesive, placement, and pressure work together. A beautiful set can still look obviously artificial if the cuticle edge sits on skin, the sidewalls lift, or excess glue changes the profile. This guide explains how to apply press-on nails in the correct order with tabs or nail glue, plus how to fix the mistakes that create a bulky, crooked, or loose result. Size the full set before opening the adhesive, keep the product directions beside you, and plan removal before application.
Start With a Final Fit Check
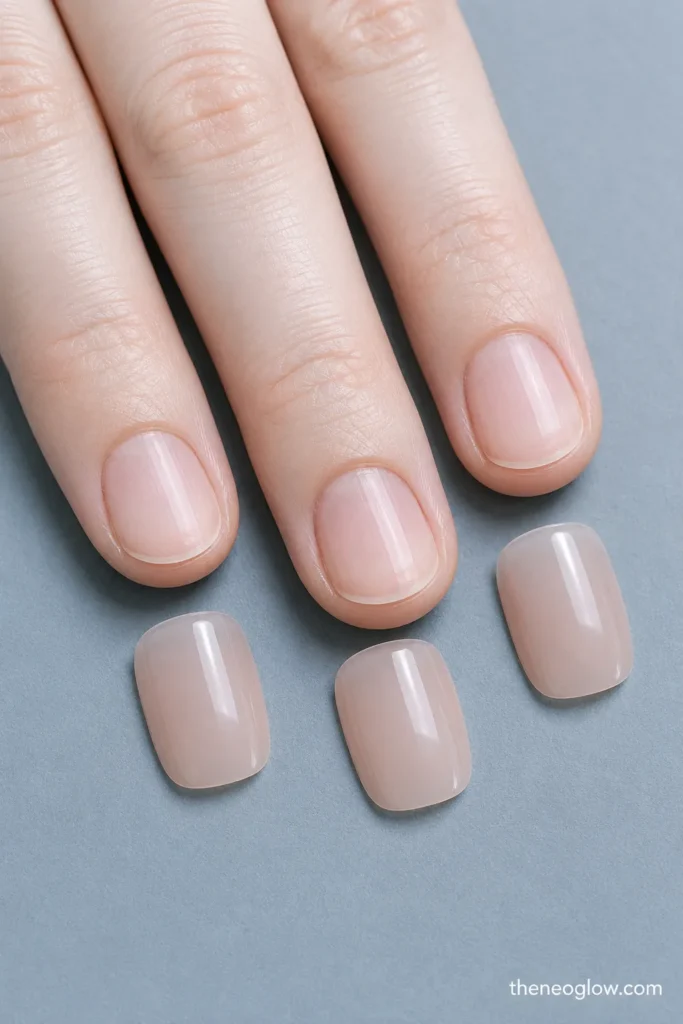
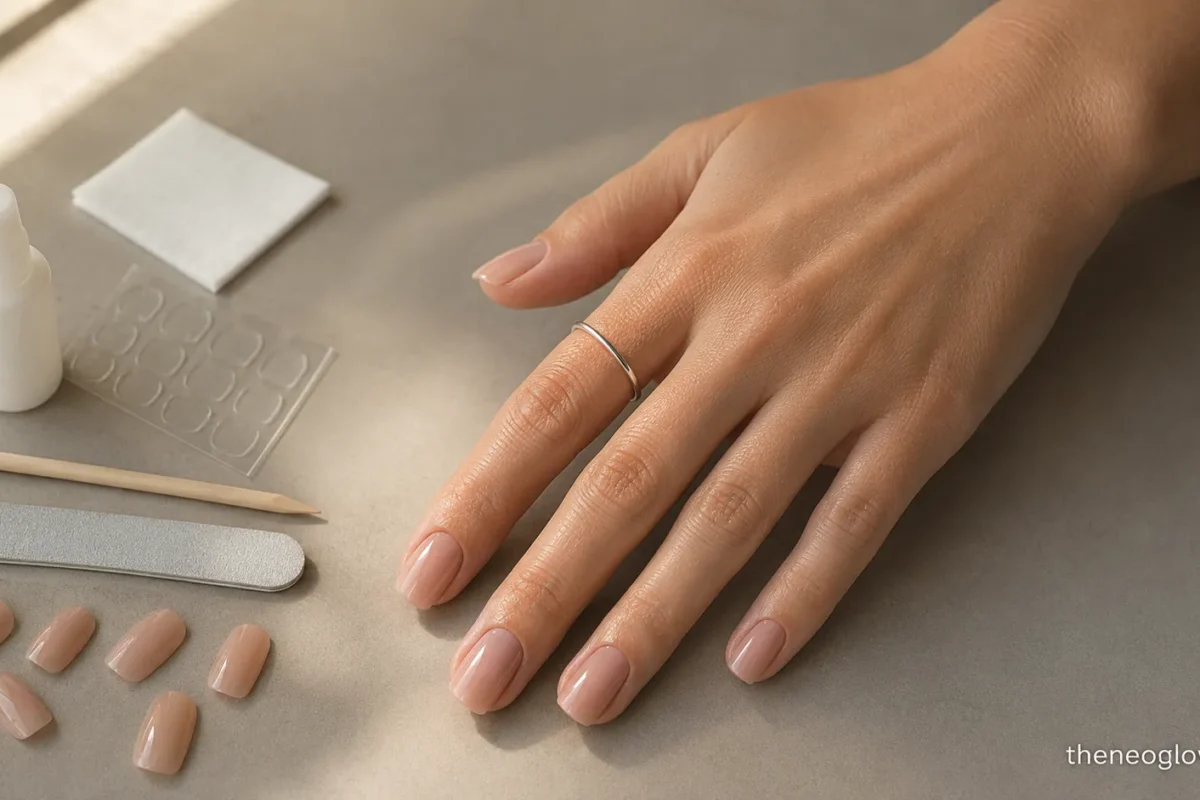
Lay out all ten tips while your natural nails are clean and dry. Each press-on should cover the nail from sidewall to sidewall without pinching, leaving exposed nail, or touching surrounding skin.
Complete any measuring and candidate-size comparison before application day so you are not choosing sizes while handling adhesive. When two tips seem close, follow the set manufacturer’s instructions. Some systems advise sizing down; others permit carefully filing a slightly larger tip. Never force a visibly narrow tip over a wider nail plate.
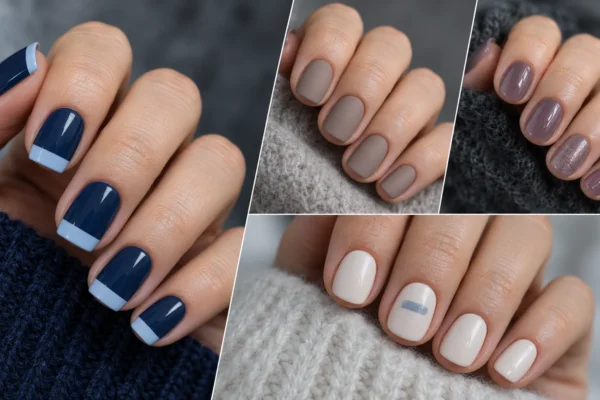
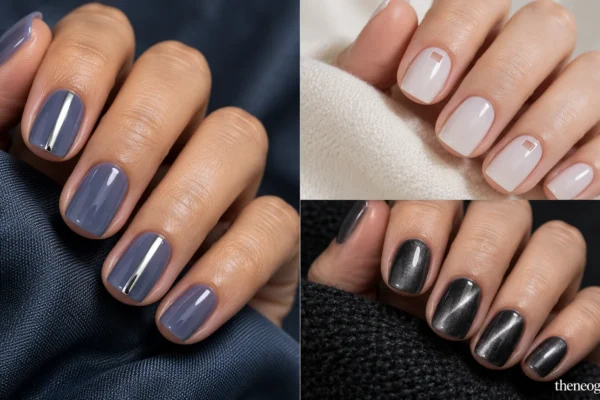
A thin profile, suitable curve, and proportional length matter as much as color. Compare these natural-finish nail ideas when choosing a realistic-looking set.
What You Need
Required
- A fully sized set arranged by finger
- The exact tabs or nail glue you plan to use
- The manufacturer’s application and removal directions
- A supplied manicure stick or prep tool
- A lint-free wipe and the included prep pad
- A fine nail file, when shaping is permitted
Optional, only when directed: rubbing alcohol as a prep-pad substitute, a gentle buffer, and the matching remover.
Do not use household glue, mix incompatible adhesive systems, or add extra nail glue because you want a stronger hold. Use a product intended for artificial nails and follow its label.
Press-On Glue vs. Tabs
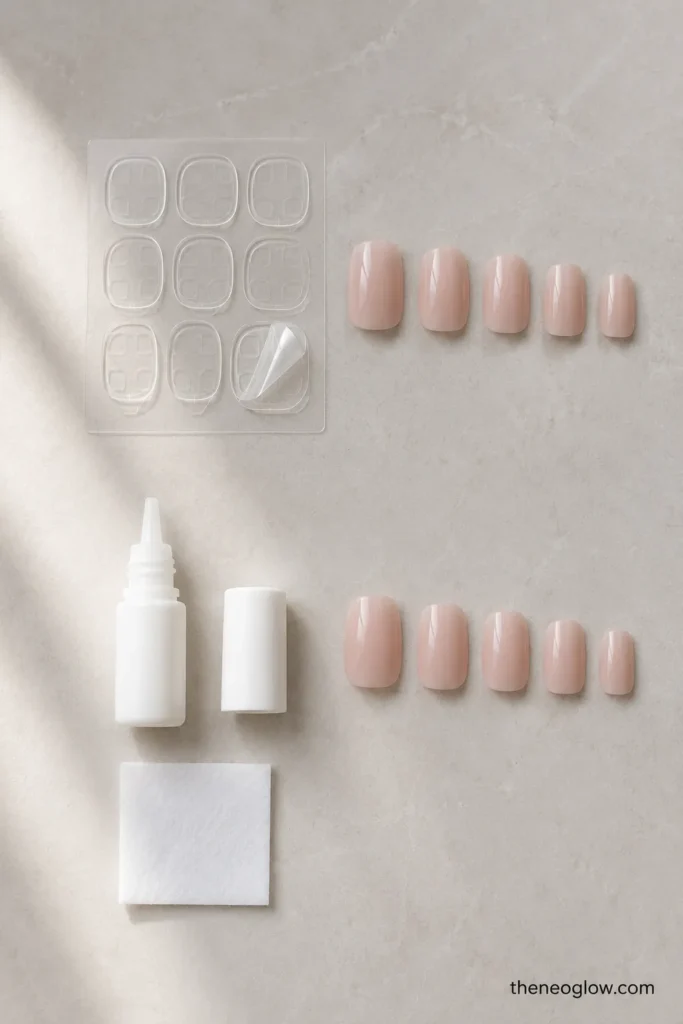
Choose the adhesive before prep because it changes application and removal.
| Factor | Tabs or Pre-Tabbed Nails | Nail Glue |
| Best suited to | Quick changes and lower-commitment wear, depending on the system | A firmer attachment when the directions and removal plan fit your needs |
| Application | Center the tab, avoid wrinkles, and press as directed | Apply the stated amount and placement without touching skin |
| Common mistake | Touching adhesive, trapping a fold, or covering skin | Excess glue, dry gaps, or flooded sidewalls |
| Removal | Often uses oil, warm water, or another system-specific method | May require soaking, remover, or another glue-specific method |
| Reuse | Often easier when the tip separates cleanly | Dried glue may make reuse harder |
There is no universal winner. For example, the imPRESS application instructions direct users to clean with the supplied pad, align the tab side near the cuticle, press the center and sides, and wait before filing. Those directions apply to that system, not every press-on.
How to Apply Press-On Nails Step by Step
1. Finish Water and Oil Tasks
Shower, wash your hair, do dishes, and finish skin care first. Then check the water-free window required by your set. One glue-system example, Olive & June’s preparation guide, directs users to avoid water for a stated period before and after application, prepare the surface, and remove dust and oil with its prep pad.
Follow your own adhesive’s timing rather than copying another brand. After the final hand wash, dry thoroughly and keep lotion, cuticle oil, sunscreen, and hair products off the nail plate.
2. Arrange Every Tip
Place left-hand tips in one row and right-hand tips in another, with cuticle ends facing you. This prevents reversed designs, mixed sizes, and a missing thumb after the adhesive is open.
Check each tip from the top and side. A nail that rocks, pinches, overlaps skin, or leaves a sidewall exposed is not ready.
3. Clear the Nail Plate Gently
Use the supplied tool to push back visible cuticle tissue gently, without cutting living skin. The American Academy of Dermatology explains that cuticles help protect the nail area from infection.
Remove old polish. If your system requires buffing, use light pressure only; do not thin the natural nail. Skip application over weak, peeling, painful, irritated, or visibly damaged nails.
4. Dehydrate Immediately Before Adhesive
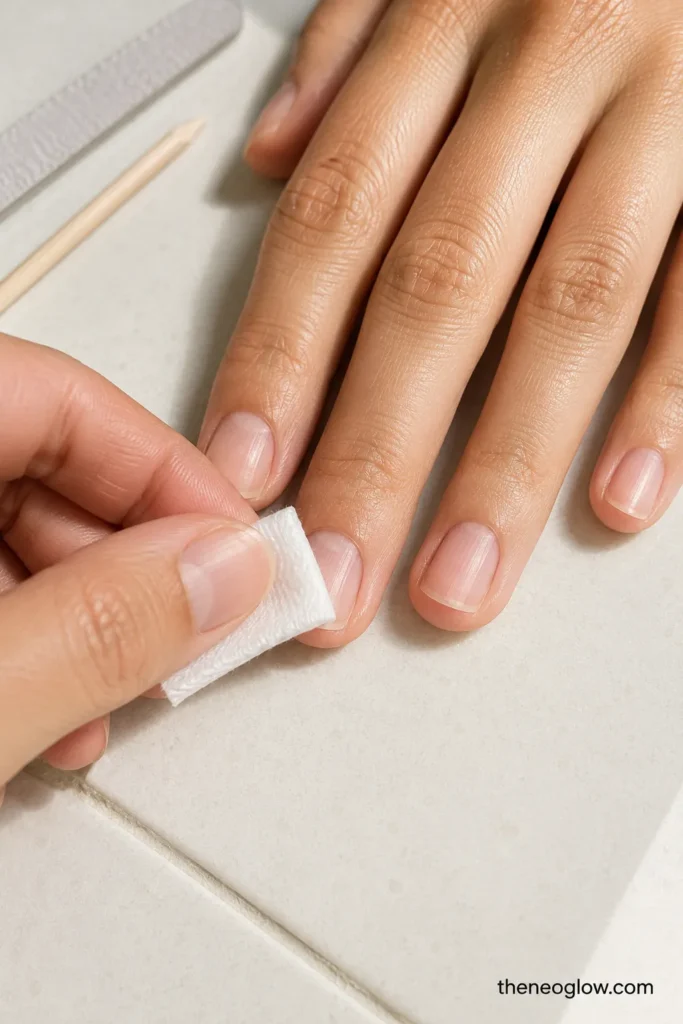
Here, “dehydrate” means removing temporary surface oil and moisture—not adding an aggressive primer by default. Wipe each nail with the included prep pad. Use rubbing alcohol only when the manufacturer permits it as a substitute.
Let the nails air-dry, then stop touching the plates. Fingertip oil transferred during sizing can interfere with the adhesive.
5. Apply Adhesive as Directed
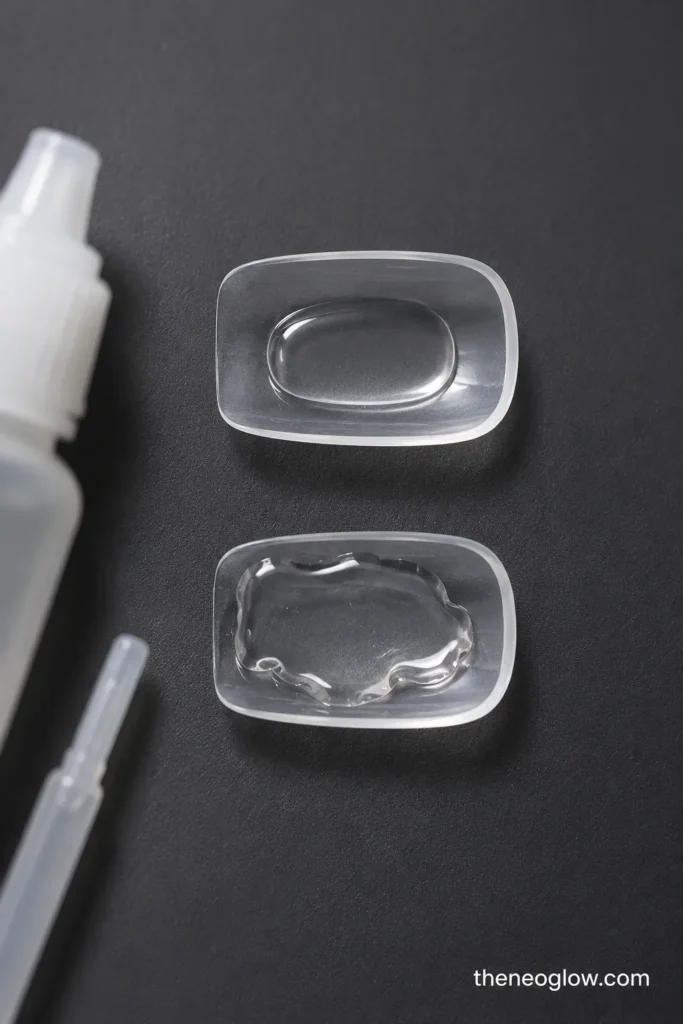
For tabs: Choose the tab for the natural nail, center it without touching skin, press out folds or air pockets, and remove the backing without touching the sticky surface.
For glue: Use the amount, pattern, and surfaces specified by the manufacturer. Some systems place glue on the natural nail, some on the tip, and some on both. Keep it away from cuticles and sidewalls. Too much can create overflow, bubbles, and a raised edge.
Do not add bottled glue beneath a pre-tabbed nail unless that product allows the combination.
6. Place the Tip at a Low Angle
Hold the press-on at a low angle with its base close to—but not on—the cuticle. Center it with the natural nail, settle the base edge first, then lower it toward the free edge in one controlled motion.
A small, even gap looks better than plastic touching living skin. Check the center line before full contact; viewing only one side can hide rotation.
7. Press the Center and Sidewalls
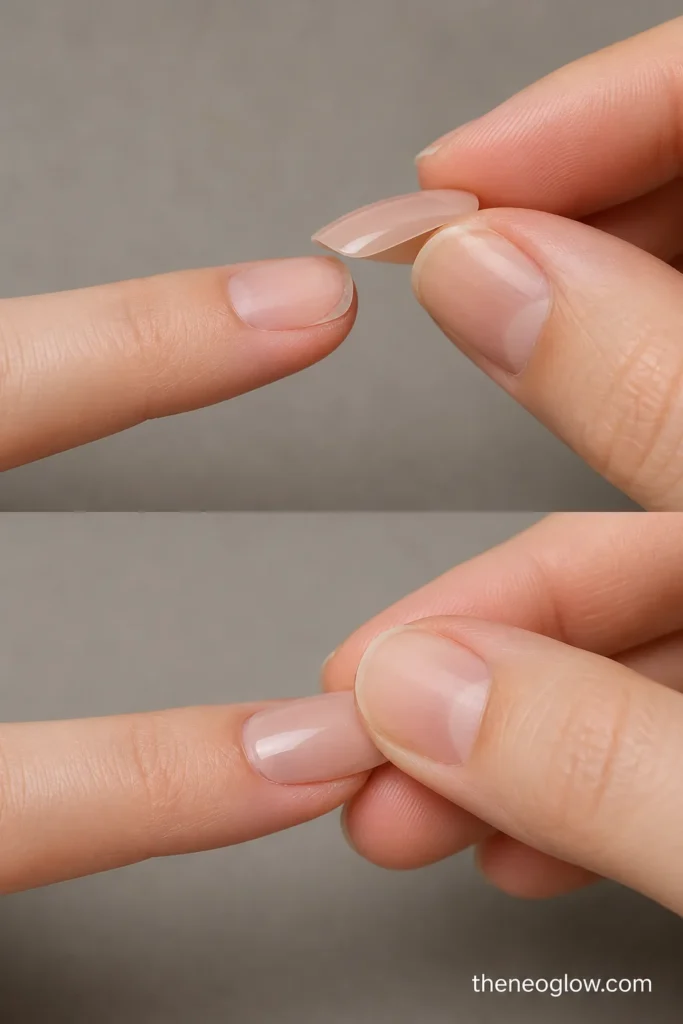
Apply steady pressure through the middle and both sidewalls for the full time stated by the product. Do not slide, pulse, or lift the tip halfway through.
Pressure time varies. One imPRESS system specifies 30 seconds, while other tabs and glues may differ. Use a timer and the directions for your exact adhesive.
8. Apply Thumbs Last
Thumbs handle backing papers, glue caps, and other nails. Leaving them until last makes application easier and reduces accidental shifting.
Afterward, inspect without tugging. Look for skin overlap, rotation, a large air pocket, or a sidewall that never contacted the plate.
9. Respect the Setting Window
Avoid filing, water, lotion, oil, and heavy hand use for the manufacturer’s stated period. Do not test the bond by pulling an edge.
After that window, support the press-on and refine only the free edge with gentle file strokes. Do not cut when the brand advises filing, and do not file against an attached cuticle edge.
How to Blend the Press-On Cuticle Edge
Create the blend before adhesive whenever possible:
- Choose a thin base with a curve that follows your nail.
- If permitted, refine a bulky plastic edge before application and remove all dust.
- Place the base close to the cuticle without covering skin.
- Control the glue amount so it cannot form a ridge.
- Press the center and sides evenly so the base sits flush.
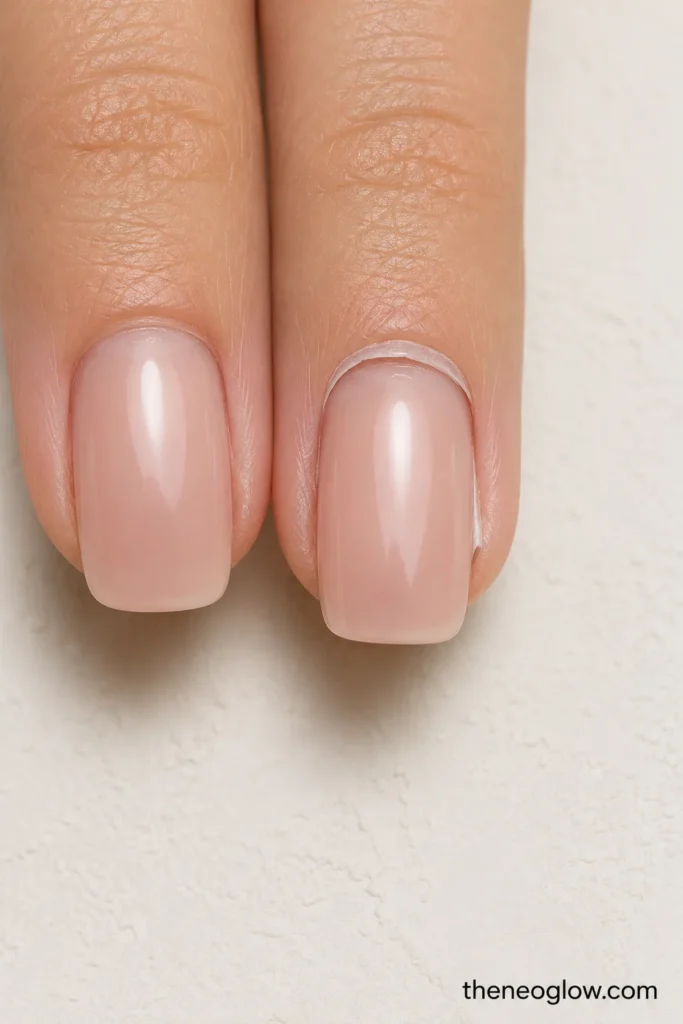
If the edge still forms a ledge, do not file into skin or add glue over it. The curve may be wrong, the tip may sit too far forward, or excess adhesive may be underneath. Remove it correctly and retry.
Shorter shapes often need less correction. These short nail ideas show balanced squoval, oval, and rounded proportions.
Press-On Nail Troubleshooting
| Problem | Likely Cause | Safer Fix |
| Thick-looking cuticle edge | Bulky tip, excess glue, or placement too far forward | Remove as directed; pre-refine the plastic if permitted; choose a thinner curve |
| Cuticle lifting | Oil, dust, skin overlap, weak pressure, or curve mismatch | Do not inject glue beneath a dirty lift; remove, clean, dry, and reapply |
| Sidewall lifting | Wrong width or incomplete side pressure | Recheck width and curve; never force an undersized tip |
| Crooked nail | Center line was not aligned before contact | Remove safely and realign while viewing the whole finger |
| Bubbles under a sheer tip | Uneven glue, excess glue, or movement | Use the directed amount and one controlled placement motion |
| Hair snagging | Exposed tab adhesive or early lifting | Follow the brand’s sealing method; replace a genuinely lifted nail |
| Pinching or pain | Wrong width, excessive curve, or skin overlap | Remove it; pain does not mean the fit is secure |
| Set looks too heavy | Length or width is out of proportion | File after the setting period if permitted, or choose a shorter set |
How to Avoid Lifting
Follow the water-free period and wear gloves for dishwashing or cleaning when practical. Use finger pads rather than nail tips to open cans, scrape labels, pull tight tabs, or pry lids.
When an edge catches hair or fabric, check it. If water, lotion, sunscreen, dirt, or debris may be underneath, do not push fresh glue into the gap. Remove the nail using the approved method, clean and dry the area, and use fresh adhesive only when reapplication is allowed.
Travel adds luggage, swimming, sunscreen, and repair decisions. Use the vacation press-on nail guide to plan spares and away-from-home protection without repeating this full routine.
Remove Press-Ons Without Peeling
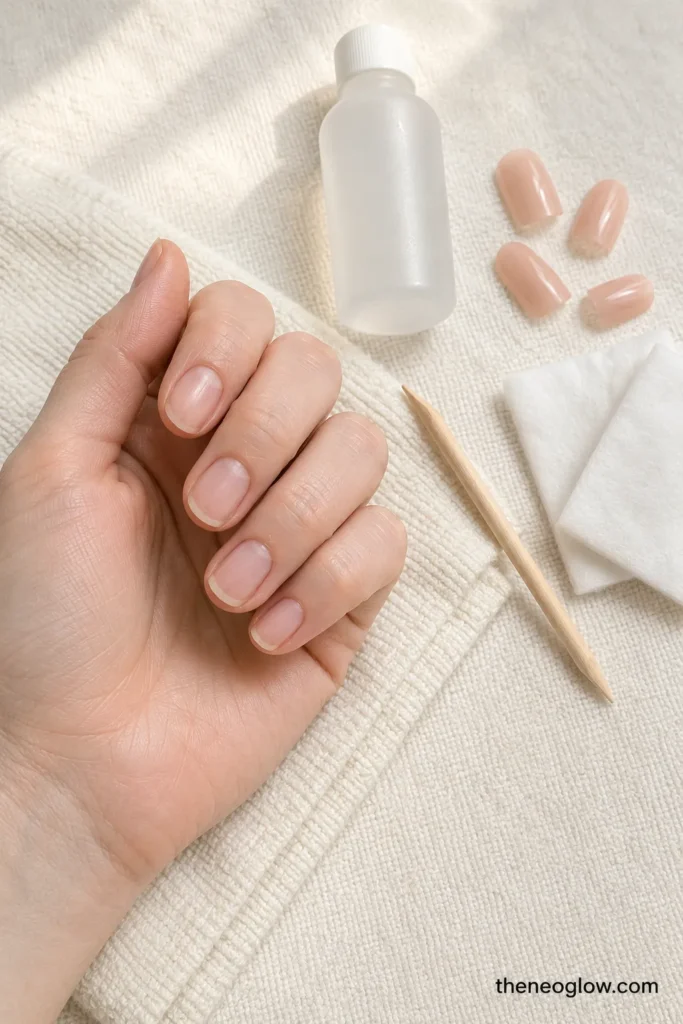
Tabs and glue are not one universal removal system. Follow the directions for the exact nail, adhesive, and remover.
The Olive & June removal instructions show brand-specific soaking and remover options and direct users to repeat the loosening process when needed. Use that method only with compatible products.
Never peel, pry, twist, or force a press-on off. Stop using a product if you develop significant redness, swelling, pain, or another reaction. The FDA’s nail-product safety guidance advises reading labels and warnings carefully and notes that some nail products can cause allergic reactions or infections. Seek professional care for persistent or concerning symptoms.
Final Application Check
Before starting, confirm that every tip is sized, the adhesive is chosen, removal directions are available, water and oil tasks are finished, and you have enough time for the stated pressure and setting windows.
Then repeat one sequence: prepare, dehydrate, apply adhesive, align the base, lower the tip, and press the center and sides. Save the troubleshooting table for your next set. A natural-looking result comes from controlled fit and placement—not extra glue or force.