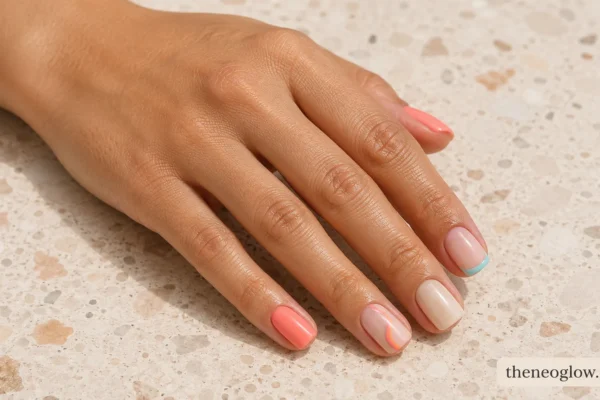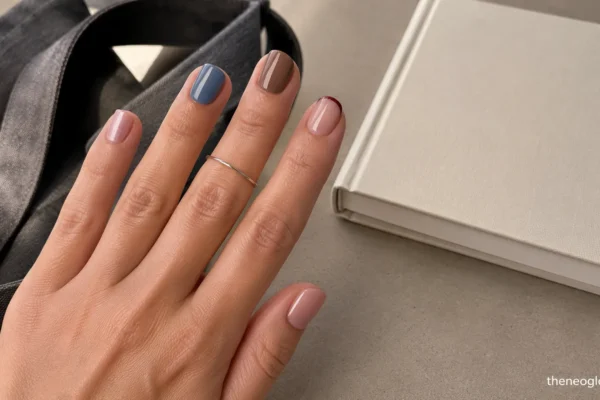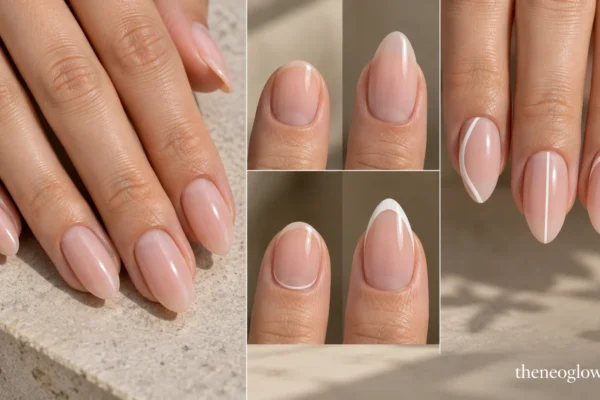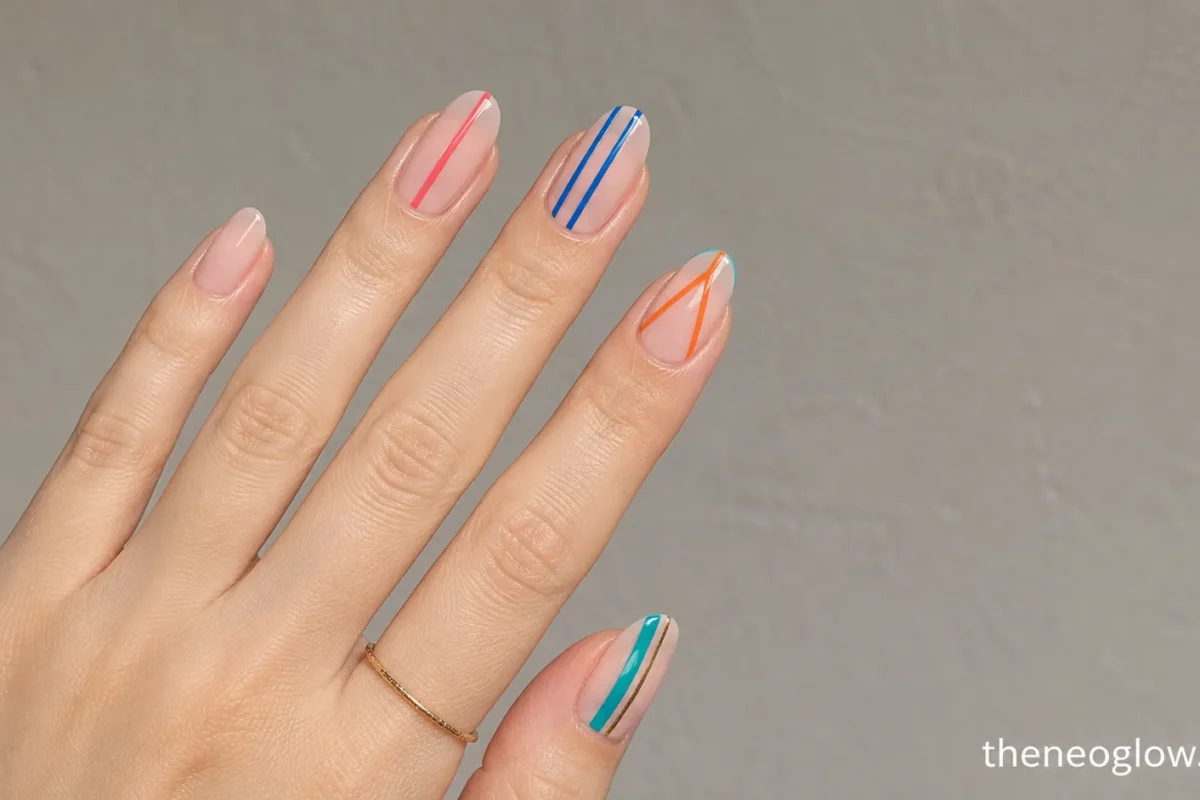
Striped summer nails can look crisp, playful, and surprisingly wearable when the line direction, width, spacing, and placement are planned before the colors. This guide focuses on stripe construction rather than another broad seasonal gallery. You will find 18 genuinely different layouts, from off-center pinstripes and floating bands to framed borders and translucent color layers, plus practical notes for short nails, almond shapes, regular polish, gel, and press-ons.
For a wider mix of florals, fruit, chrome, solids, and French tips, browse the summer nails 2026 guide. Here, the stripe itself is the main design decision.
Choose the Stripe Direction, Width, and Method
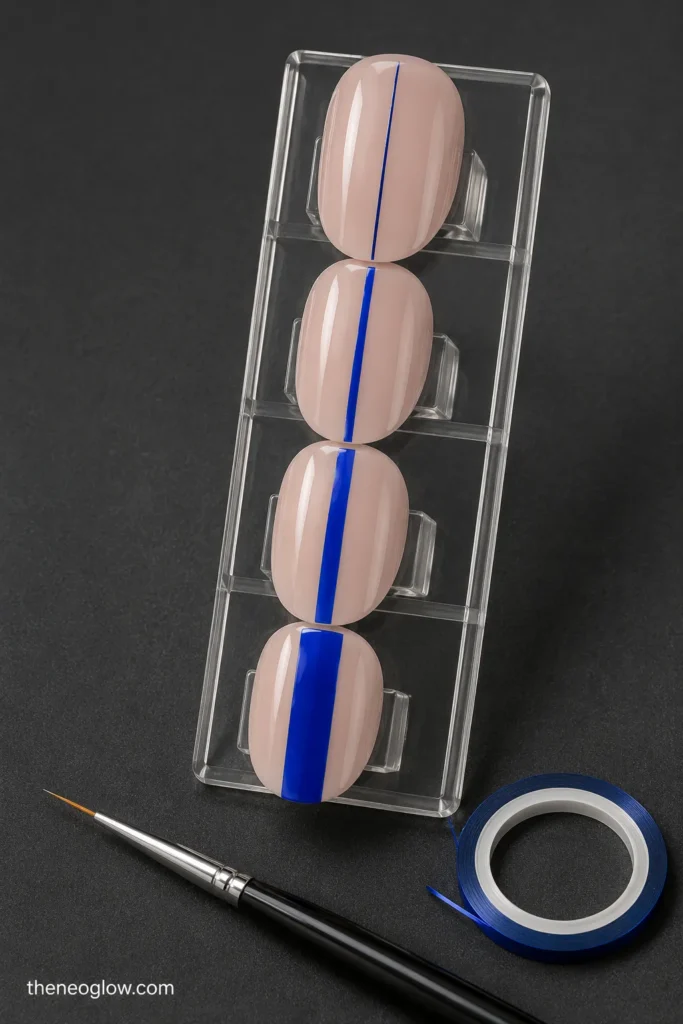
| Stripe choice | Visual effect | Best nail space | Practical method |
| Vertical or near-vertical | Lengthens and directs the eye | Short squoval, oval, almond | Liner brush or narrow tape |
| Diagonal | Adds movement and makes color feel bolder | Square, squoval, almond | Tape for a sharp band; brush for a softer line |
| Horizontal | Creates a graphic, fashion-editorial effect | Medium oval or almond | Tape, decal, or a steady flat brush |
| Curved edge stripe | Feels softer than a straight line | Oval and almond | Fine liner brush |
| Framed or border stripe | Defines the nail shape | Medium oval, almond, soft square | Salon gel, decal, or carefully fitted press-on |
Use line width intentionally. A micro stripe is hairline-thin and works well on very short nails. A thin stripe is clearly visible but leaves most of the base exposed. A medium stripe becomes a strong graphic element. A broad band should be limited to one or two areas so the manicure does not become a block-color set.
For regular polish, a detail or liner brush supports freehand stripes, while tape is useful for hard edges. OPI’s liner-brush tutorial places stripes over a set base, allows brief drying between layers, and recommends floating topcoat lightly over finished linework. Its tape-based chevron tutorial removes the guide immediately after applying the new lacquer to protect the edge.
Minimal Striped Summer Nails
1. Off-Center Coral Racing Stripe
Begin with a translucent beige-pink base and place one micro coral stripe slightly outside the center of each nail. The repeated offset creates movement without needing multiple colors. Short squoval nails need a hairline width; medium almond nails can carry a slightly wider line from cuticle area to tip.
This is one of the easiest salon requests to describe: “One straight coral racing stripe, off center, with the rest of the nail sheer.”
2. Cobalt Twin-Track Pinstripes
Paint two parallel cobalt lines with a clear strip of base visible between them. Keep both lines equal in width and use the open channel as part of the design. On short nails, place the pair on only two accents. On medium ovals or almonds, repeat it across the hand for a stronger graphic rhythm.
A liner brush works well for gel. With regular polish, two narrow tape guides can help preserve the center gap.
3. Diagonal Orange Sash
Run one medium orange band from a lower sidewall toward the opposite upper corner over a milky base. Unlike a fine pinstripe, the sash should read as one deliberate color shape. Short square nails look clean with a narrow diagonal; medium almond nails can support a broader band.
Use tape when you want a hard, geometric edge. Freehand the band when a slightly softer painted finish suits the set better.
4. Floating Aqua Center Band
Place one short horizontal aqua band across the middle of the nail, stopping before both sidewalls. The exposed space around the band makes it appear suspended rather than wrapped across the nail. Medium oval nails offer the clearest proportions, but short nails can use a thinner band on two accents.
Keep the remaining nails sheer or paint them in the same aqua shade to avoid competing motifs.
5. One-Side Lime Rail
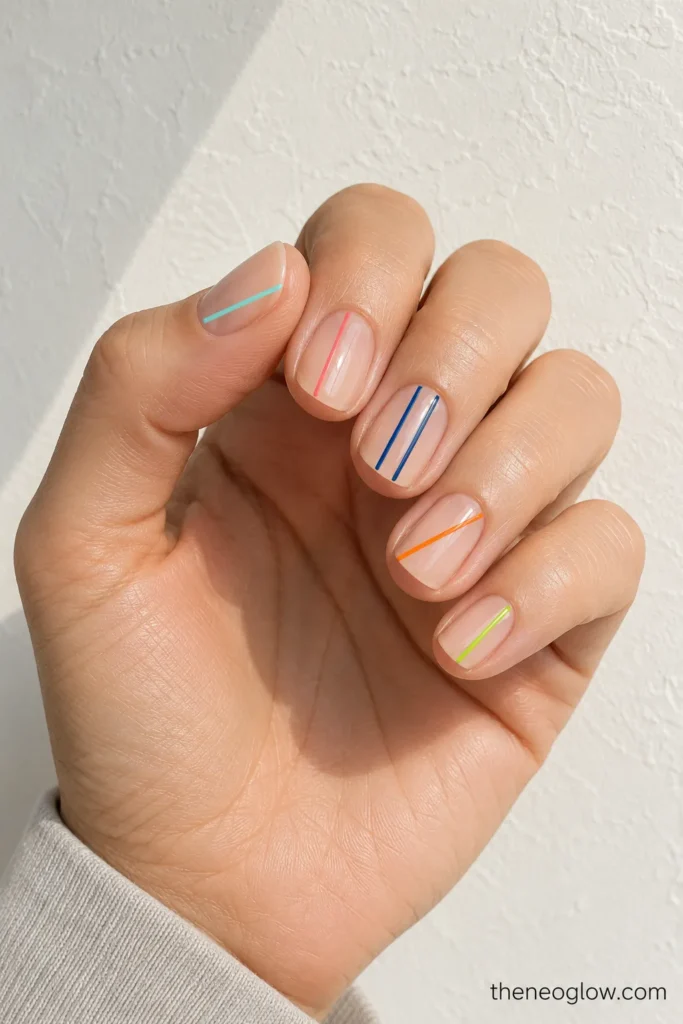
Trace a thin lime stripe from near the cuticle to the free edge along one side of each nail. The narrow side placement leaves the center open and visually stretches short nail plates. A soft square makes the rail feel crisp; an oval shape softens it.
Ask for the line to sit inside the sidewall rather than touching the surrounding skin, which keeps the border clean and easier to seal.
French and Edge Stripe Designs
6. Multicolor Micro-Stripe French
Replace a traditional French tip with an ultra-thin line in coral, aqua, butter yellow, lavender, or raspberry. Use one shade per nail but repeat the same tip depth so the manicure stays cohesive. Very short nails should follow the natural free edge without creating a deep band.
For more small-scale placement ideas beyond stripes, use the short summer nails guide.
7. Double French With a Clear Gap
Paint one slim tip line, leave a narrow strip of the sheer base visible, then add a second parallel line below it. The clear gap is essential; without it, the design becomes one thick tip. White with cobalt feels sharp, while pink with orange gives a warmer summer finish.
This layout works best on medium oval or almond nails. Short nails can use the double line on two accents and a single micro tip elsewhere.
8. Asymmetrical Side-French Stripe
Start at one outer corner and curve a slim stripe along only half of the tip. The line should taper before reaching the opposite side, creating an open edge rather than a complete French outline. Coral, baby blue, or deep teal work well against a translucent base.
A liner brush is more useful than straight tape because the curve needs to follow the nail shape.
9. Cuticle-Contour Stripe
Follow the cuticle shape with one shallow curved line, leaving a small gap between the stripe and the skin. The reverse placement keeps the free edge bare and makes regrowth less visually dominant. Try cobalt over milky pink or orange over sheer beige.
On short nails, keep the curve narrow and shallow. Medium almond nails can carry a second, finer contour line if enough base remains visible.
10. Split-Tip Stripe
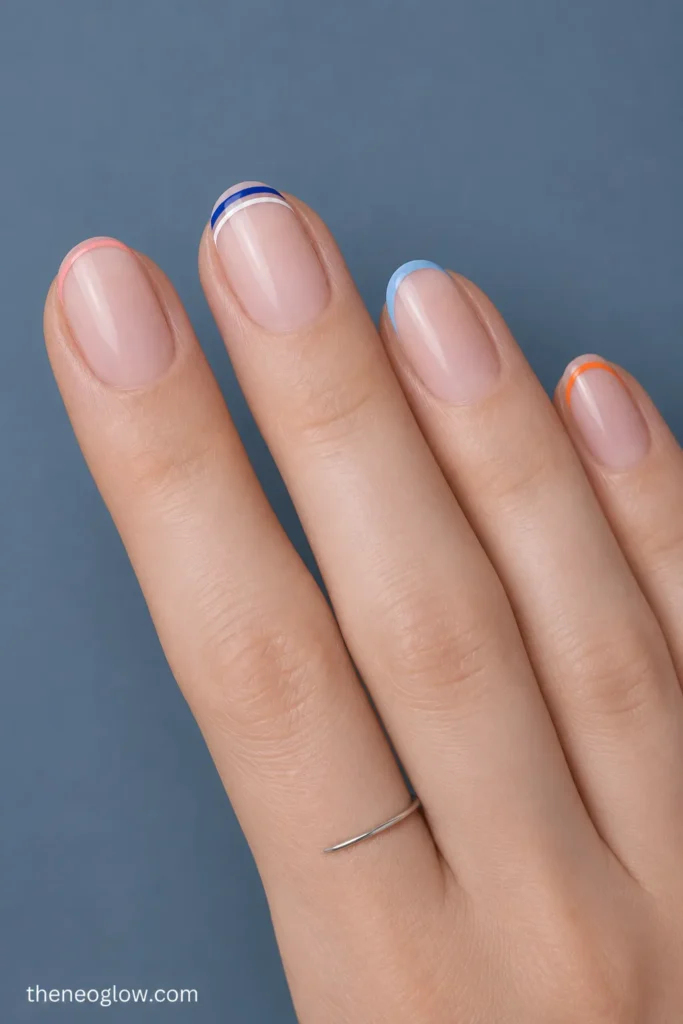
Divide the free edge into two color sections with a clean vertical break. One side can be coral and the other aqua, but both should share the same tip depth. The design reads as a structured two-color edge rather than a general color block.
Short square nails give the split a modern finish. Medium almond nails look better when the dividing line follows the center axis precisely.
Graphic Stripe Constructions
11. Alternating-Width Trio
Use three parallel stripes in micro, thin, and medium widths. Keep the spaces between them consistent so the width progression looks intentional. A sheer nude base with coral, orange, and raspberry creates a warm set; aqua, cobalt, and mint create a cooler version.
Place the trio vertically on short nails or diagonally on medium almond nails. Do not repeat it on every finger if the palette is high contrast.
12. Staggered Broken Stripes
Create three or four short line segments that share the same direction but begin and end at different points. The breaks allow the base to show through and prevent the nail from looking covered. Use one color for a minimal effect or two related shades for more energy.
This construction is forgiving because every segment does not need to connect. It also adapts well to stickers and printed press-ons.
13. Negative-Space Center Channel
Paint two medium vertical bands near the sides and leave a clear channel through the middle. The negative space becomes the focal stripe even though it is unpainted. Short squoval nails need narrow side bands; medium ovals can support stronger color.
Choose a translucent or milky base so the open channel looks deliberate rather than unfinished.
14. Open Chevron Lines
Form a wide V with two diagonal stripes, but leave the point open instead of joining the lines. This gives the nail direction without creating a solid chevron block. Position the opening near the tip for a lifted effect or near the cuticle for a reverse version.
A tape mask gives the sharpest angles. Remove the tape while the fresh color is still wet, then let the design set before topcoat.
15. Fine Perimeter Frame
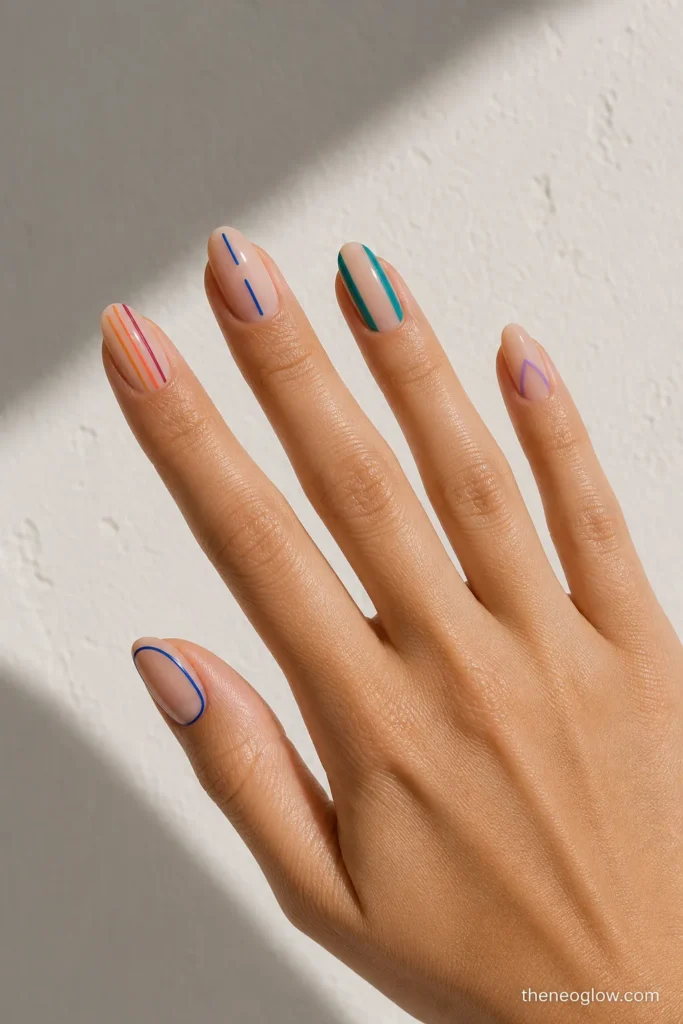
Outline the nail with a narrow stripe while leaving the center sheer. A complete frame is best on medium oval or almond nails because there is enough room to preserve open space. Short nails should use a partial frame along the tip and sidewalls rather than circling the full nail.
Chrome or deep cobalt makes the border highly visible, so line consistency matters more than added decoration.
Color-Layered Summer Stripes
16. Translucent Jelly Bands
Layer two or three broad translucent stripes so the colors overlap in selected areas. Raspberry over orange can create a deeper warm intersection; aqua over lavender gives a cooler layered effect. Keep the bands sparse and let the sheer base remain visible.
This idea works best with jelly formulas or transparent gel. Medium almond or oval nails provide room for the overlaps to read clearly.
17. Beach-Towel Accent Stripes
Use one creamy base and repeat narrow coral, turquoise, and sunshine-yellow stripes on two accent nails. Vary the widths slightly, but keep the sequence identical on both accents. Paint the remaining nails in one solid shade from the stripe palette.
This is more controlled than covering every nail with multicolor lines. Short squares make the pattern crisp, while medium ovals soften the holiday feel.
18. Metallic Thread Beside a Color Band
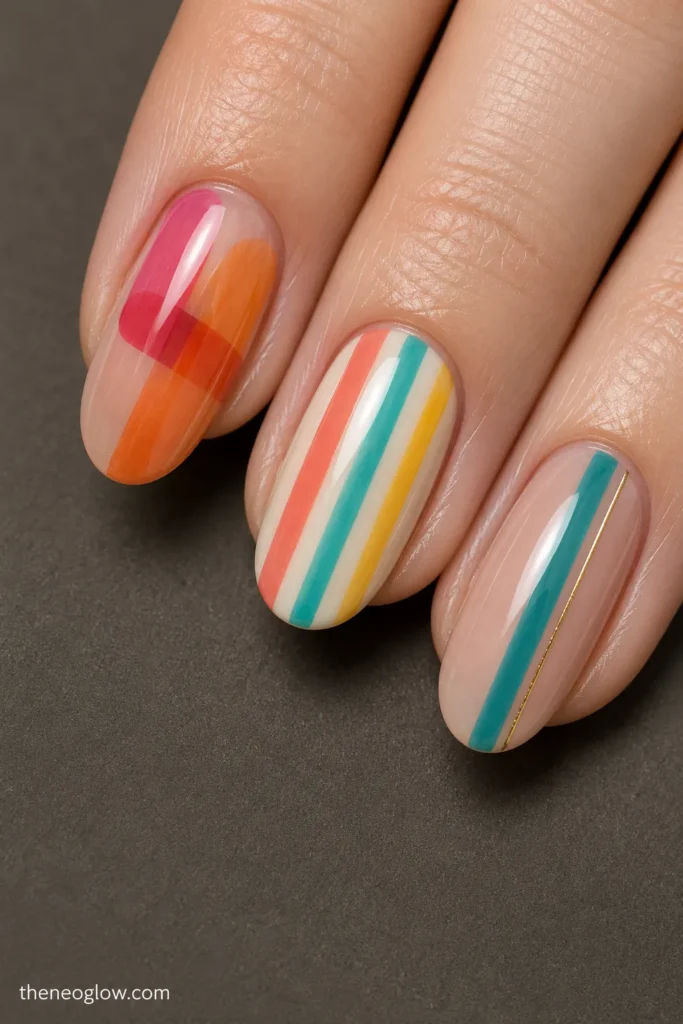
Paint one medium cobalt, coral, or teal band, then add an ultra-thin silver or gold line beside it without touching. The metallic thread acts as a highlight rather than another full stripe. Use the pairing on two or three nails and keep the others simple.
Trim metallic striping tape slightly inside the nail edges before sealing, or ask for metallic gel paint when you want a flatter salon finish.
How to Make Stripe Nail Art Look Cleaner
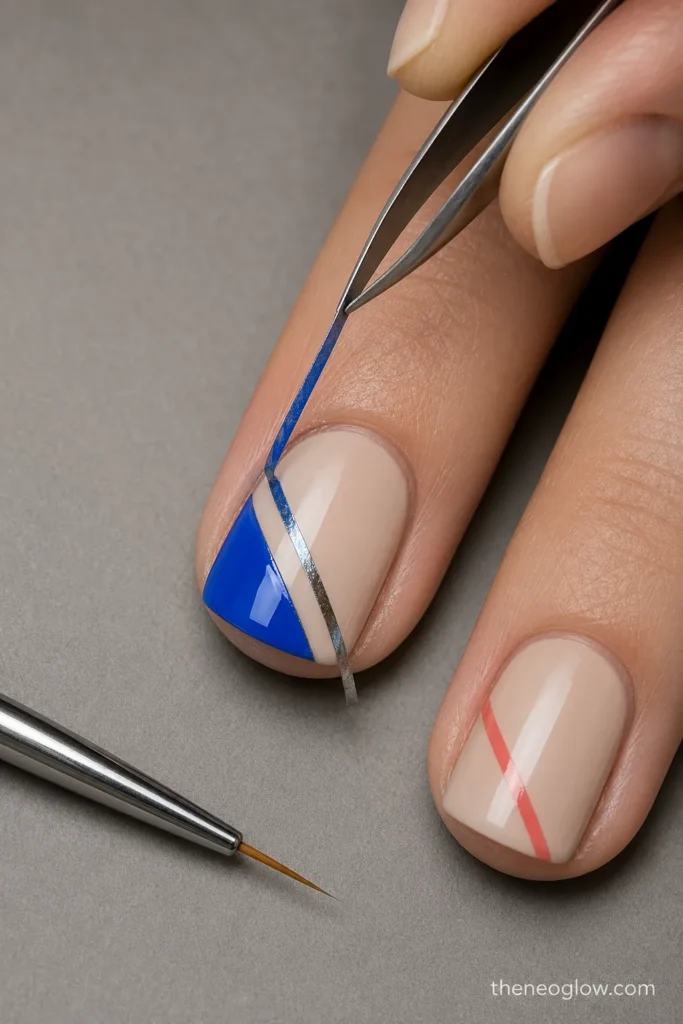
For tape designs, let the base become firm before applying the guide. Press the tape edges flat, paint a thin coat over the exposed area, and peel the tape away while that new color is still wet. Pull in one smooth direction rather than lifting and reapplying the same strip. OPI demonstrates this wet-lacquer tape-removal sequence in both chevron and grid tutorials.
For freehand lines, place a small amount of polish on foil, load only the liner-brush tip, and rotate the finger when possible instead of twisting your painting hand. Make one controlled pass. Reworking a wet stripe repeatedly often makes it wider and less even.
If a line wobbles, turn it into a slightly wider intentional band or place a second parallel line beside it. If spacing drifts, mark the first and last stripe positions before filling the center. Let regular-polish art set before floating topcoat over it with minimal brush pressure.
For a broader beginner guide covering dots, tape blocks, stickers, and ombré, see these easy summer nail designs.
Regular Polish, Gel, or Press-Ons?
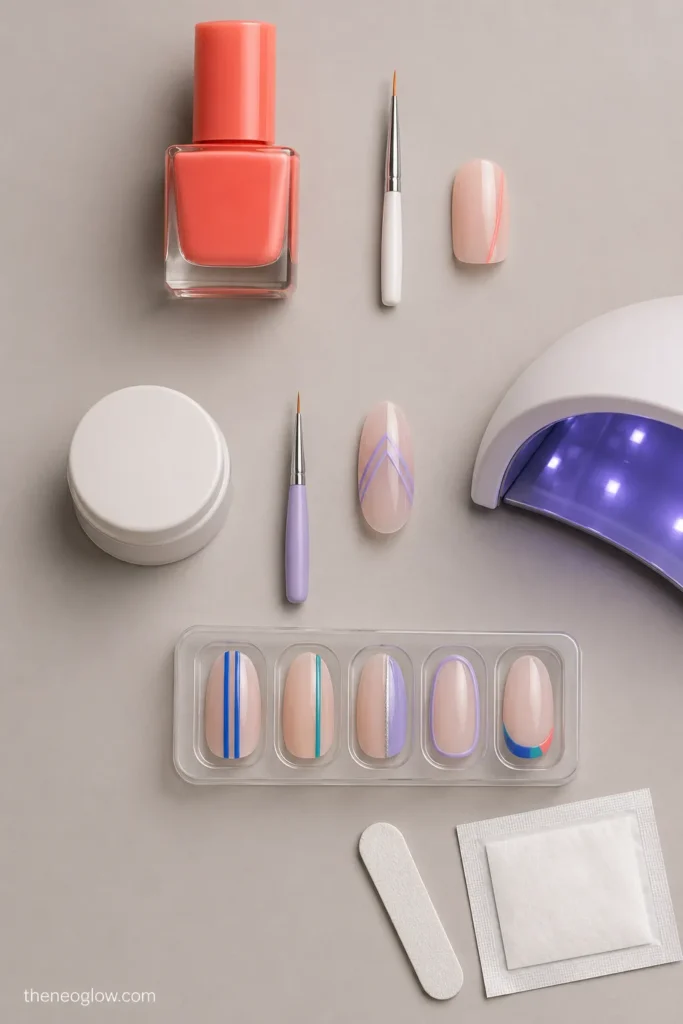
Regular polish is practical for micro stripes, tape sashes, side rails, and simple accent bands. Work in thin layers and allow extra drying time before adding tape or topcoat.
Gel gives a nail technician more time to refine line placement before curing, but the product and lamp instructions should be followed exactly. The American Academy of Dermatology advises against picking gel polish and recommends sun protection for hands before UV-curing manicures.
Press-ons are useful for repeated fine grids, perimeter frames, and identical multicolor bands. Choose tips that cover each natural nail from sidewall to sidewall without pinching or touching skin, and follow the specific set’s application and removal instructions.
Choose the Stripe Structure Before the Palette
The strongest striped summer nails begin with one construction: vertical rail, diagonal sash, floating band, French edge, negative-space channel, open chevron, border, or layered jelly stripe. Once the placement works for your nail length, choose two or three shades with enough contrast to keep the lines readable.
Save the design with the clearest width and spacing reference, then simplify it for your natural nail size. Prefer round motifs instead? The polka dot nails guide uses the same structure-first approach for dot size, density, and placement.