A balayage photo can show a color you love but hide the decision that determines how you will live with it: where the lightened pieces begin. Two people can choose caramel and leave the salon with completely different results—one with a barely changed root and a few warm lengths, the other with brightness framing the face and running across the surface.
Balayage is a customized painting technique, not one particular shade or a promise of maintenance-free color. Use these 21 ideas to compare placement, coverage, contrast, and grow-out before saving your reference. The goal is a useful conversation with your colorist, not an identical copy of a photograph.
What Makes a Balayage Reference Useful?
A colorist paints selected sections to create a blended distribution of light and shadow. The painted result can be brunette, blonde, caramel, copper, or red; some services also use foils or toning to achieve the intended effect. For a fuller technical explanation, Wella Professionals provides a guide to balayage and its application.
Balayage describes a placement method, while ombré describes a more continuous dark-to-light appearance. Likewise, not every highlight service is balayage. If you are still deciding between overall blonde, brunette, red, and other color families, start with NeoGlow’s broader hair color ideas and return here once you want painted dimension.
Before choosing a photograph, decide what should stay close to your existing color: roots, most of the interior, or both. Then notice whether the lightest pieces sit at your face, on the outer surface, around individual curls, or mainly toward the ends.
Brunette and Caramel Balayage With Controlled Brightness
These seven routes keep brown as the dominant color. They differ in the amount of hair painted and which sections reveal the lighter shade.
1. Cocoa Surface Flickers on an Espresso Lob
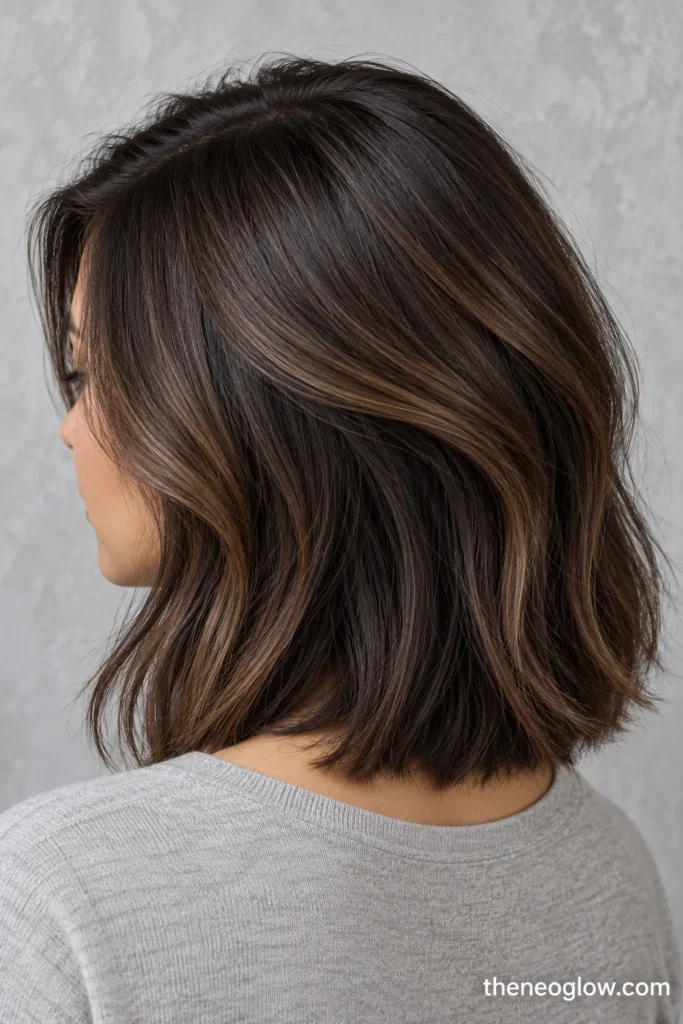
Keep the underlayers and root espresso. Paint a few irregular cocoa-brown strokes across the outer mid-lengths of a collarbone lob, leaving dark gaps between them. This is a quiet, top-visible change rather than an all-over brunette lift.
2. Honey Brown Through Hidden Underlayers’
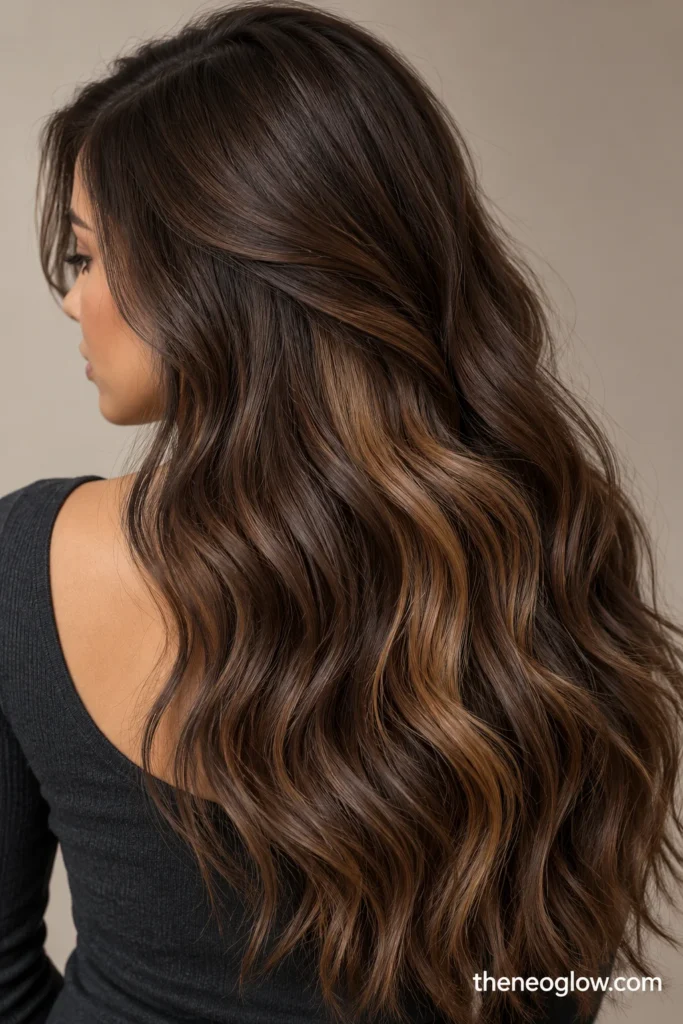
Place warm honey brown beneath the upper brunette canopy on longer waves. The color emerges when hair moves or is worn half-up, while the part line remains mostly natural. Save a reference showing the underlayers, not just the front.
3. Caramel Perimeter Painting on Shoulder-Length Hair
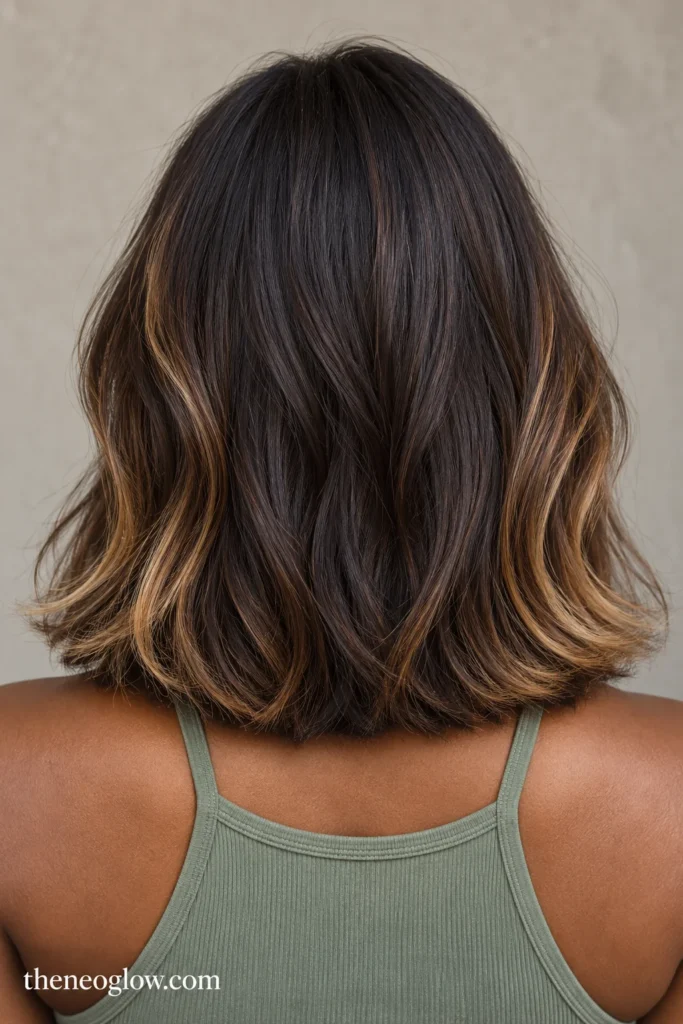
Follow the outside edge of the haircut with slim caramel passages that widen gently near the bottom. Leave the center-back interior darker so this reads as a lit outline rather than uniformly blonde ends.
4. Amber Placement Around Selected Curls
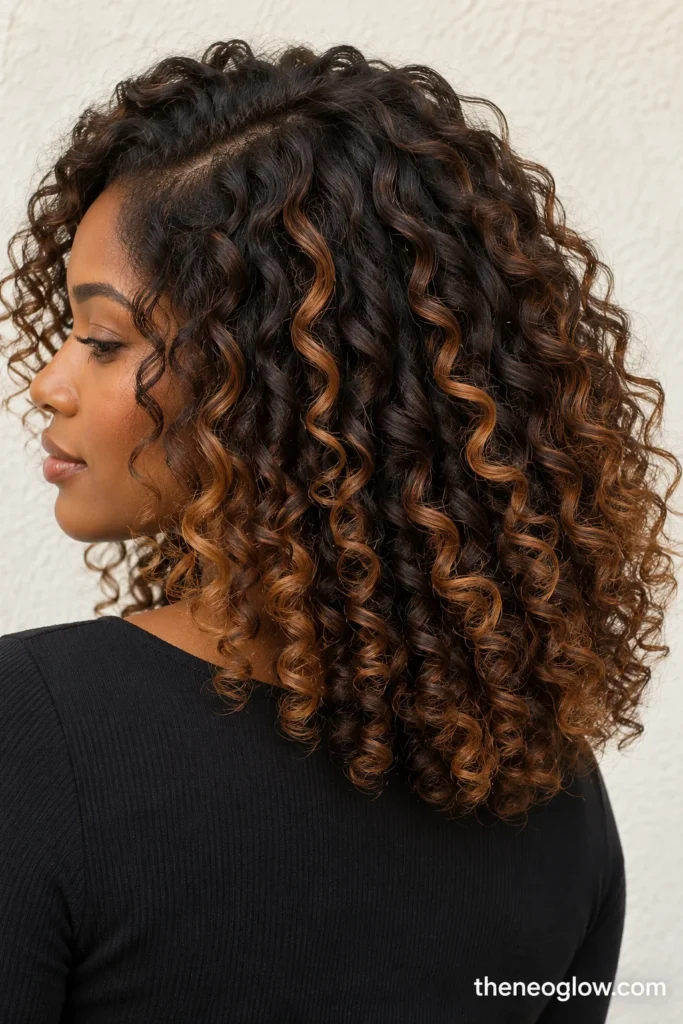
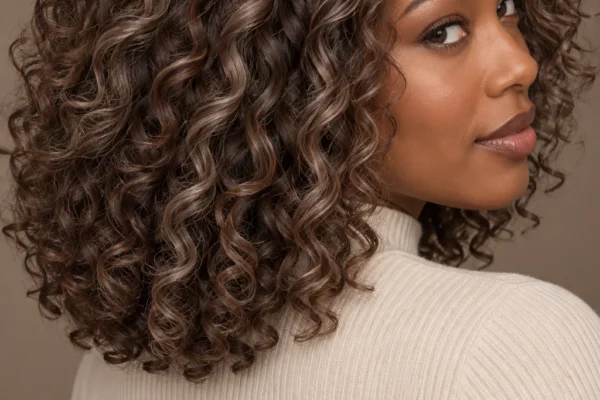
On shoulder-length curls, paint a small number of curl groups from different mid-length starting points into amber-brown tips. Space the accents so dark curls separate them. Review the result in the hair’s usual curly finish, not only blown straight.
5. Bronze Contours on Long Coils
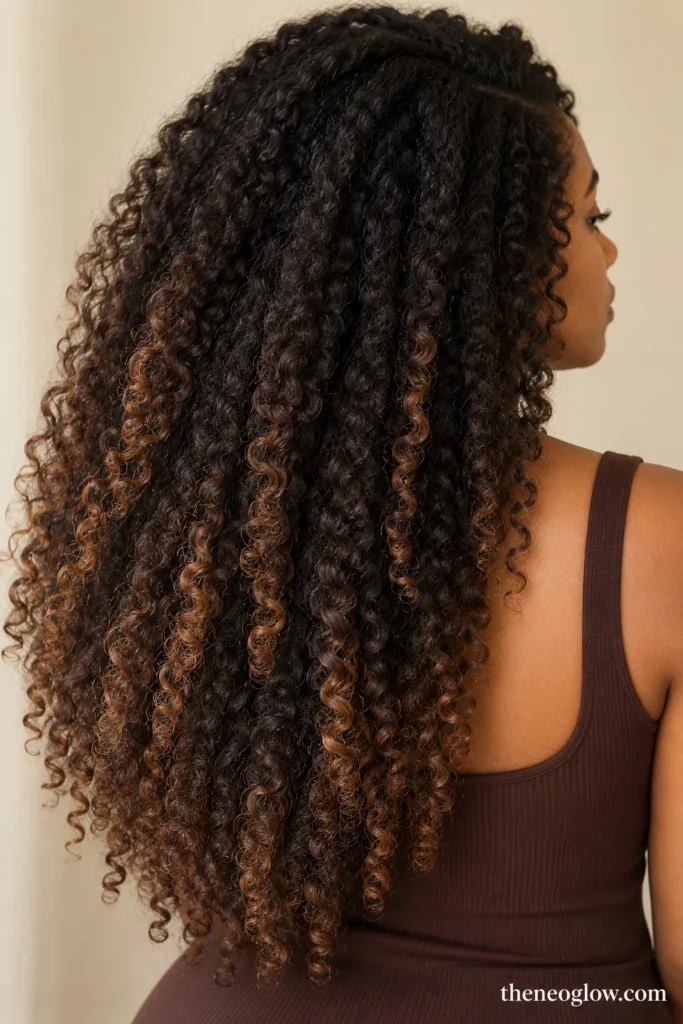
Use a deep-brown base and choose a few visible outer coil groups for broader bronze-brown painting low through their lengths. Keep substantial dark negative space. The number and width of painted sections should be planned with the stylist for your actual coil pattern and hair condition.
6. Cinnamon Sweep on a Side Part
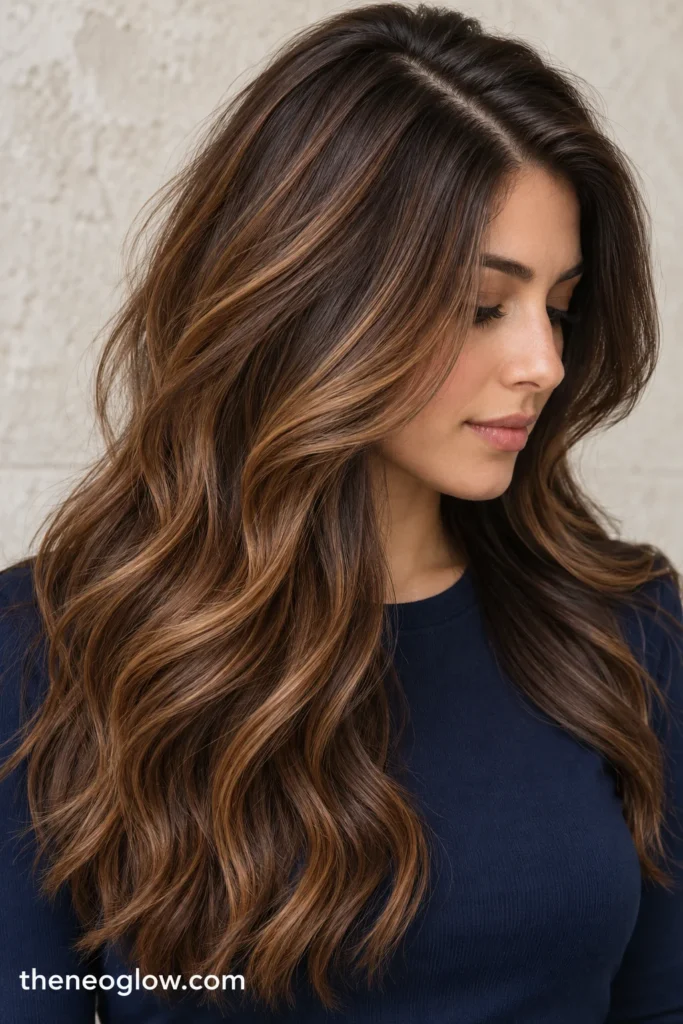
Concentrate cinnamon-brown warmth on the heavier side of a long side-part style, with a few lower echoes on the other side. The asymmetry is deliberate: more noticeable movement from one viewing angle without turning the entire head copper.
7. Maple V-Placement Across the Back
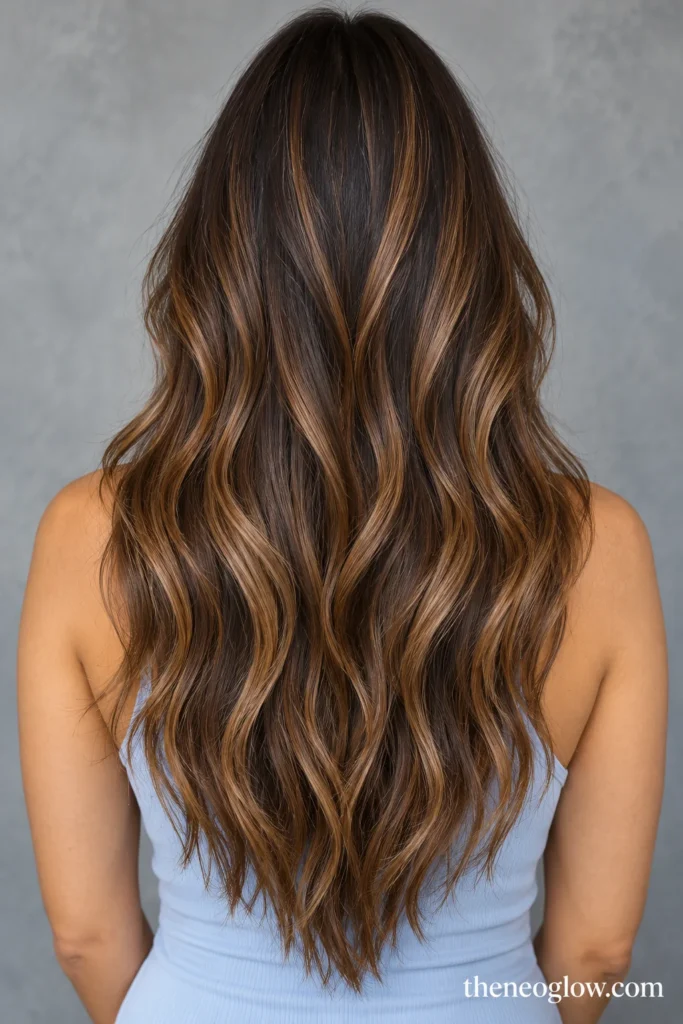
A softly staggered V of maple-brown painted pieces draws the eye toward the back ends of long brunette hair. The V is made of separated ribbons, not one solid light triangle. This is useful when you wear your hair down and prefer a quieter front.
For more brown-only choices, NeoGlow’s 24 brown hair ideas compares undertones and depths; this page focuses on where the painted lightness should sit.
Blonde and Bronde Balayage by Placement
A brighter finish does not automatically require every section to be lightened. Look closely at the root zone and how the blonde is distributed when the hair is both down and tied back.
8. Staggered Beige on a Dark-Blonde Base
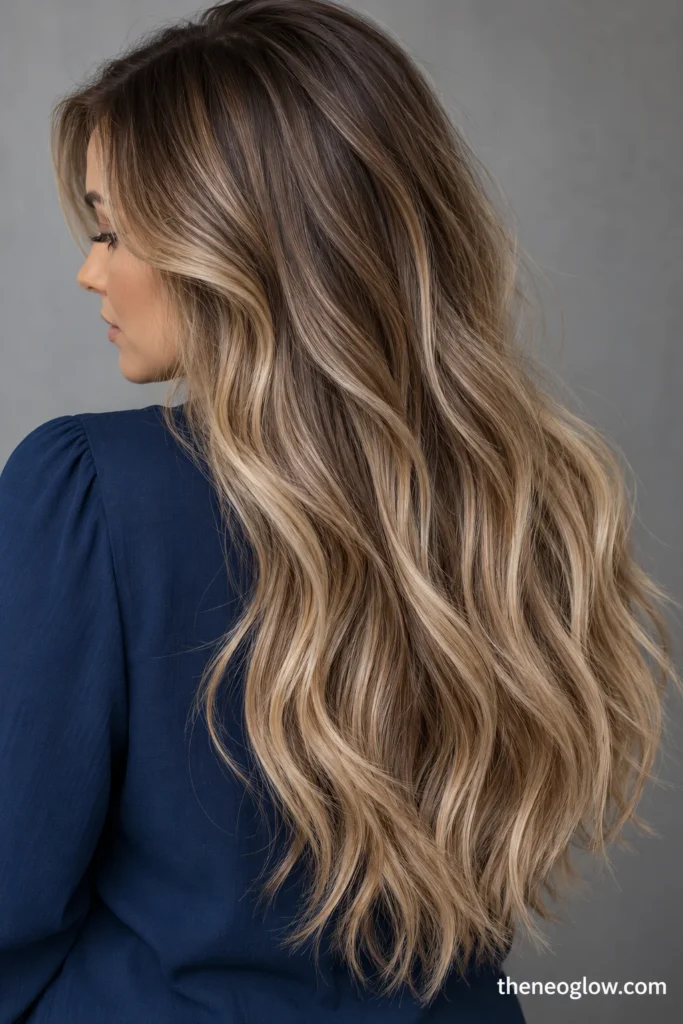
Begin narrow beige strokes at alternating heights through the sides and back of long dark-blonde hair. The broken starting line prevents a single horizontal transition. Keep the root and some interior strands at their original depth.
9. Honey-Blonde Temple Connections
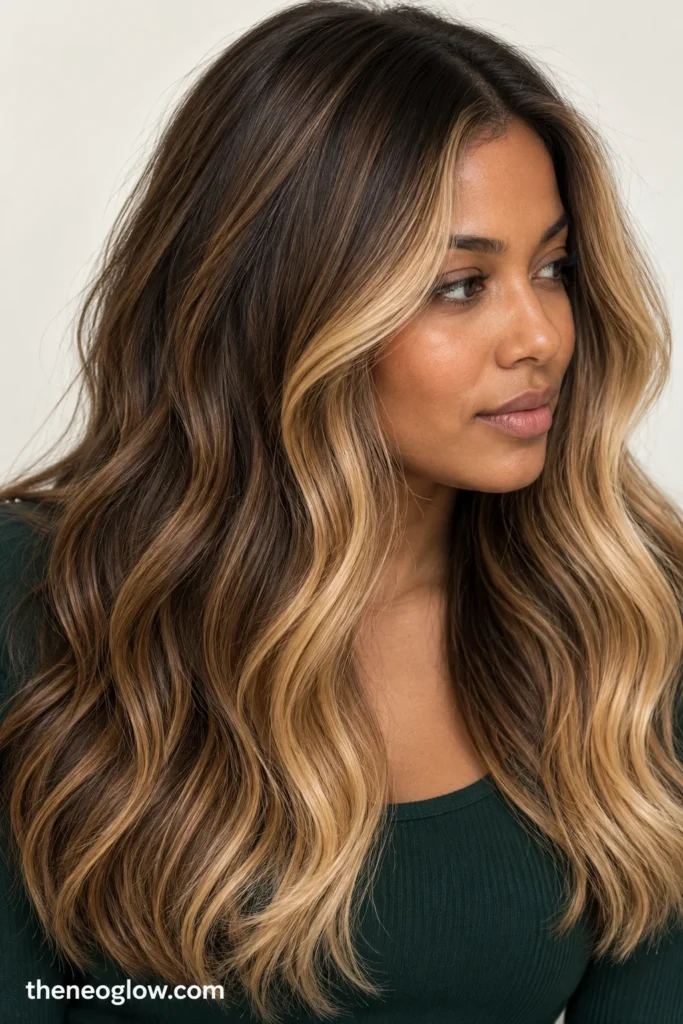
Bring slender honey-blonde pieces near both temples and connect them to brighter front ends, while the rear remains a restrained bronde. This concentrates the visible change around the face without asking for equal lightness throughout.
10. Wheat-Blonde Upper Veil
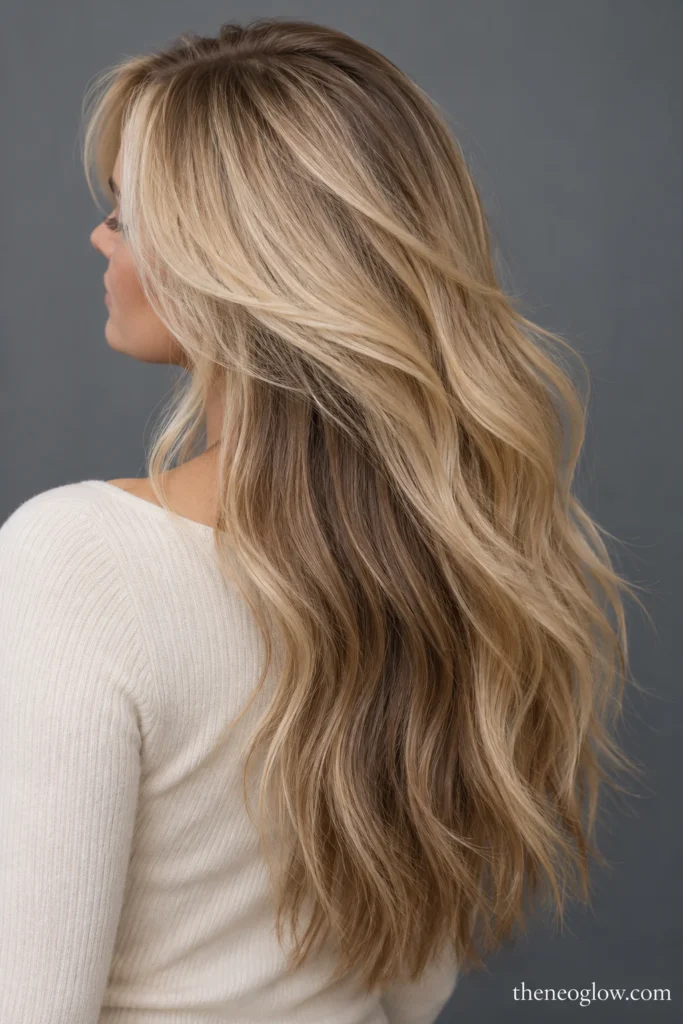
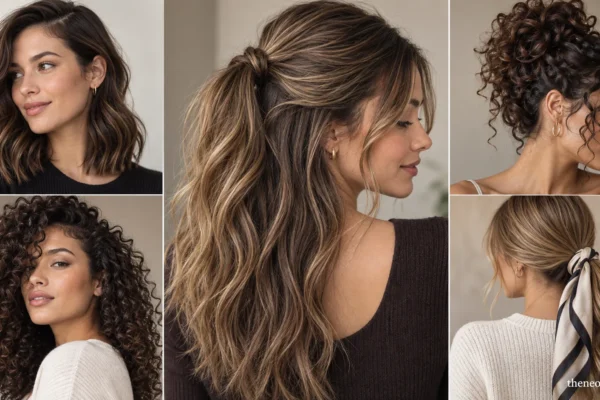
Place muted wheat-blonde paint over the upper surface of long layered hair, with dark-blonde underlayers visible beneath it. The effect becomes more dimensional as layers separate. A ponytail may expose a deeper underside than the down-style reference shows.
11. Champagne Front Panels With a Soft Root
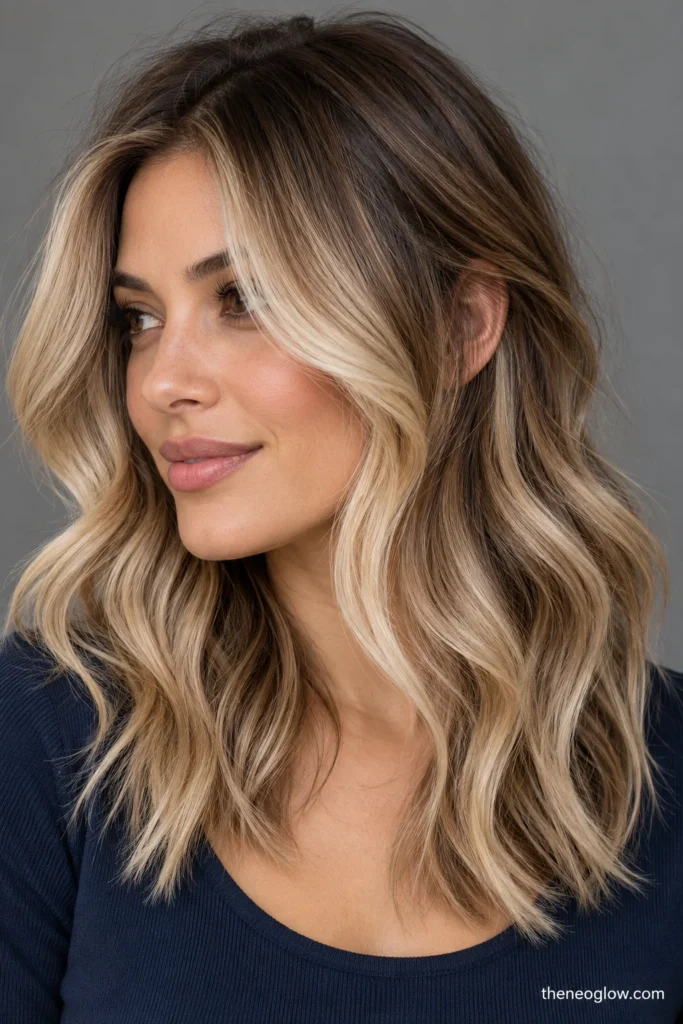
Choose a more noticeable champagne-beige sweep around the front of medium-length hair, starting below a connected deeper root. Use slimmer, lower pieces behind the ears to avoid an abruptly bright front disconnected from the back.
12. Sand-Beige Arcs on a Short Bob
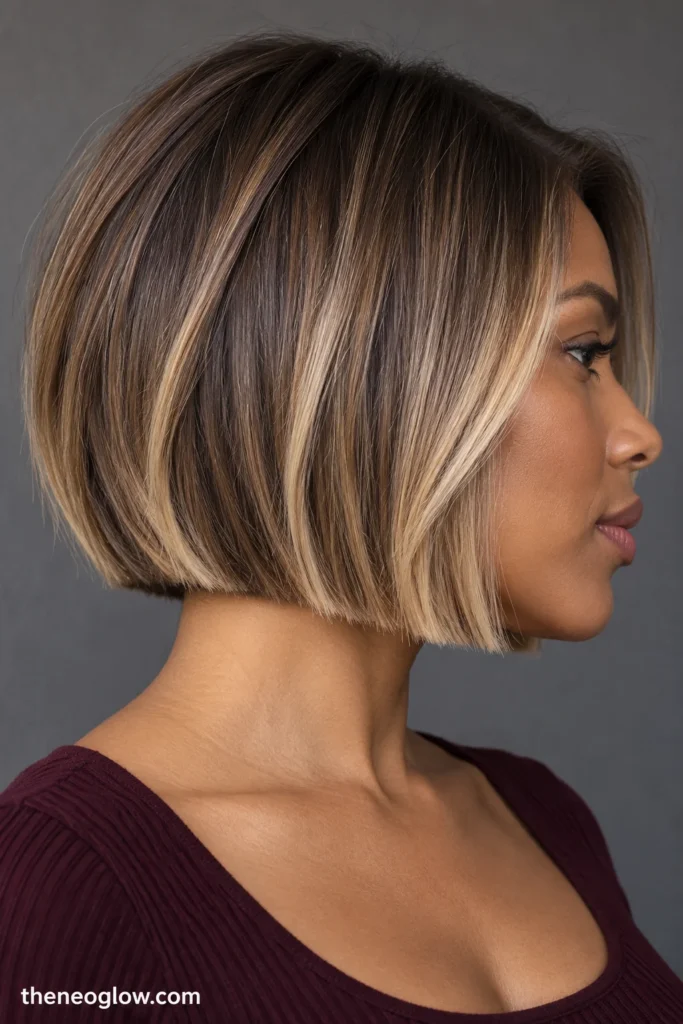
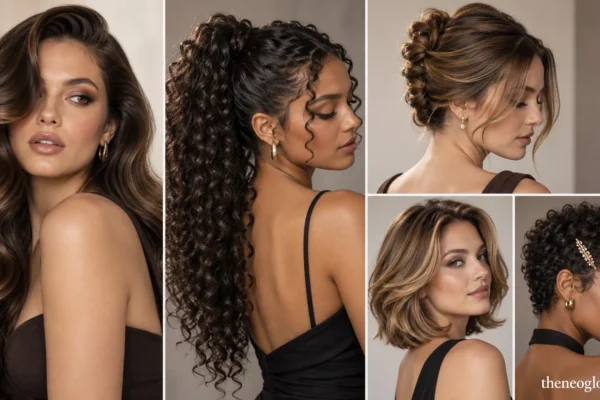
On a chin-length bob, keep the crown deeper and paint short sand-beige arcs along selected side and nape sections. The light sections follow the bob’s shape rather than creating a straight pale stripe along its entire blunt edge.
13. Bronde With Alternating Interior Starts
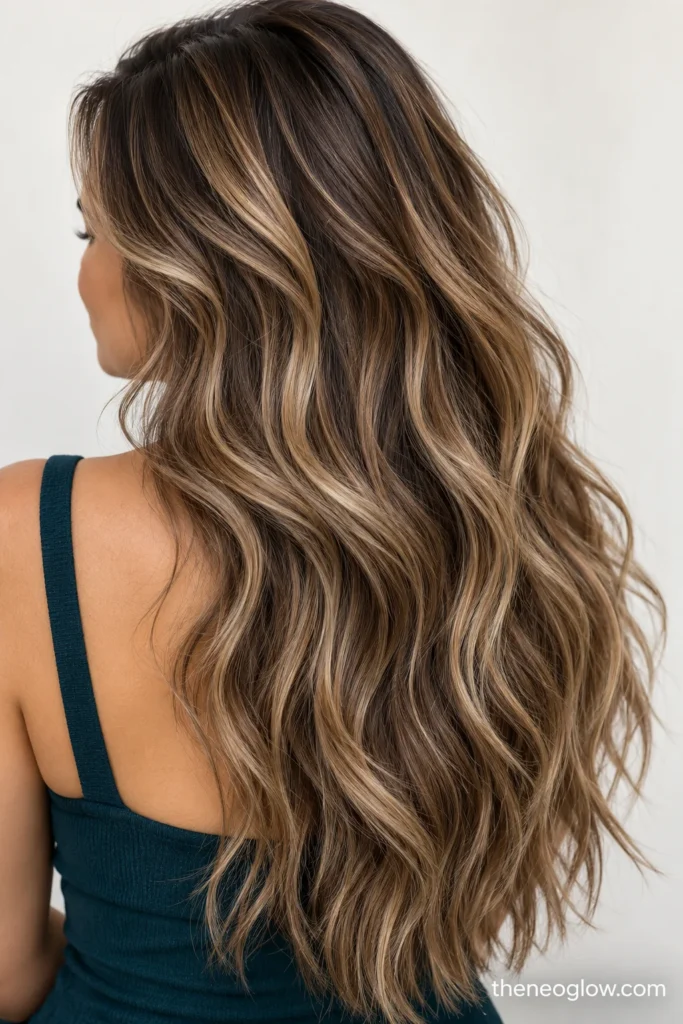
In long, medium-density waves, combine beige-gold sections beginning higher on the surface with lower starts through selected interior pieces. Leave brunette strands between both levels. This creates visible color through a loose braid as well as worn down.
14. Cool Pearl Mostly on the Lower Lengths
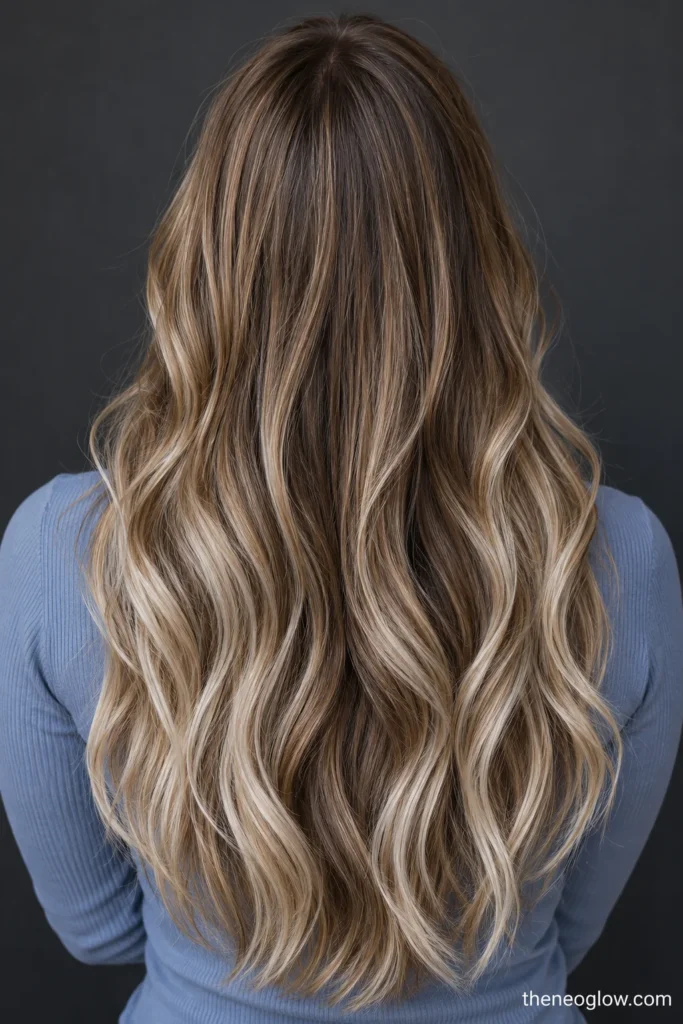
Retain a dark-blonde root, then concentrate cool pearl-beige brightness in isolated lower panels of long hair, with only a few fine connecting strokes above. A cool result may need tonal maintenance even when the root placement still looks softly grown out.
15. Honey-Blonde Ends With Broken-Up Ribbons
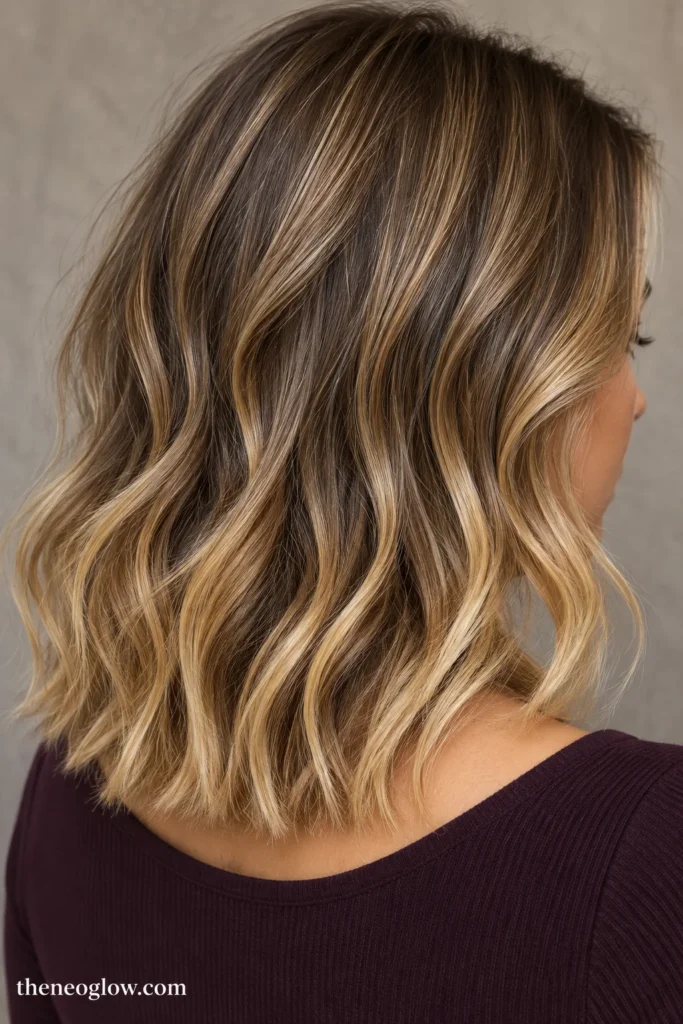
Give shoulder-length waves more honey blonde toward the ends, but interrupt the brighter area with darker strands and a few upward-painted ribbons. Unlike a continuous ombré band, the brightness does not begin at one identical height across the head.
Copper, Auburn, and Red Balayage Ideas
These routes treat red as a color within selected painted sections, not a requirement to dye every root red. Discuss whether you want the red visibly bright in ordinary indoor light or more subtle.
16. Copper Along the Inner Curves of Dark Waves
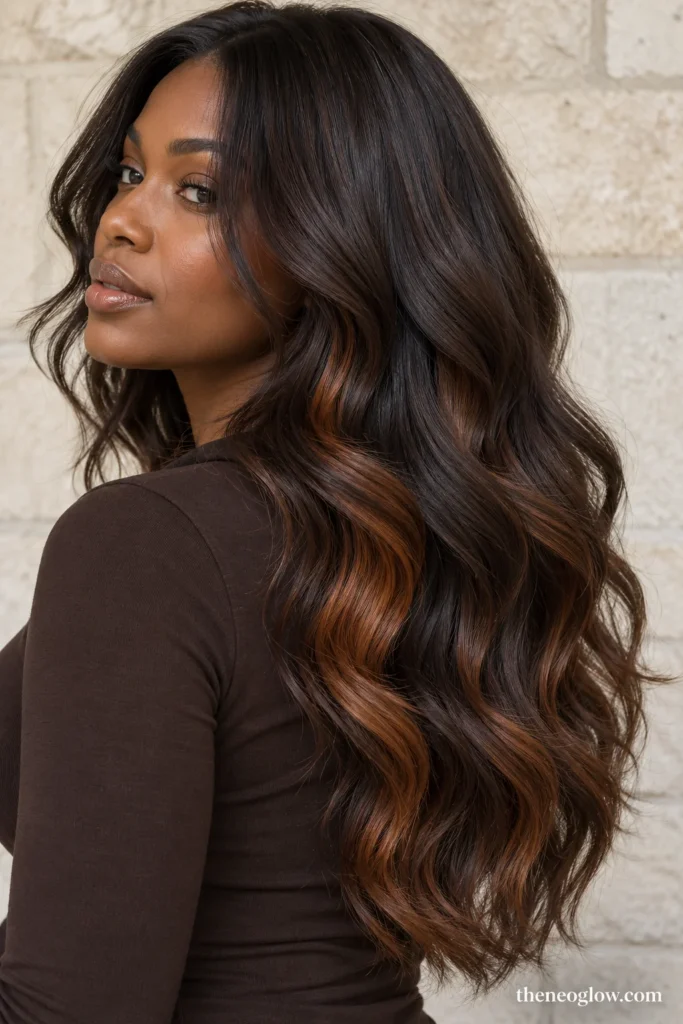
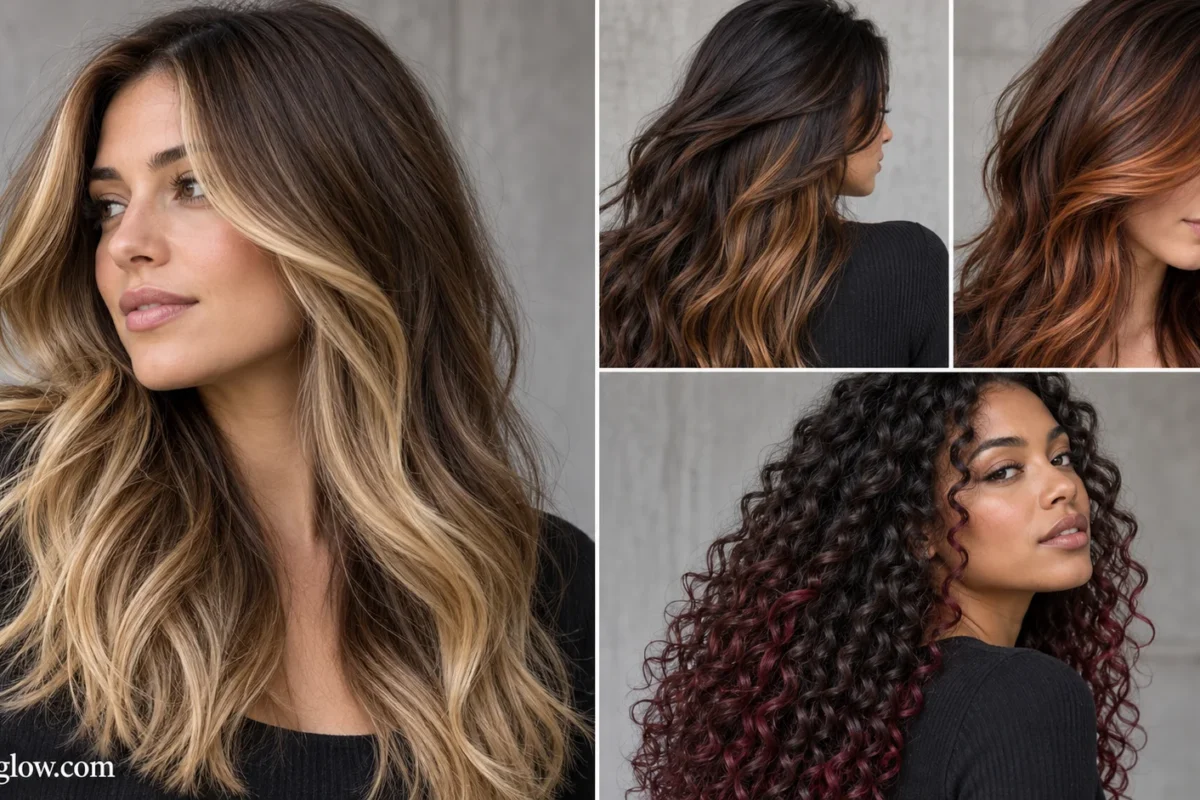
Keep deep brunette on the crown and surface, with copper placed inside several lower wave bends. A three-quarter view shows the copper appearing and disappearing beneath brown lengths rather than covering the entire exterior.
17. Burnished Copper Face Sweep
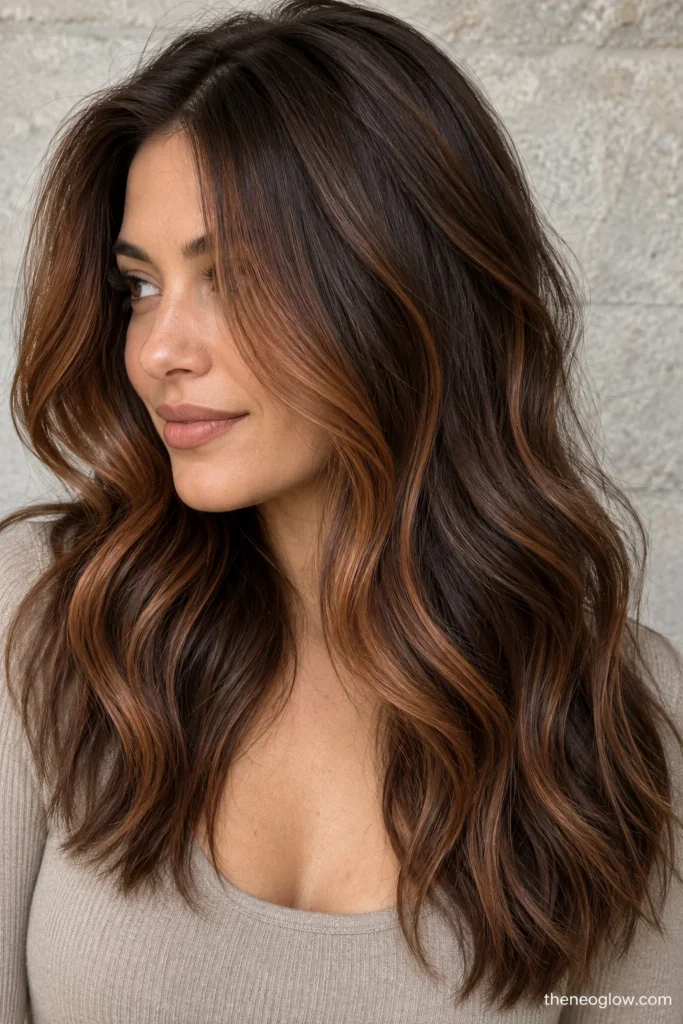
On medium brunette hair, paint two tapered copper sections around the face, then connect them to a few narrower pieces farther back. Keep the root dark and do not request two isolated solid-orange front blocks.
18. One-Sided Auburn From Mid-Length to Tip
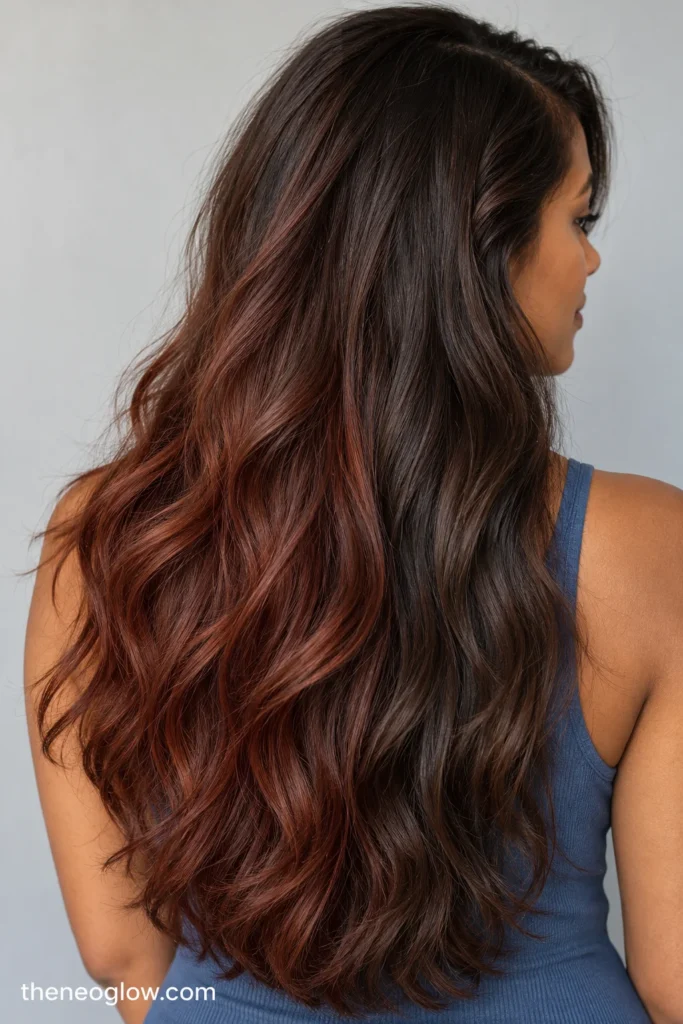
Make auburn most visible through selected outer sections on one side of long brown hair. The other side carries only small supporting accents. This combines a restrained red-brown tone with intentionally asymmetric placement.
19. Rose-Copper Threads on a Light Base
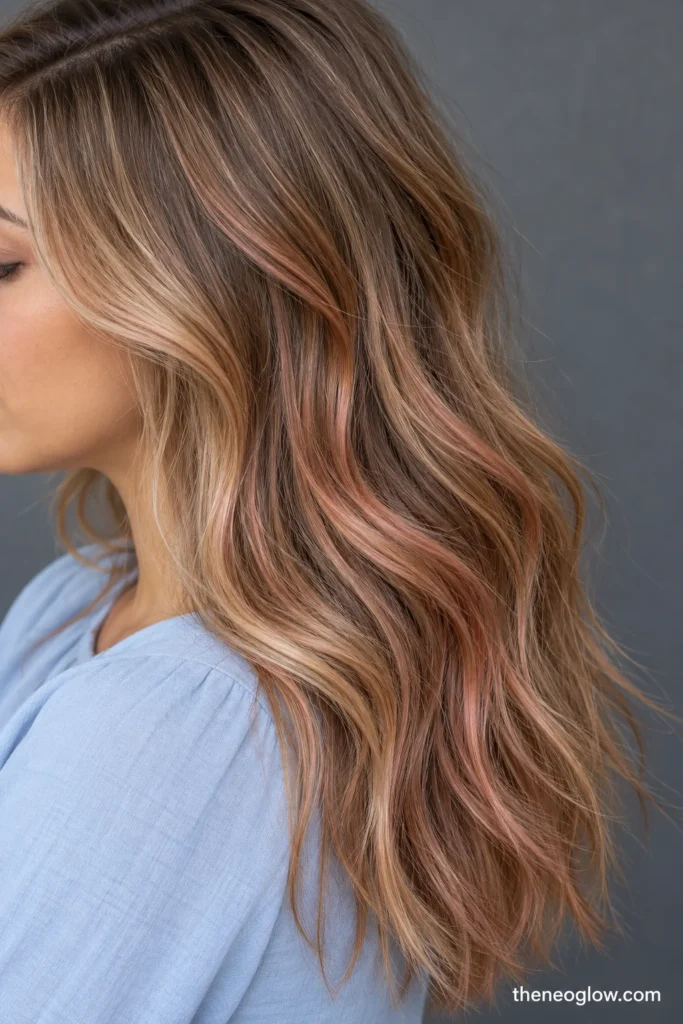
Thread muted rose-copper paint through selected mid-lengths of light brown or dark blonde, finishing in fine, separate ends. Keep the root neutral and enough unchanged hair between the pieces so this does not become an all-over strawberry shade.
20. Cherry-Red Diagonals on Espresso
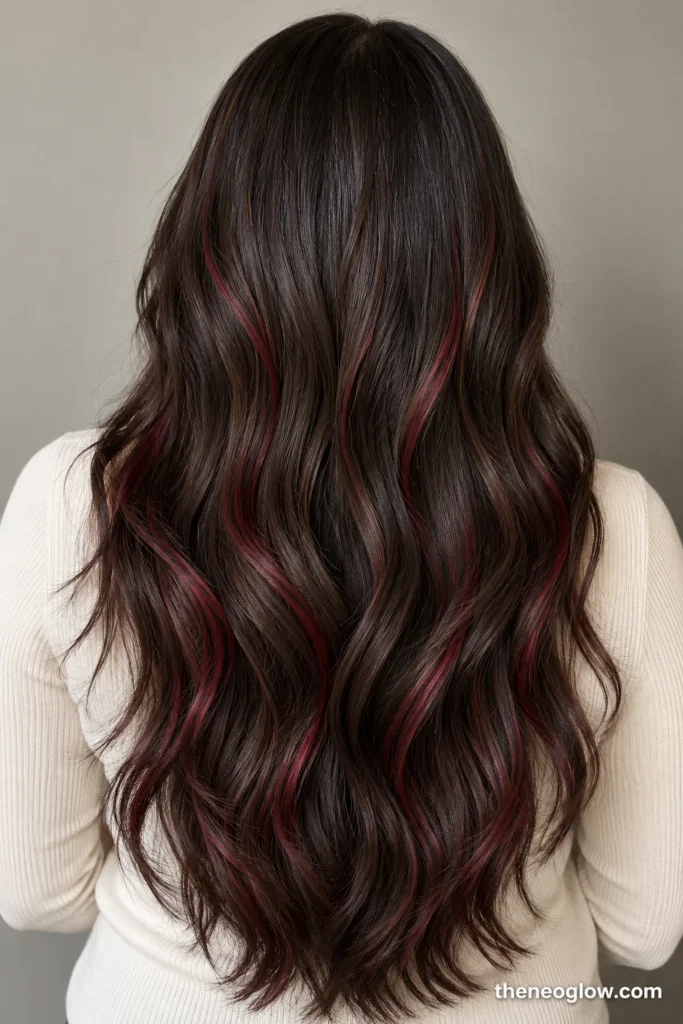
Place narrow cherry-red painted diagonals across the outer lower sections of an espresso-length cut, each beginning at a different height. Preserve an uninterrupted dark crown and dark strands between the red to make the placement legible.
21. Burgundy Accents on Long Defined Coils
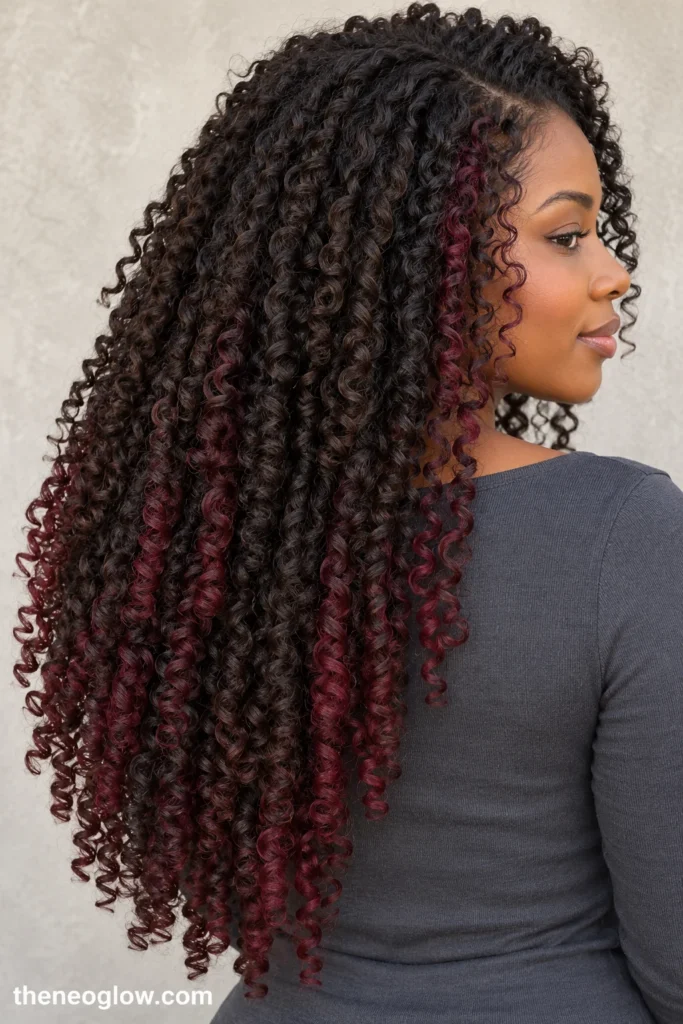
Choose a limited number of outer coil groups for deep burgundy through the lower lengths, plus one small side accent closer to the face. The remaining dark coils provide separation; avoid describing the entire head as uniformly burgundy.
If the palette matters more than the placement, NeoGlow’s fall hair color guide compares copper, brunette, blonde, and burgundy directions as seasonal color choices.
Decide How Much of Your Hair to Paint
| Your priority | Discuss this coverage | Main trade-off |
|---|---|---|
| A small first change | Partial placement at front, surface, or underlayers | Less brightness visible from every angle |
| Dimension all around | Distributed painting through sides and back | More hair may need lightening |
| A bright face but deep roots | Connected face-focused pieces with a lower rear placement | The front tone may become your main upkeep concern |
| A softer grow-out | Lower starts, blended roots, restrained contrast | Less immediately bright color at the crown |
A partial service concentrates color in selected areas; a full service distributes it more widely. The professional explanation of full versus partial balayage can help you compare those appointment requests. Neither label guarantees a particular result or return-visit schedule.
Plan for the Color After the First Appointment
Root blending, toner freshness, and the condition of lightened lengths are separate maintenance decisions. A low starting point may make visible regrowth more forgiving, but blonde or red tones can still shift before you feel the need to repaint the placement. Ask whether your next visit would involve a tonal refresh, selective painting, or a larger color service.
Substantial lightening is not risk-free. The American Academy of Dermatology explains that moving more than three shades lighter usually involves stronger peroxide exposure and more potential damage; its hair-coloring guidance provides additional precautions. Tell your colorist about previous dye, bleach, relaxers, perms, breakage, or scalp concerns before agreeing to a plan. A stylist may recommend a more gradual result or decline a risky service.
For any dye used at home or as part of a salon color process, follow the exact product instructions and relevant allergy precautions. The FDA’s hair-dye safety advice covers patch testing, timing, gloves, and the warning against mixing different products. A strand test for color outcome is not a substitute for a skin-allergy test. If you have a reaction or concerning scalp symptoms, stop and seek appropriate professional advice.
Keep your care plan realistic: condition the lightened lengths, limit unnecessary high-heat passes, follow your tool’s directions, and ask which tone-maintenance products actually suit the color used. No product makes repeated chemical processing or high heat harmless.
Bring a Reference That Explains the Placement
Save one front view and one back or side view with a similar starting depth and texture. Show where the brightest section begins and point to the hair that should remain untouched. If you wear curls or coils naturally, discuss the placement in that finished shape as well as any straightened reference.
A clear request could sound like this: “I want a medium brunette base, a few honey-caramel painted sections on the outer lower lengths, a deep root, and only subtle brightness around my face. I care more about a gentle transition than becoming much lighter overall.”
Choose the one example whose placement you would still enjoy as it grows. That decision will make the reference more useful than collecting several photographs with similar shade names but conflicting coverage.