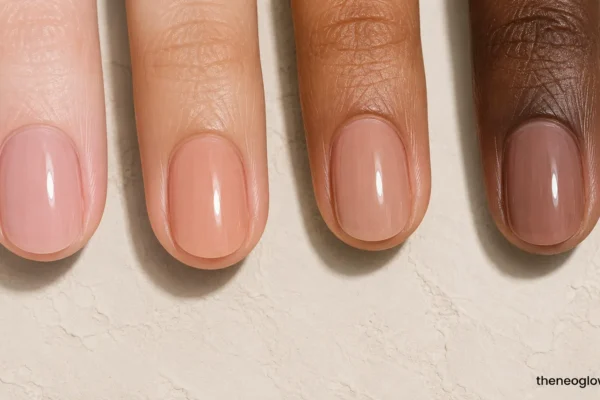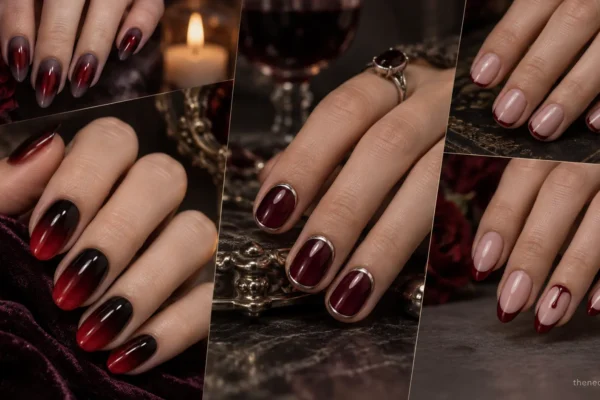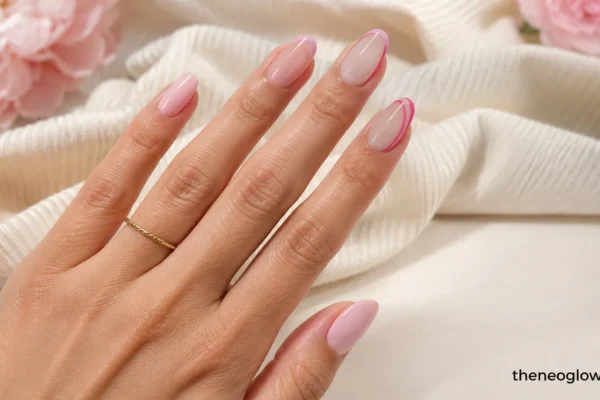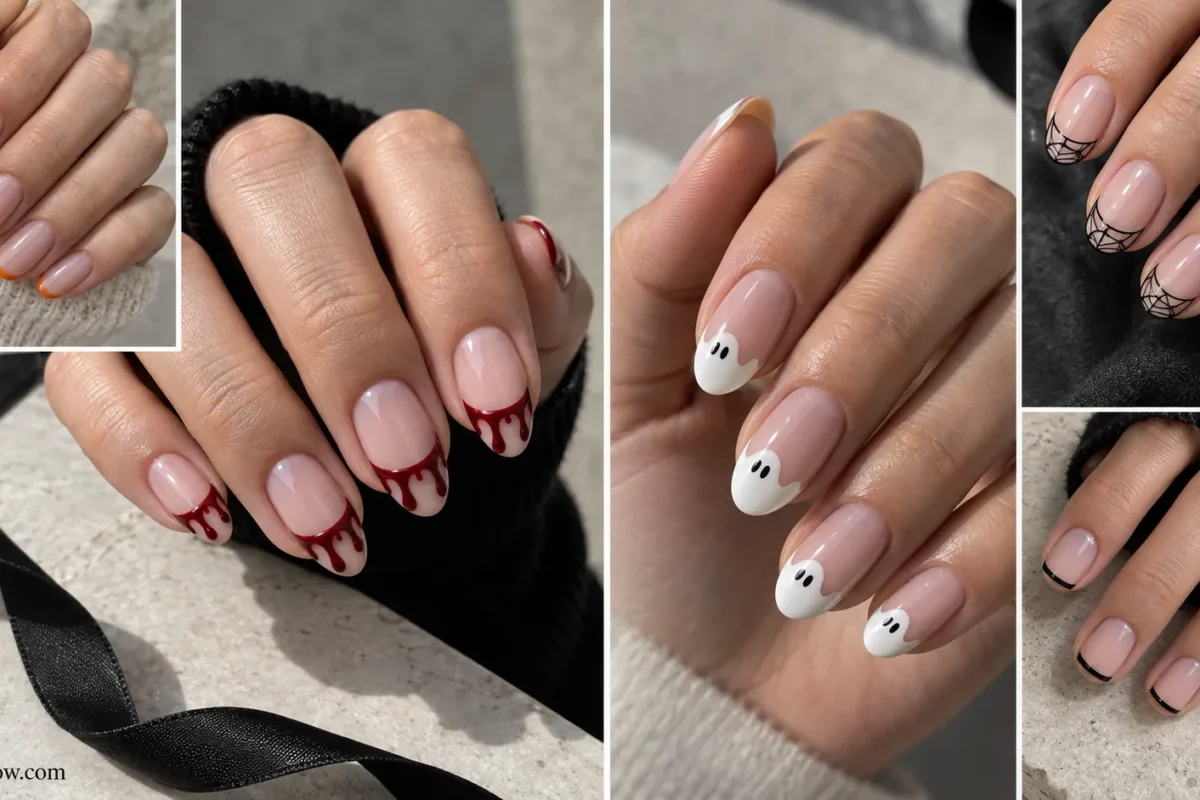
Halloween French tip nails work best when the spooky detail still reads as a French manicure from arm’s length. That means the design keeps a deliberate edge zone, smile line, or French-style boundary instead of scattering Halloween motifs across the whole nail. This guide compares 19 genuinely different constructions, from classic black curves and pumpkin-orange micro tips to ghost edges, web outlines, blood drips, V-tips, short-nail versions, and press-ons. If you want a wider mix of full-nail Halloween looks, see NeoGlow’s Halloween Nails 2026 guide. Here, the decision starts with the tip structure.
Choose Your French Structure Before the Motif
The easiest way to avoid nineteen color swaps is to choose the architecture first. A classic French follows a curved smile line; a micro French compresses that line into a hair-thin edge; a V-tip replaces the curve with a point; a side French places the contrast asymmetrically; an outline French keeps much of the tip transparent; and an inverted French moves the visual boundary toward the cuticle.
For DIY work, Essie’s French manicure tutorial recommends tracing the smile line with a fine detail brush before completing the tip. That same principle is useful for Halloween versions: establish the boundary first, then add the ghost, web, drip, or metallic detail.
| Structure | Best visual effect | What keeps it French |
|---|---|---|
| Classic curve | Clean and recognizable | A continuous tip separated by a smile line |
| Micro tip | Subtle, polished | A very narrow contrast edge |
| V-tip | Graphic and sharp | Two diagonal tip edges meet at a point |
| Side French | Modern and asymmetric | Contrast stays concentrated at the free edge |
| Outline French | Airy and detailed | The smile line and outer edge define a tip zone |
| Inverted French | Experimental | The French boundary is deliberately relocated |
Classic Black and Orange French Tips
1. Jet-Black Classic Curve
Start with a sheer nude, pink, or beige base and paint a medium-width glossy black arc across every free edge. The curve should be clean enough that the set reads as a conventional French manicure before it reads as Halloween. This is the strongest baseline if you want black Halloween French tips without motifs.
2. Pumpkin-Orange Micro French
Use a translucent neutral base and reduce the orange to the thinnest practical line along the free edge. The micro width is the construction choice; pumpkin orange simply seasonalizes it. It works especially well when you want Halloween color without giving up the open, polished look of a minimal French manicure.
3. Split Black-and-Orange Diagonal French
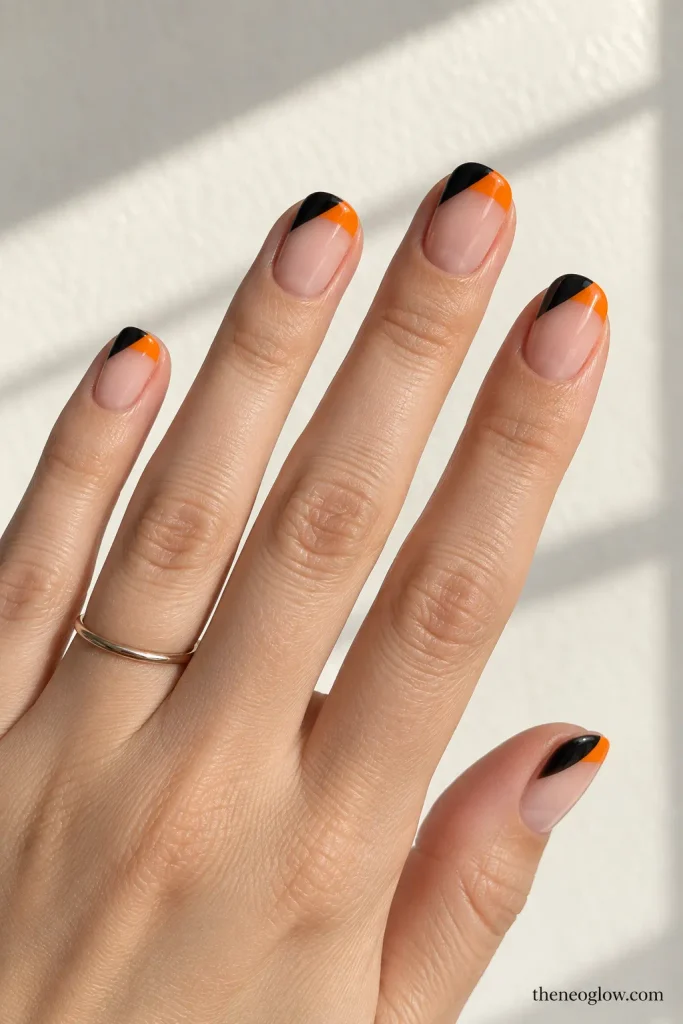
Divide each tip diagonally so black occupies one side and orange the other, but keep both colors inside one clearly bounded French zone. The shared lower edge is what matters. Unlike a two-color full nail, the natural-looking base remains dominant and the contrast stays at the tip.
4. Black V-Tips With an Orange Outline
Replace the rounded smile line with a centered black V, then trace its lower border with a narrow orange line. The tip still begins at both sidewalls and meets toward the center, so the French construction remains obvious. A sharper V feels more graphic; a shallow V is easier to wear on medium-short nails.
5. Pumpkin-Panel French Tips
Paint a curved orange French band, then add two or three fine black ridge lines inside the orange area and one tiny stem near the center edge. Keep every pumpkin cue inside the tip instead of drawing a full pumpkin on the nail plate. The result is a pumpkin French tip rather than a standard accent nail.
Ghost and Web French Tips
6. White Ghost-Scallop French
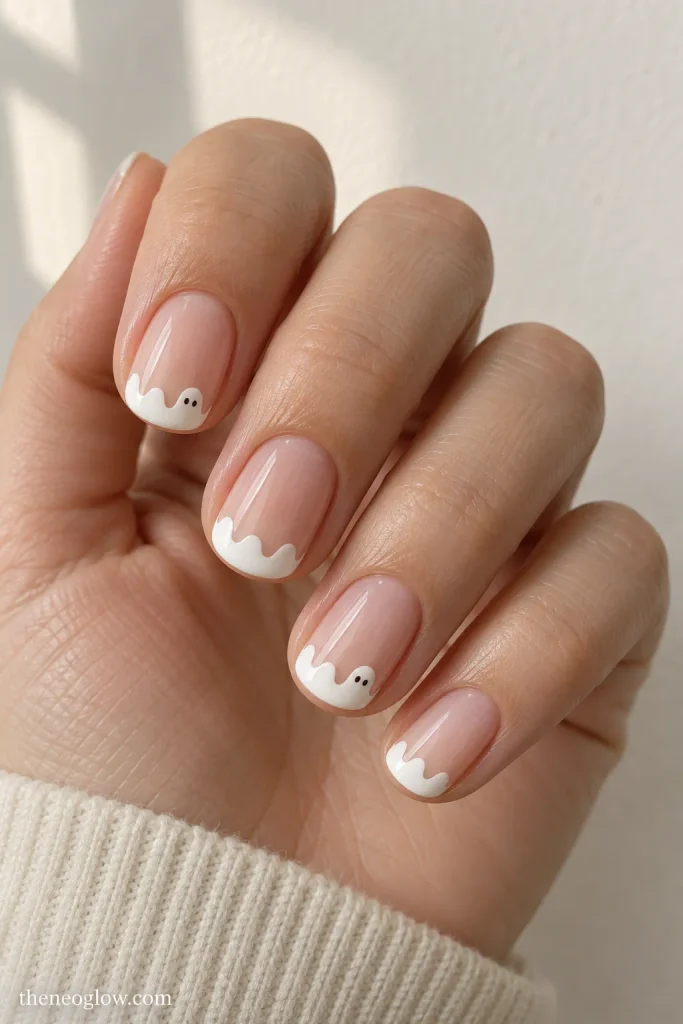
Turn the lower edge of a white French tip into soft rounded dips, then add two tiny dark eyes inside selected sections. The white band stays continuous across the free edge, so the “ghost sheet” doubles as the French tip. Keep the faces sparse to prevent the scalloped silhouette from becoming visually busy.
7. Side-Peek Ghost Half-French
Place opaque white only on the outer half of the free edge and let one small ghost shape dip slightly below the usual smile line. Leave the inner half sheer. This is a side-French construction first, with the ghost acting as the exaggerated end of the tip rather than a separate motif floating in the center.
8. Black Corner-Web French
Build a slim black French wedge from one corner of the free edge, then draw fine orange web arcs inside that wedge. The contrast remains confined to the tip corner, which separates it from a conventional spiderweb accent nail. It is a useful option when you want a web French tip with more negative space.
9. Sheer Spiderweb Outline French
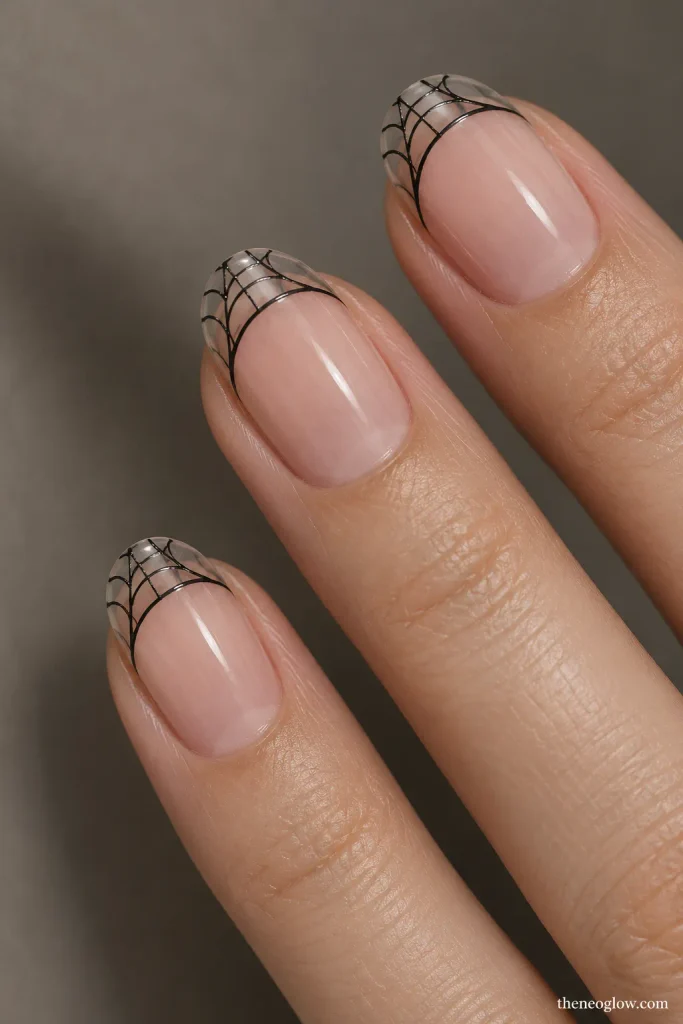
Keep the free edge mostly transparent. Draw a black smile line, connect it to the outer edge with a few fine spokes, then add two restrained curved web lines. Because the lines outline the tip instead of filling the whole nail, the finished design still has a visible French boundary.
Blood and Vampire-Inspired French Tips
10. Oxblood Drip French
Paint a narrow oxblood band across the free edge, then pull a few rounded drips downward from its lower boundary. The continuous band is important: it gives the drips a clear French “source” instead of making them look like random blood art. Keep the drips uneven but limited so the sheer base remains visible.
11. Fang-Point French
Create a glossy black tip, but shape the lower edge into two symmetrical downward points rather than a smooth smile line. A tiny oxblood accent can sit between the points if you want stronger vampire energy. This differs from a drip tip because the points are controlled, mirrored, and part of one continuous French edge.
12. Black-to-Oxblood Side-Gradient French
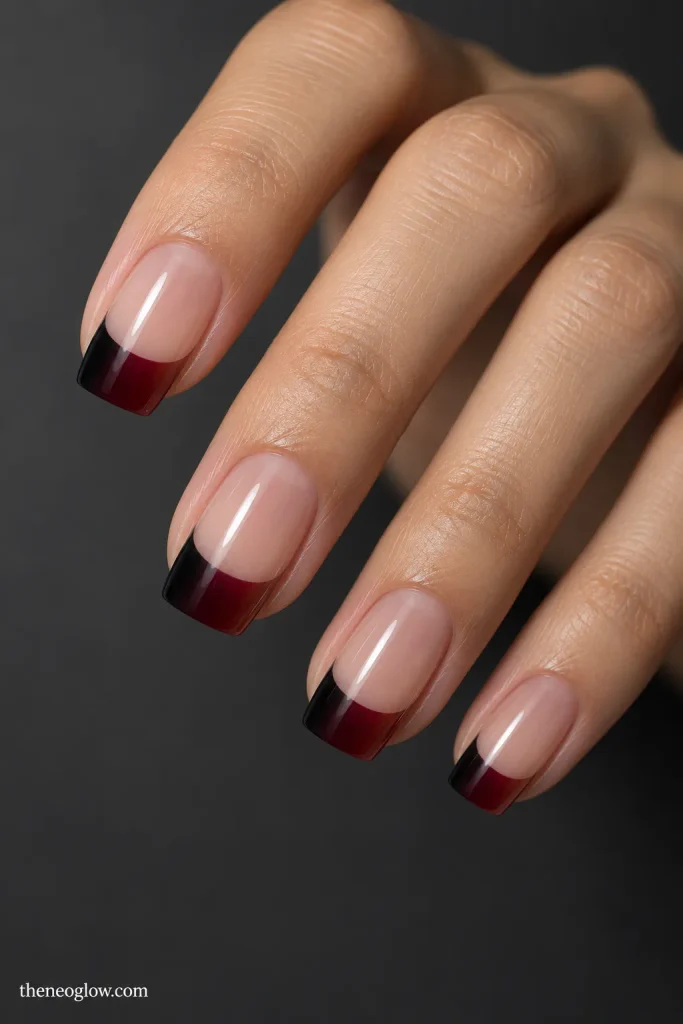
Define a medium-width French band first, then blend black at the outer corner into oxblood toward the center while keeping the color inside that band. Do not fade the pigment down the nail plate. The bounded tip zone is what preserves the French structure while the lateral gradient creates the darker effect.
Classy Micro, Side, and Inverted Tips
For broader elegant Halloween styling beyond tip construction, NeoGlow’s classy Halloween nails guide covers restrained motifs, smoky finishes, and other polished directions. The next three ideas stay narrower: each changes the French boundary itself.
13. Hairline Black Micro French With One Gold Crescent
Use an ultra-thin black line on every free edge, then add one miniature muted-gold crescent near a sidewall on a single nail. The crescent is only an accent; the manicure is defined by the hairline French. This is a strong choice when you want a polished Halloween manicure that still looks unmistakably tip-led.
14. Charcoal Side-Sweep French
Begin the charcoal tip at one sidewall, broaden it across one corner, then taper it away before reaching the opposite side. That changing width creates a side-sweep French rather than a standard curve. A satin or soft-gloss finish can make the asymmetry easier to see without introducing another motif.
15. Inverted Black Cuff With a Free-Edge Echo
Place a slim black curve near the cuticle, then repeat it as a hairline black edge at the tip. A pure inverted French moves the contrast to the base; the matching free-edge echo makes this Halloween version easier to read as deliberate French construction. Keep both lines narrow so the sheer center remains the dominant field.
Short Halloween French Nails
16. Straight Black Micro Tips on Short Squovals
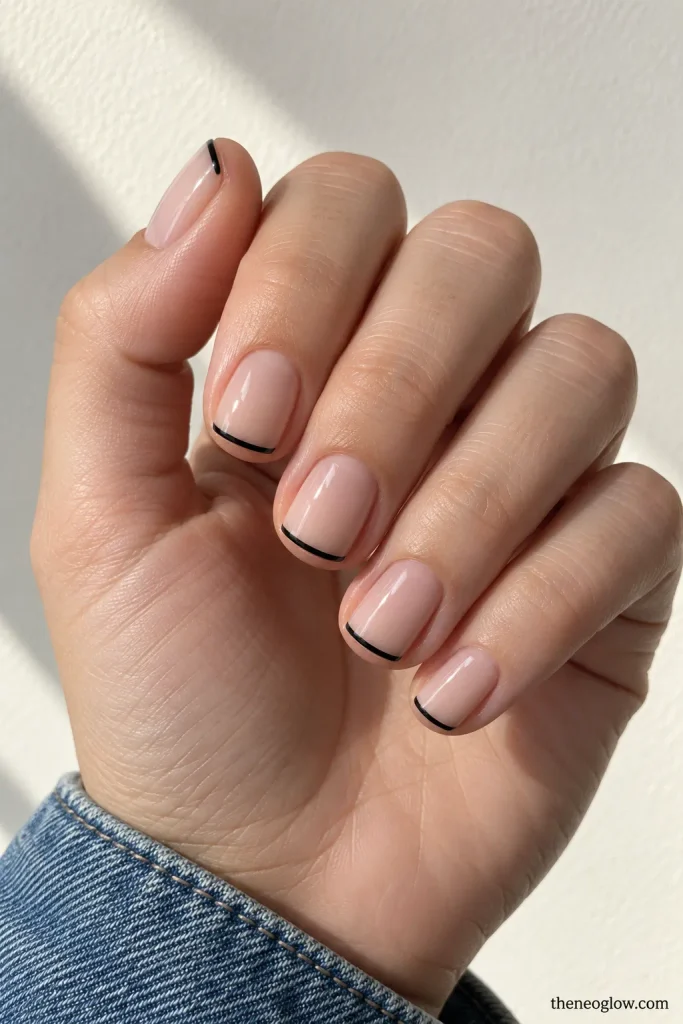
On genuinely short squoval nails, follow the flatter natural edge instead of forcing a deep semicircular smile line. Paint a very thin black strip that runs sidewall to sidewall. The short length changes the geometry, not the concept: the dark contrast still occupies the free edge and leaves most of the nail sheer.
17. Orange Dotted French Chain on Short Rounds
Use tiny pumpkin-orange dots to trace a shallow curve along the free edge of short round nails. Keep the dots close enough that they read as one broken French line rather than scattered polka dots. This construction is useful when a solid band would visually shorten an already small nail plate.
Halloween French Press-On Nails
18. Preprinted Burgundy V-French Press-Ons
Choose a sheer-base press-on with a burgundy V printed into the tip rather than a full-cover design. Before applying adhesive, dry-fit the set so each tip covers the natural nail sidewall to sidewall without pinching or overlapping skin. NeoGlow’s press-on nail sizing guide explains the fit checks in more detail. Good sizing also helps the printed V sit centered instead of appearing shifted.
19. Black Bat-Wing French Press-Ons
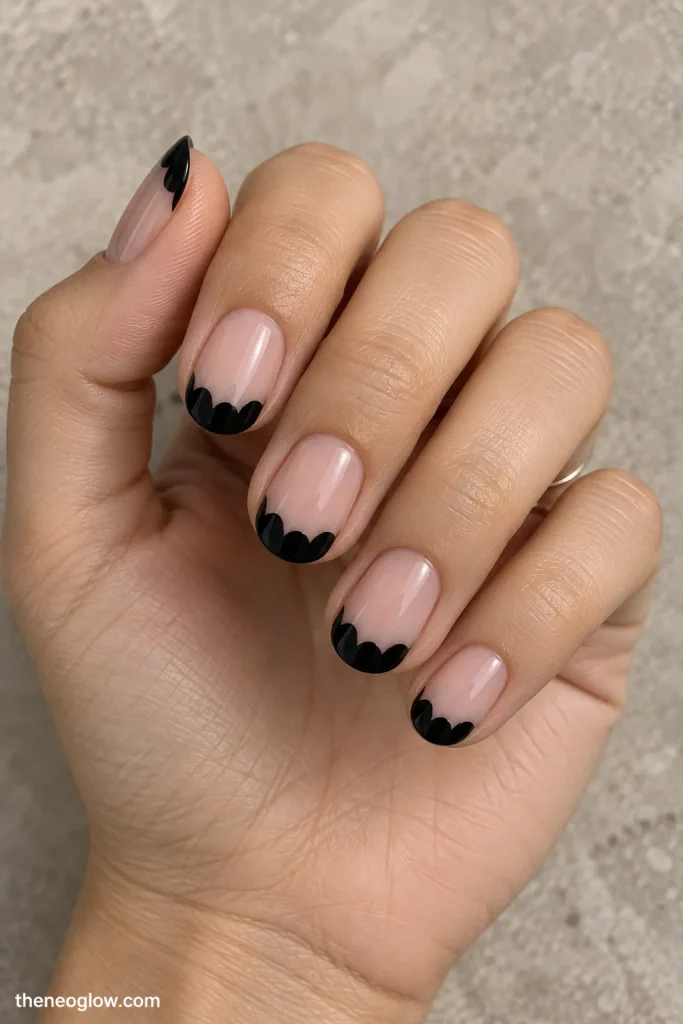
Look for a press-on where the black free edge forms two or three shallow bat-wing points while the lower nail remains sheer. The wing silhouette replaces the ordinary smile line, so the motif and the French structure are the same element. If you use a specific press-on system, follow that manufacturer’s application directions; Glamnetic’s official press-on application guide is one example for its own sets.
How to Request or Recreate the French Structure
At a salon, lead with the construction before the Halloween motif. Instead of saying “black spooky tips,” try: “I want a sheer neutral base with a medium black V-French, centered point, and a very thin orange outline under the V.” That gives the nail artist the boundary, width, color order, and accent placement.
For DIY polish, work in the same sequence. Apply the base, map the smile line or point, correct the boundary while it is still manageable, fill the tip, and add the small motif last. A detail brush is especially helpful for micro lines, V-points, and web outlines.
If you use polish, gel, glue, or another nail product, follow the labeled directions for that exact product rather than borrowing cure, drying, or adhesive steps from a different system. The FDA’s nail-product safety guidance explains why product directions and warnings matter and also notes that some nail products can cause reactions in some users.
Choose the Edge First
The best Halloween French manicure is the one whose structure fits your nail length and the amount of drama you actually want. Choose a classic curve for instant recognition, a micro tip for restraint, a V or side French for sharper geometry, a ghost or web edge for motif-led detail, or a drip band for the darkest look. Once you choose the edge architecture, save the exact idea and its wording for your salon appointment or DIY plan.