Sea glass nails are for anyone who wants ocean color without an opaque teal manicure or literal beach art. The defining features are translucency, controlled blue-green layering, and a glossy or softly frosted surface that still lets light move through the color. This guide separates jelly, milky, and frosted finishes, then gives you 17 distinct ways to adjust depth, opacity, shape, and top effect.
A Pinterest export supplied for this article showed “seaglass nails” up 300% monthly and 80% yearly. Treat those percentages as relative discovery signals rather than search volume. For broader vacation designs, including tropical color and coastal motifs, use the beach nails guide instead.
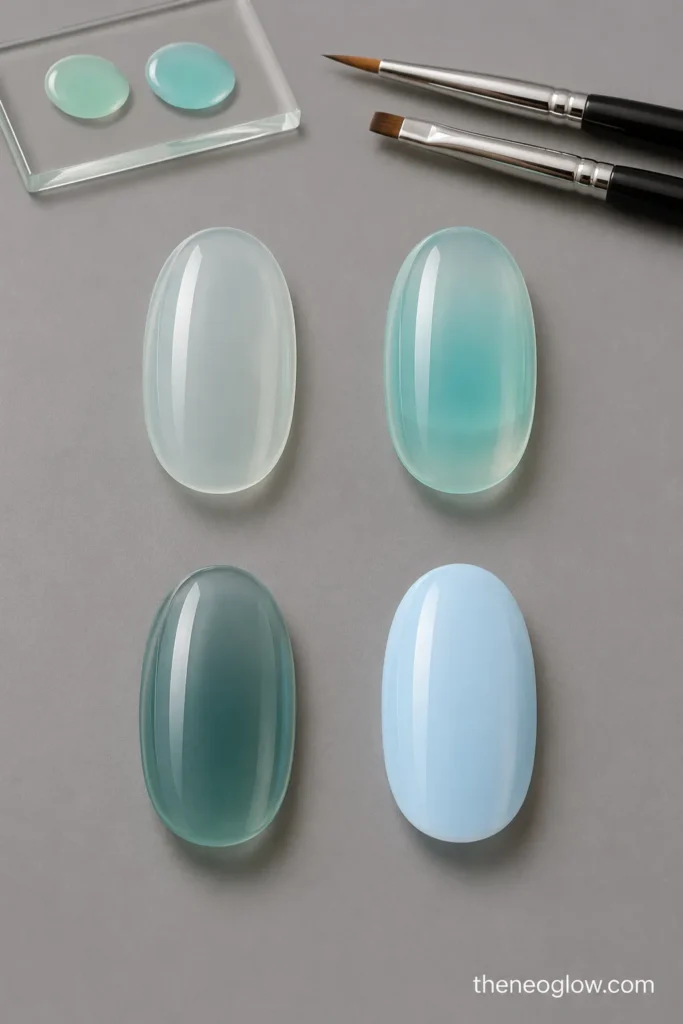
Jelly, Milky, or Frosted: Choose the Finish First
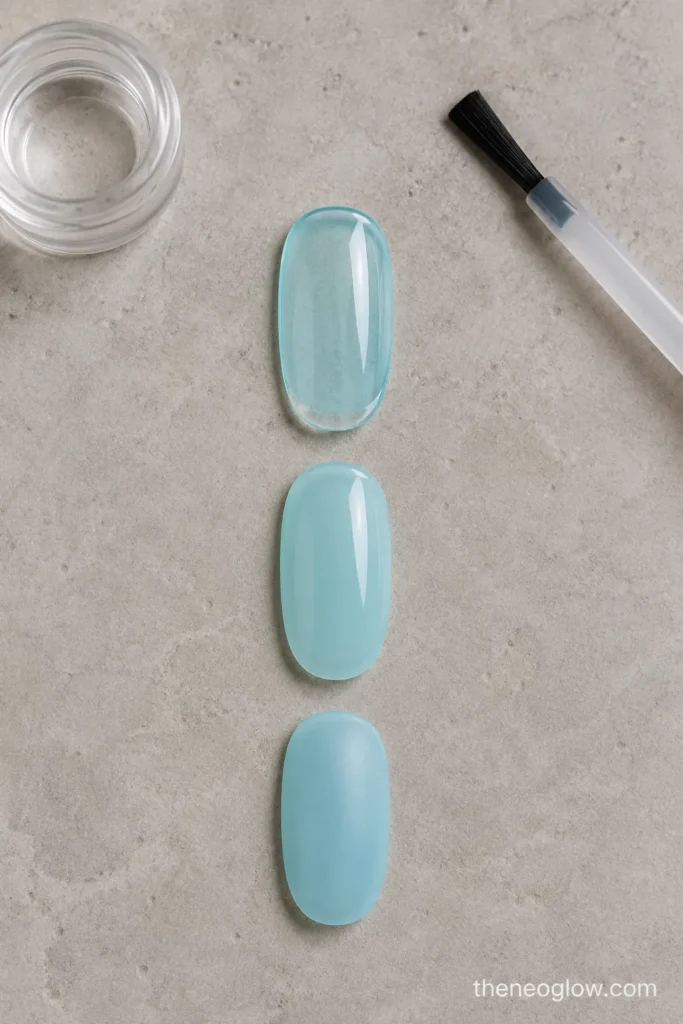
| Finish | What You See | Best Use | Main Risk |
| Jelly | Clear, buildable color with the natural nail line still visible | Maximum glass depth and layered color | Too many coats can become dark or uneven |
| Milky jelly | Translucent color softened with a small amount of cloudy white or nude | A gentler everyday version and smoother-looking coverage | Too much white turns the look into pastel cream |
| Frosted | Jelly or milky color finished with a matte or satin top effect | The closest match to weathered beach glass | A thick or patchy topcoat can flatten the color |
Official finish descriptions support this distinction: essie describes glass color as buildable and translucent, while its jelly-gloss finish adds a touch more opacity for a milky glaze. The brand recommends starting with two thin coats and adding a third only when more opacity is wanted.
A frosted finish is a surface choice, not a separate color family. A matte topcoat can turn a glossy shade into a frosted-glass texture, while leaving the same color glossy creates a wetter, polished-glass effect.
How to Build Ocean Depth Without Muddy Color
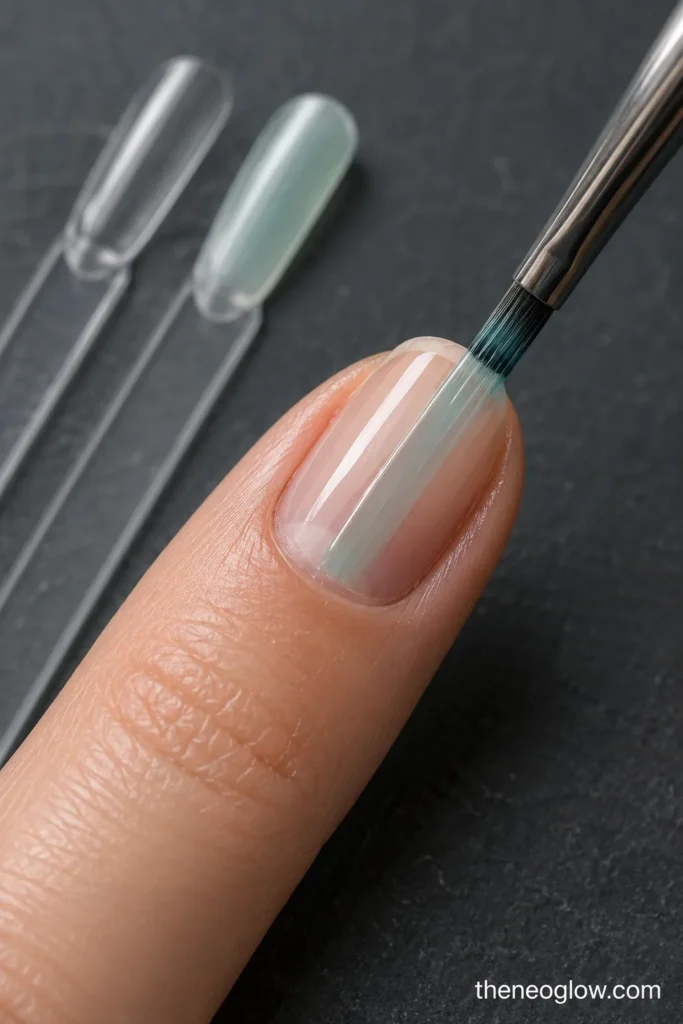
Start with a clear, sheer nude, or very pale milky base. Add one thin aqua, seafoam, or blue-green tint and evaluate it before adding another layer. For more depth, place a second transparent shade from the same temperature family over it—for example, pale aqua over seafoam rather than deep navy over yellow-green.
Keep every coat thin. Sally Hansen’s milky-color tutorial notes that adding more clear product makes a custom tint sheerer and recommends two thin coats; this is a useful regular-polish principle when you want softness without chalkiness. For gel, use only the lamp, cure time, and sequence specified for your system. OPI’s application guidance calls for thin coats and curing each layer before the next.
Clear and Glossy Sea Glass Nail Ideas
1. Clear Aqua Glass Short Ovals
Use one or two thin coats of pale aqua jelly over short oval nails, leaving the natural nail line faintly visible. A high-gloss topcoat makes the color resemble clear glass recently lifted from water. This is the simplest route for regular polish and suits readers who want visible ocean color without a frosted surface.
2. Seafoam Jelly Squovals
Choose a green-leaning seafoam jelly on short squoval nails and stop before it becomes mint cream. The straight sidewalls make the translucent color look clean and practical, while the rounded corners keep it soft. Two balanced coats usually create more dimension than one thick application.
3. Layered Aqua-to-Seafoam Gradient
Place pale aqua near the cuticle and transparent seafoam toward the tip, blending the overlap while both layers remain controlled. Medium oval nails give the transition space, but a shorter two-zone version also works. Keep both shades sheer so the overlap creates depth rather than an opaque third color.
4. Tonal Blue-Green Glass Skittle
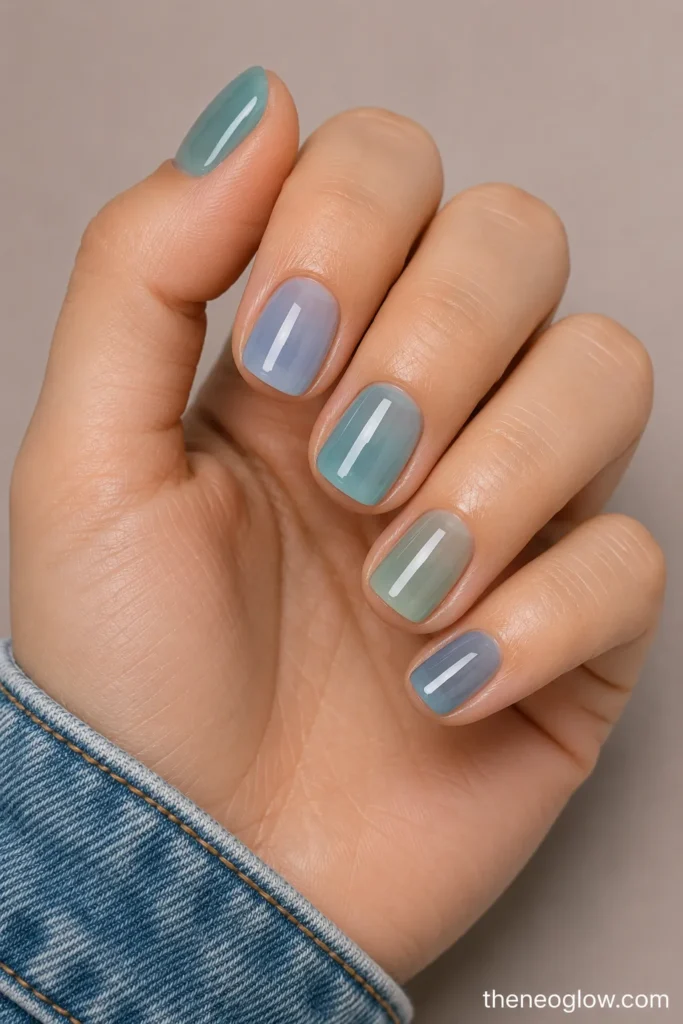
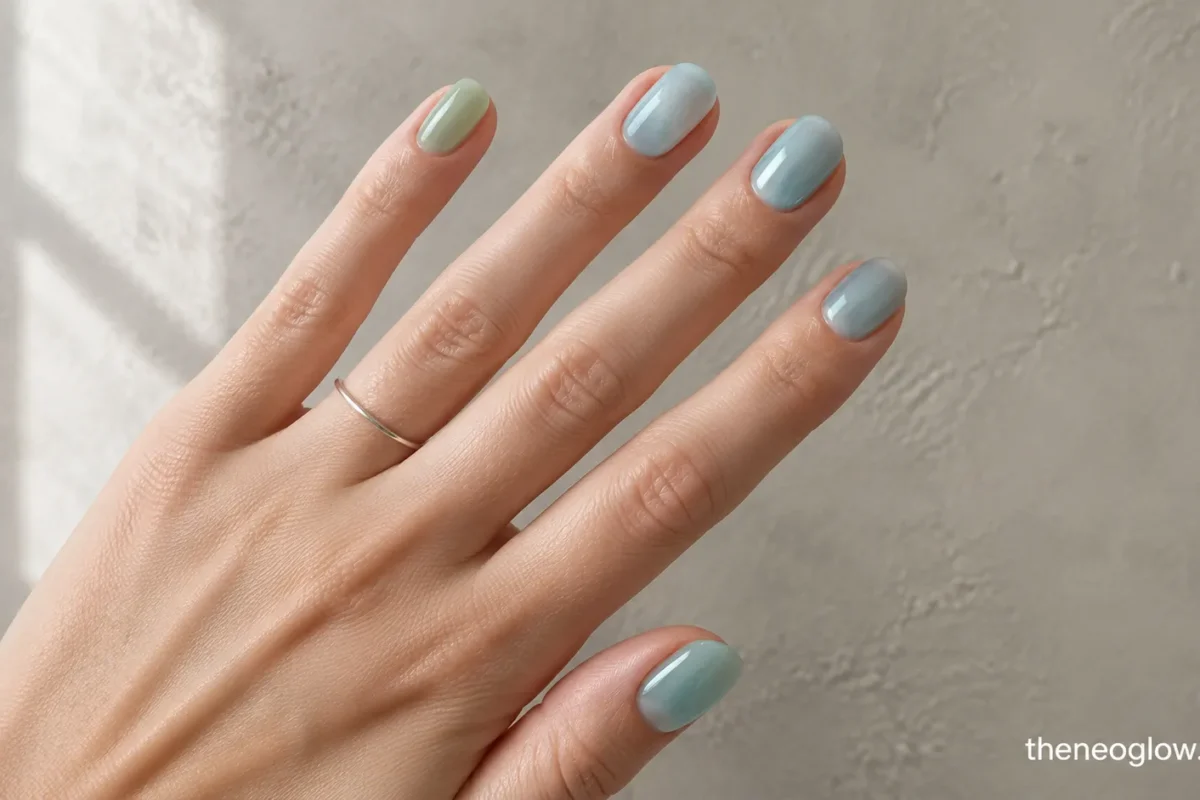
Use a different translucent shade on each nail—pale blue, aqua, seafoam, soft teal, and blue-gray—while repeating the same coat count and glossy finish. The matching transparency makes the set cohesive. This is more refined than alternating opaque teal creams and more colorful than a single-shade manicure.
5. Deep Lagoon Jelly Tips
Begin with a clear or sheer neutral base, then build translucent lagoon blue-green only across the tips. Medium almond nails show the depth best, but short nails can use a narrow jelly edge. The color should remain see-through at the free edge rather than becoming a solid French band.
Soft Frosted Beach Glass Manicures
6. Classic Frosted Aqua Ovals
Apply a clear aqua jelly, preserve a hint of the natural nail beneath it, and finish with an even matte topcoat. Short-to-medium ovals resemble smooth pieces of weathered bottle glass. Skip chrome, glitter, and art so the change from transparent color to velvety surface remains the entire design.
7. Frosted Seafoam Short Squares
Use a soft green-blue jelly beneath a satin or matte top effect on genuinely short square nails. The geometric shape gives the hazy finish a modern edge. Choose a muted seafoam rather than pastel mint, and keep the cuticle area neat because a flat finish makes uneven borders easier to notice.
8. Lavender Beach Glass
Layer cool translucent lavender over a clear base, then add a soft frost rather than a chalky matte. Lavender expands the sea-glass palette without turning the manicure into generic pastel nails. It works especially well on short ovals and medium almonds when the color remains gray-softened and visibly sheer.
9. Milky White-to-Aqua Veil
Start with one whisper-thin milky white coat, then float pale aqua over it. The white diffuses the natural nail line while the aqua restores watery color. Keep both layers light; if the base looks opaque before the blue is added, the result will read as baby-blue cream instead of beach glass.
10. Alternating Glossy and Frosted Glass
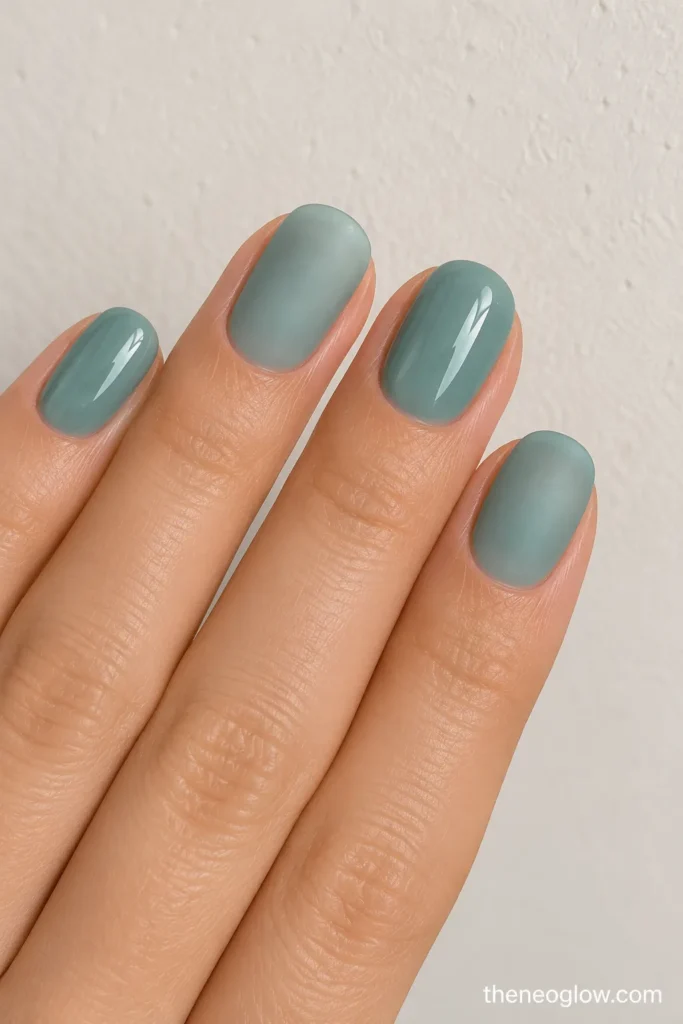
Paint every nail with the same translucent blue-green base, then finish selected nails glossy and the others matte. Because the color remains identical, the contrast comes entirely from reflected light and surface texture. This controlled two-finish set is striking on short squares or medium oval nails without requiring nail art.
11. Worn Blue-Gray Sea Glass
Choose a sheer blue-gray jelly with only a small green undertone and finish it with satin frost. The muted shade resembles older weathered glass rather than bright tropical water. Short squoval nails keep it wearable for late summer, workdays, and readers who prefer cooler, less saturated color.
Layered and Light-Catching Sea Glass Looks
12. Blue-Green Jelly Sandwich
Apply one transparent aqua layer, add a sparse veil of seafoam, then cover it with another thin aqua coat. The middle color appears suspended rather than painted on top. Use regular polish only after each layer has set, or cure every gel layer exactly as its manufacturer directs.
13. Pearl Glow Beneath Aqua Jelly
Place a very fine pearl glaze over a sheer base, then add one translucent aqua coat. The pearl should glow through the color instead of sitting as an obvious chrome surface. Finish glossy for luminous polished glass or softly matte for a hazy internal reflection.
14. Iridescent Veil Under Frost
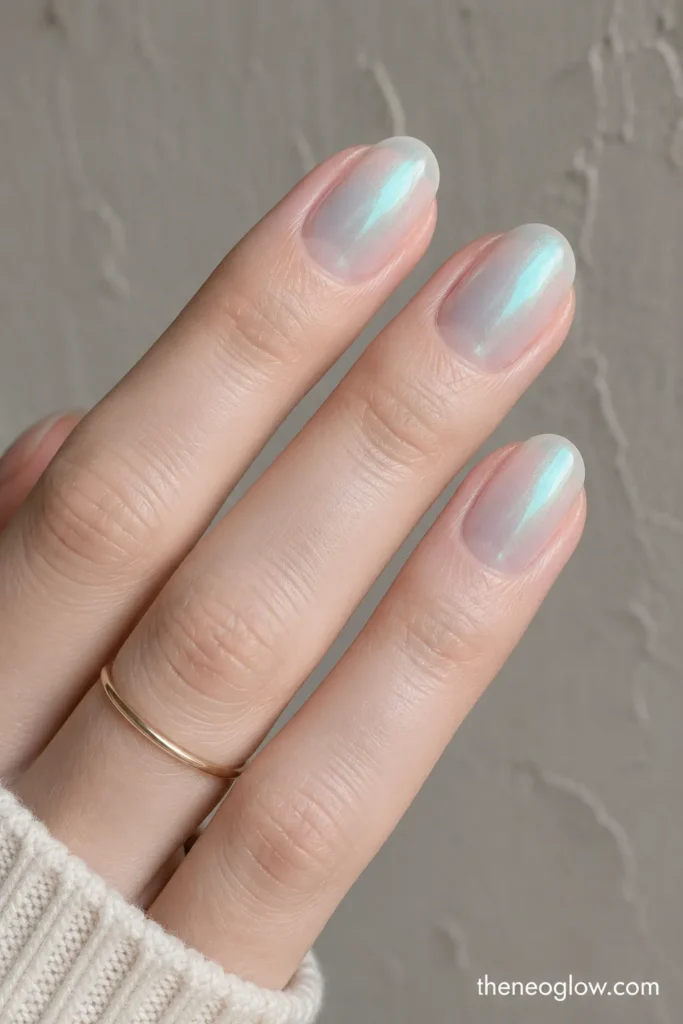
Use a restrained blue-green iridescent layer beneath clear jelly color, then soften it with a satin top effect. The shift should appear only when the hand moves. Keep the pigment fine and the color family narrow so the manicure stays sea-glass inspired rather than becoming a full mermaid-chrome set.
15. Translucent Color-Edge Fade
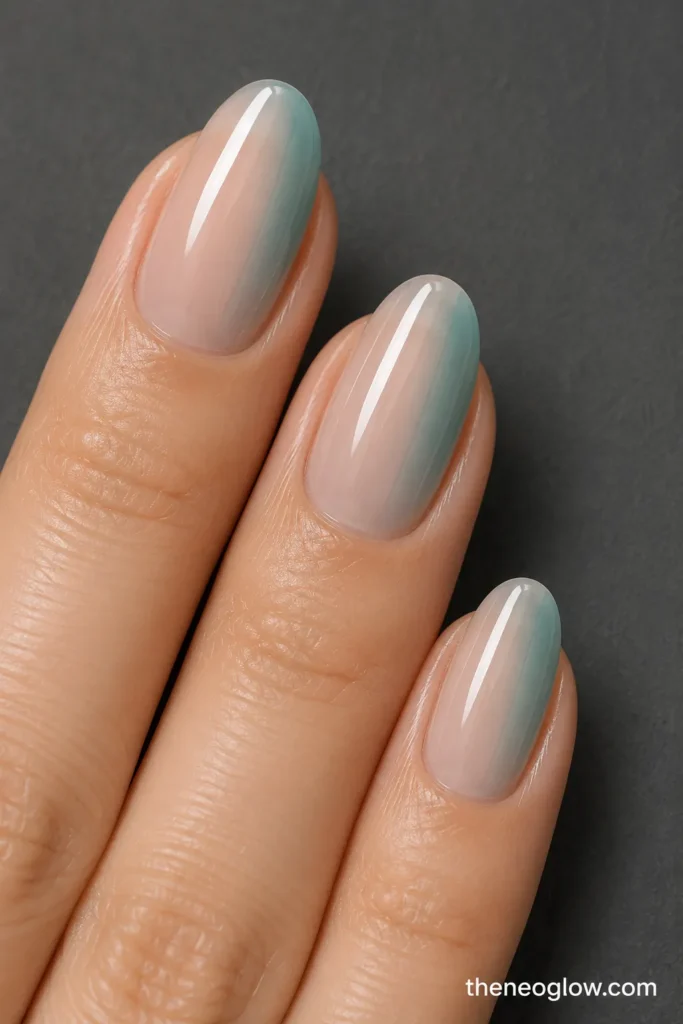
Concentrate pale teal jelly along one sidewall and fade it toward a nearly clear center. Repeat the same edge placement on every nail for structure. Medium oval or almond nails allow a smoother fade, while short nails can use a narrow tinted side veil with plenty of open base.
16. Short Sea Glass Press-On Set
Choose short oval or squoval press-ons in transparent aqua, seafoam, and pale blue with a thin profile and consistent frosted finish. Avoid printed shells, waves, or starfish so the set remains finish-led. Size each tip from sidewall to sidewall without pinching or touching skin, then follow the set’s application and removal directions.
17. Mixed Frosted Ocean Palette
Combine pale aqua, seafoam, blue-gray, misty lavender, and milky clear across the hand. Use one or two thin color layers per nail and the same soft-matte top effect throughout. Matching opacity is what makes the varied palette feel intentional; one dense nail can make the whole set look uneven.
Salon Wording and a Simple DIY Sequence
For a classic salon version, save this wording: “Short oval nails with two thin layers of translucent aqua and seafoam, visible depth, no opaque cream color, and an even soft-frosted topcoat. No shells, waves, glitter, or raised art.”
For regular polish at home, apply a smoothing base, one thin aqua coat, and a second thin coat only where more color is needed. Let each layer set before adding either a glossy topcoat or a matte one. Test custom mixtures on a practice tip first; adding too much white is the fastest way to lose translucency.
For gel, ask which jelly shades and top finishes belong to the salon’s system. Thin application matters, but curing instructions are product-specific. Keep uncured gel off the surrounding skin and do not improvise lamp times.
How to Fix Opacity and Layering Problems
If the color is too clear, add another thin coat of the dominant shade rather than jumping to opaque teal. If it looks muddy, stop alternating blue and green and return to one transparent color. If the manicure appears chalky, reduce the milky base or replace it with clear. If the frost looks flat, keep one or two glossy accent nails or choose satin instead of full matte.
Readers who prefer solid, brighter blue-green color can compare these teal summer nails. For a quieter manicure with sheer pink, beige, lavender, or milky neutral finishes, the natural summer nails guide owns that broader low-color direction.
Choose Your Sea Glass Layering Route
Choose glossy jelly for the clearest depth, milky jelly for softened everyday coverage, or frosted jelly for the most recognizable beach-glass effect. Save one reference that shows the exact opacity you want, then note the base, number of color layers, and top finish. Those three choices matter more than adding extra ocean motifs.