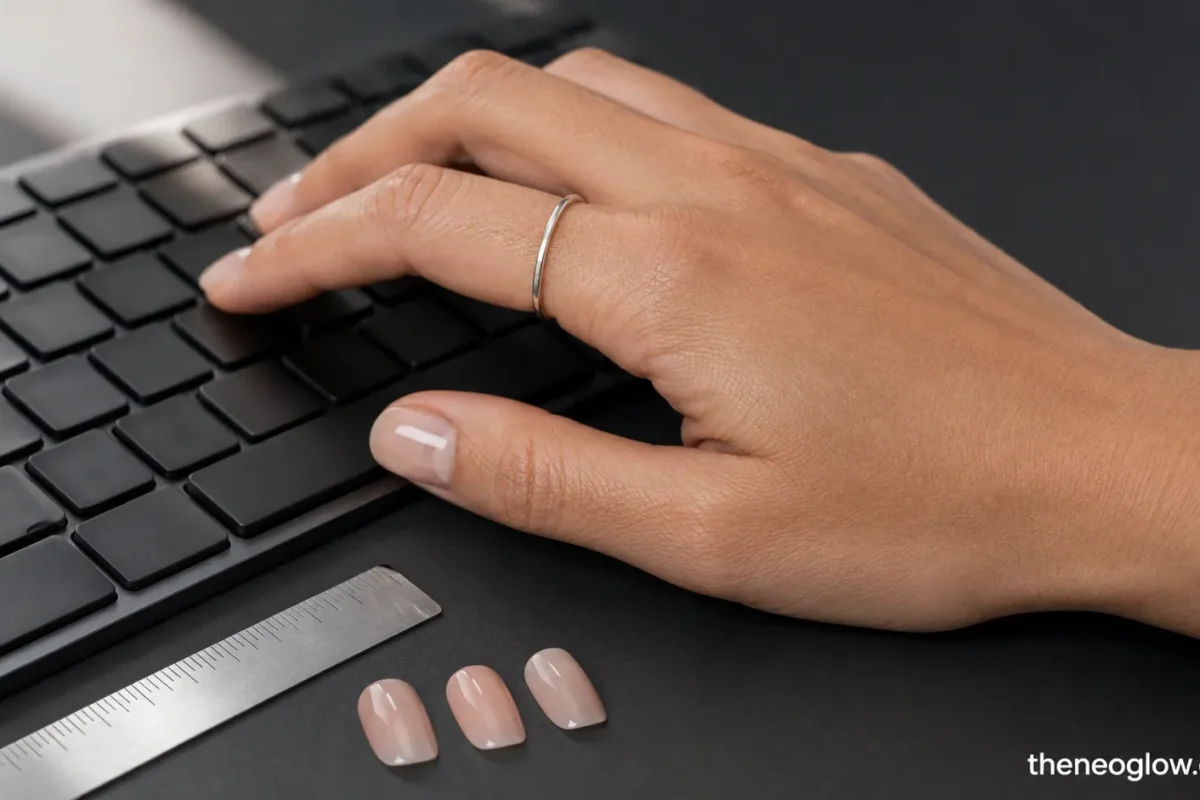
Nails for typing should look polished without forcing you to flatten your fingers, miss keys, or change your wrist angle. The most practical manicure is usually short, smooth, and thin, but there is no single length that works for every typist or keyboard.
This guide helps you measure your free edge, compare shapes, evaluate thickness, choose a low-maintenance finish, and test press-ons before a full work or school day. The goal is not to eliminate style. It is to find the longest, most polished manicure you can wear while your normal typing technique still feels natural.
Start With Free-Edge Length, Not the Design
The free edge is the part of the nail that extends beyond the fingertip. It usually affects keyboard contact more than color or artwork because it determines whether the finger pad or nail reaches the key first.
Evidence does not support one universal cutoff. A small 2000 study of 15 women found a significant typing-speed decrease only with artificial nails extending 20 millimeters beyond the fingertip. The limited study is useful context, not a rule for every person, keyboard, or nail system.
For frequent laptop or office typing, a sensible starting range is 0 to 3 millimeters of free edge. This keeps the nail visibly shaped while making it easier for many people to use the finger pads.
A 4- to 6-millimeter edge may still work if your nails are thin and you already type comfortably at that length. Longer nails usually require more technique changes, especially on shallow laptop keys.
How to Measure Your Nails for Typing
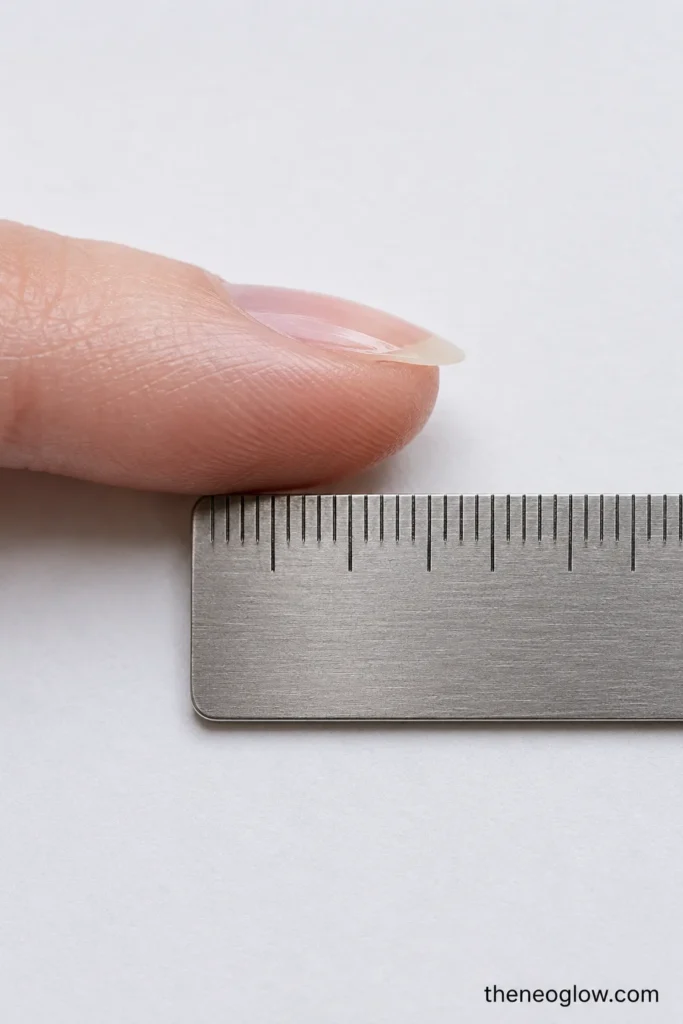
Use a small ruler marked in millimeters and measure each nail separately.
- Hold the finger straight and view it from the side.
- Place the zero mark at the point where the fingertip skin ends.
- Measure to the longest point of the nail.
- Record the thumb, index, and middle fingers first because they often reveal contact problems quickly.
- Repeat after shaping, since one uneven corner can catch even when the center length seems comfortable.
Do not judge length only from above. A curved nail or high-apex press-on can sit farther above the finger pad than its free edge suggests.
After measuring, type the same short paragraph for two minutes on your usual keyboard. Note whether the finger pad lands first, the nail clicks first, or you begin lifting your wrists or flattening your fingers.
If the nail leads the movement, shorten in 1-millimeter steps and retest rather than cutting every nail dramatically at once.
The American Academy of Dermatology recommends trimming fingernails almost straight across, slightly rounding the corners, and smoothing rough edges with a file. Those basic shaping steps create a clean starting point before you refine the manicure for your keyboard.
Free-Edge Length Comparison
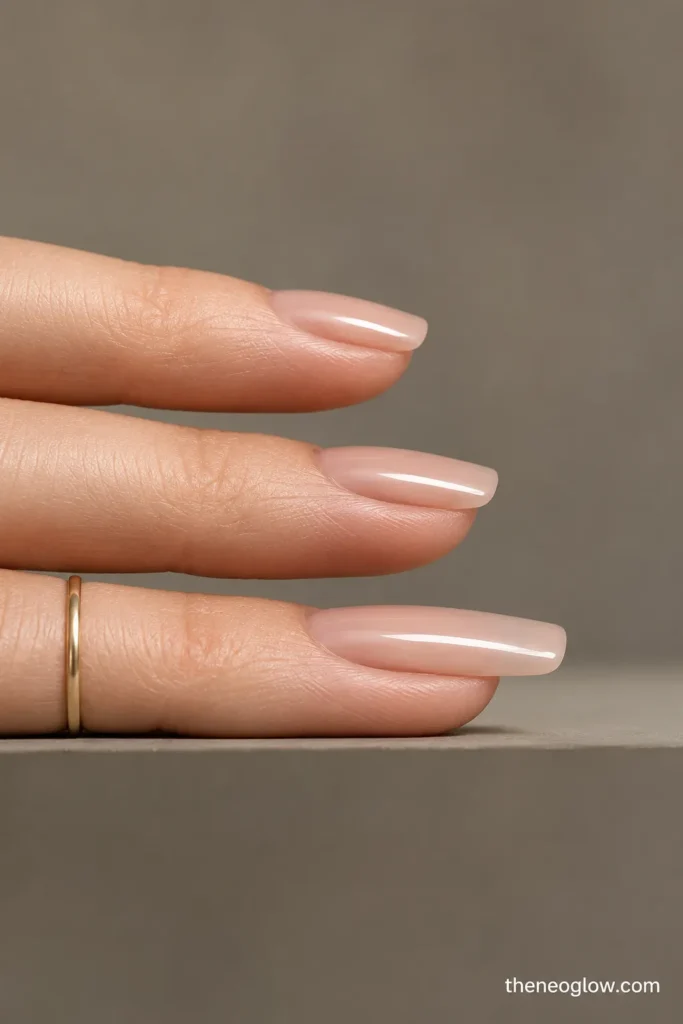
| Free edge | Likely typing experience | Best fit | Main watch-out |
|---|---|---|---|
| 0–2 mm | Finger pad usually reaches the key easily | Heavy typing, beginners, compact laptop keys | Very short corners can feel sharp if not filed |
| 3–5 mm | Often manageable with a short shape and thin profile | Office work, school, mixed keyboard use | Nail may contact shallow keys before the pad |
| 6–10 mm | More technique adjustment is usually needed | Experienced long-nail wearers | Flatter finger angle, more clicking, missed keys |
| Over 10 mm | High-change zone for most physical keyboards | Occasional typing or practiced long-nail technique | Nail-first contact and altered hand position |
Treat these as testing bands, not medical or professional standards. Your finger length, nail curve, key height, typing style, and familiarity all matter.
Best Nail Shapes for Typing
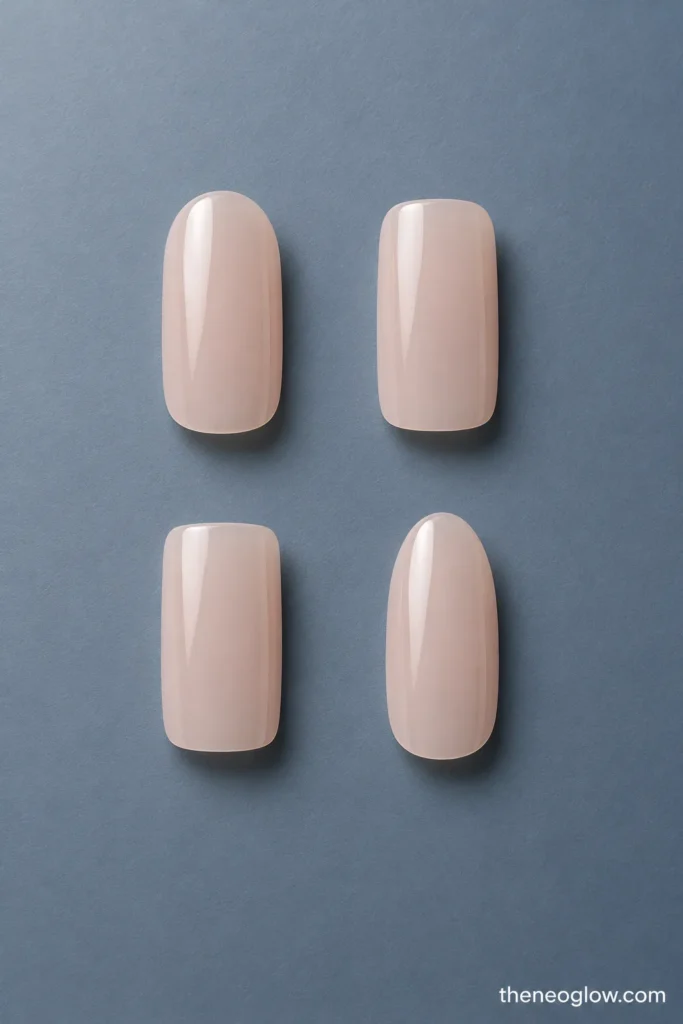
Round
Short round nails remove sharp corners, leaving less material to catch between keys or strike a neighboring key. They also suit narrow nail beds.
Squoval
Squoval combines a mostly straight front edge with softened corners. It is the strongest all-purpose choice for many typists because it balances structure, smooth corners, and easy maintenance.
Soft Square
A short soft square can work for typists who press keys with the center of the finger pad. Keep the corners rounded; sharp square corners can catch or tap adjacent keys.
Short Oval
Oval nails feel smooth and refined, but the center extends slightly farther than the sides. Keep the tip short enough that the curve does not become the first contact point.
Oval is a useful option for readers who dislike the flatter front edge of squoval.
Almond, Coffin, and Stiletto
A very short almond can be manageable. Medium or long almond, coffin, and stiletto shapes move the tip farther from the finger pad and demand more adaptation, so test them during a normal work or school session.
For visual examples scaled to smaller nail plates, compare NeoGlow’s short summer nail ideas without turning this decision into a seasonal gallery.
Thickness Can Matter as Much as Length
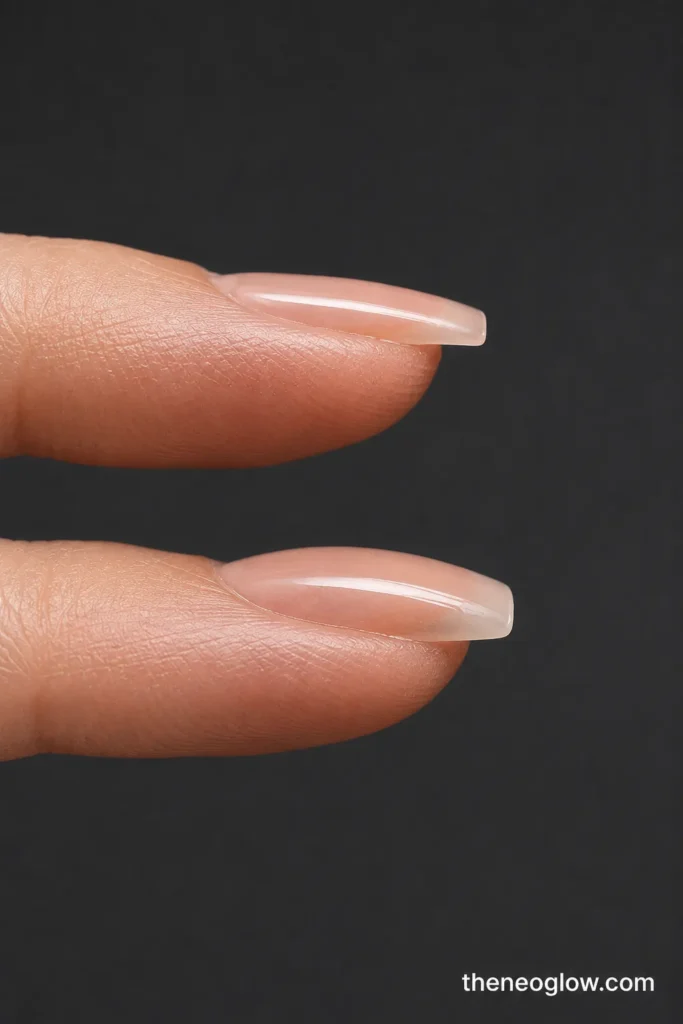
Even a short nail can feel awkward when the apex is bulky, the underside is uneven, or several product layers create a heavy free edge.
Ask for a smooth, balanced profile with no unnecessary bulk at the tip. Regular polish normally adds the least structural thickness. Gel polish can remain keyboard-friendly when applied in controlled layers.
Builder gel, acrylic, dip, and press-ons can also work, but the final profile matters more than the product label.
Run a fingertip gently beneath each free edge. Rough residue, lifted decals, unsealed striping tape, or a thick ridge can snag around keys and fabric.
Raised charms, large gems, sculpted flowers, and heavy 3D art are less practical for daily keyboard use even when the base nail is short.
Choose a Finish That Matches Your Maintenance Tolerance
The smoothest typing manicure is not necessarily the plainest. Keep decoration flat and choose coverage based on how often you want to refresh it.
- Sheer pink, beige, peach, or milky polish: Low-contrast growth and small tip wear are less obvious.
- Glossy cream color: Smooth and professional, but chips may show more clearly on dark or bright shades.
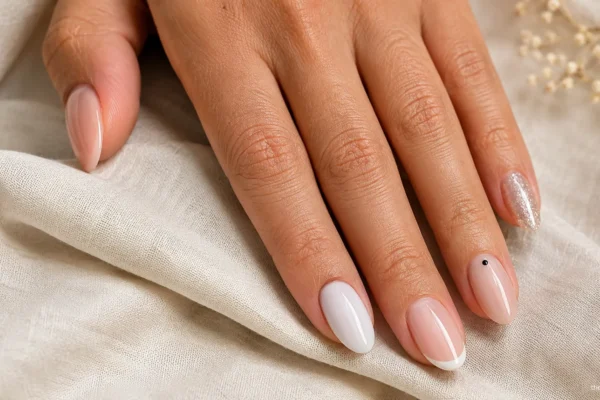
- Micro French: Adds structure without covering the whole nail; keep the line narrow so it does not encourage extra length.
- Jelly finish: Gives visible color with softer regrowth than an opaque cream.
- Matte finish: Flat to the touch, but surface scuffs can become visible sooner.
- Chrome or shimmer: Typing-friendly when the surface is sealed smooth and the finish is not built with raised decoration.
For more flat, work-friendly examples, use the simple nail designs guide and filter the ideas by short length, one accent, and a smooth topcoat.
Nails for Typing Decision Tree
Do you type for several hours most days?
Start with 0–2 millimeters of free edge and choose round or squoval.
Do you want visible length but still use a laptop daily?
Try 3–5 millimeters with a thin squoval or short oval profile. Test before adding art or extensions.
Does the nail hit the key before the finger pad?
Shorten 1 millimeter, soften the corners, and retest. Do not compensate by bending the wrist upward.
Do you keep changing your finger angle to avoid the nail?
Reduce length or thickness before assuming you only need more practice.
Do you want press-ons?
Choose a short or “real short” set, confirm the curve matches your nail, and complete a full typing test before an important deadline, exam, or workweek.
Do you dislike frequent touch-ups?
Choose sheer nude, milky pink, jelly beige, or a hairline French tip instead of a dark opaque tip.
Press-On Nails for Computer Users
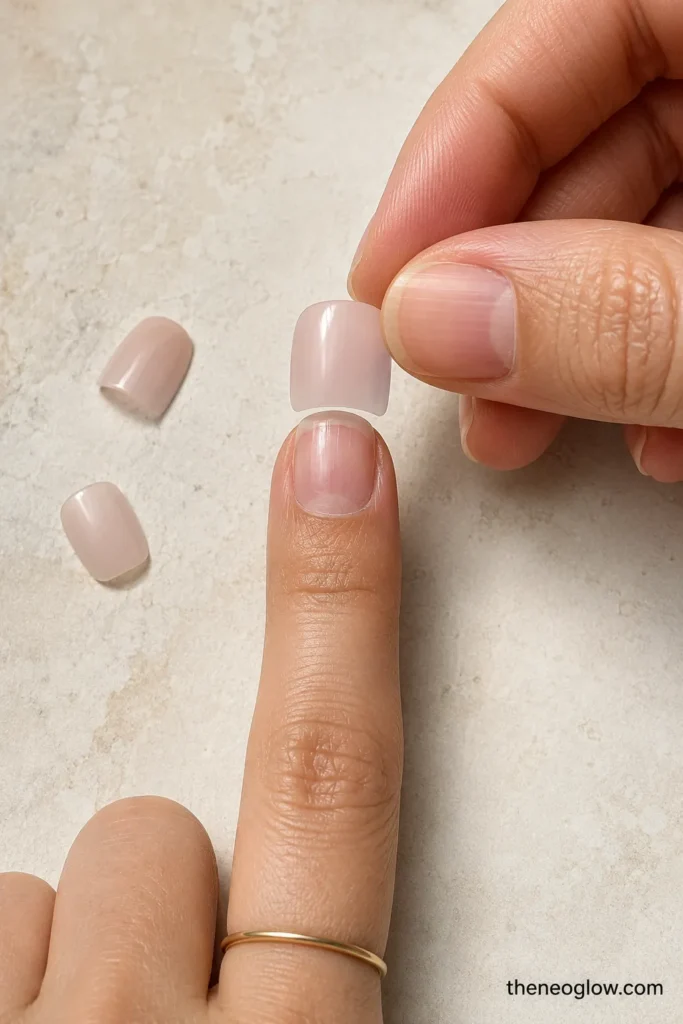
Press-ons can be practical when the fit, curve, length, and thickness suit your hands. Size every tip before application.
It should cover the natural nail from sidewall to sidewall without pinching, leaving exposed nail at the edges, or overlapping skin.
Check the side profile too. A short, high-arched press-on may feel bulkier than a slightly longer, thinner set. File only when the manufacturer permits it.
Use the application and removal instructions for your exact set and adhesive. KISS, for example, directs users to align glue-on nails at the cuticle, press for the stated time, and avoid forcing or pulling them off during removal.
Different tab and glue systems may require different methods.
NeoGlow’s vacation press-on nail guide covers fit, adhesive choices, repairs, and removal in greater depth.
Apply the same planning principle to work: test the set before the day you need maximum speed and accuracy.
Give Yourself an Adaptation Period
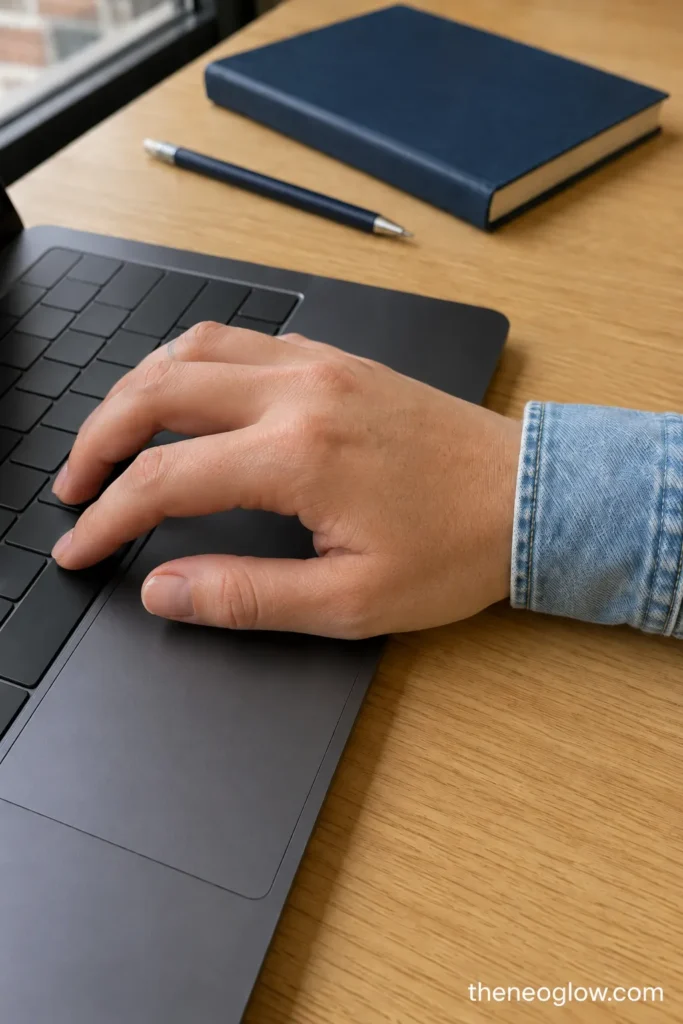
A small length change may feel unfamiliar. Use several normal typing sessions to assess it, not only a few sentences after the appointment.
During that period, keep the keyboard directly in front of you and avoid changing your whole posture to protect the nails.
OSHA’s keyboard guidance recommends relaxed shoulders, elbows close to the body, and wrists straight and in line with the forearms. If longer nails make you abandon that position, the manicure is not a good match for your current setup.
Adaptation has limits. Repeated missed keys, nail-first impact, pressure at the tip, or a noticeably altered wrist position are practical reasons to shorten or thin the manicure.
Comfort should improve through familiarity, not through forcing an awkward technique.
The Best Low-Maintenance Office or School Manicure
For the widest range of computer users, begin with short squoval or round nails, 0–3 millimeters of free edge, a thin profile, and a smooth glossy finish.
Sheer rosy beige, milky pink, soft taupe, muted mauve, and translucent peach look polished while making growth and small chips less obvious.
A hairline French tip or one tiny flat accent can add detail without changing the typing profile. Keep every nail consistent, especially the index and middle fingers.
One unexpectedly long corner can be more disruptive than a uniformly short set.
Measure your current free edge today, test it on the keyboard you actually use, and adjust one variable at a time. Length first, shape second, thickness third, and finish last.
That sequence makes it easier to identify what improves your typing comfort without giving up a manicure you enjoy or sacrificing comfort, speed, or accuracy.