A clean manicure at home is less about owning professional equipment and more about doing each task in the right order. This at-home manicure routine takes you from old-polish removal and shaping through cuticle-area care, regular polish, drying, and gentle removal. It is designed for natural nails and standard air-dry lacquer, not gel, dip, acrylic, or press-ons.
Plan about 45 to 60 minutes for the active routine, plus extra hands-off drying time. July 24, International Self-Care Day, can be a useful reminder to save the checklist, but the process works year-round whenever your polish needs a reset.
At-Home Manicure Timing at a Glance
| Stage | Estimated Active Time |
| Remove old polish | 5–10 minutes |
| Trim and shape | 5–8 minutes |
| Soften and tidy the cuticle area | 3–5 minutes |
| Clean and dehydrate the nail plate | 2–3 minutes |
| Base coat, color, and top coat | 15–20 minutes |
| Initial hands-off drying | At least 20–30 minutes |
These are planning estimates, not guarantees. Drying varies with the formula, coat thickness, humidity, temperature, and how much time passes between layers.
What You Need for a Basic Home Manicure
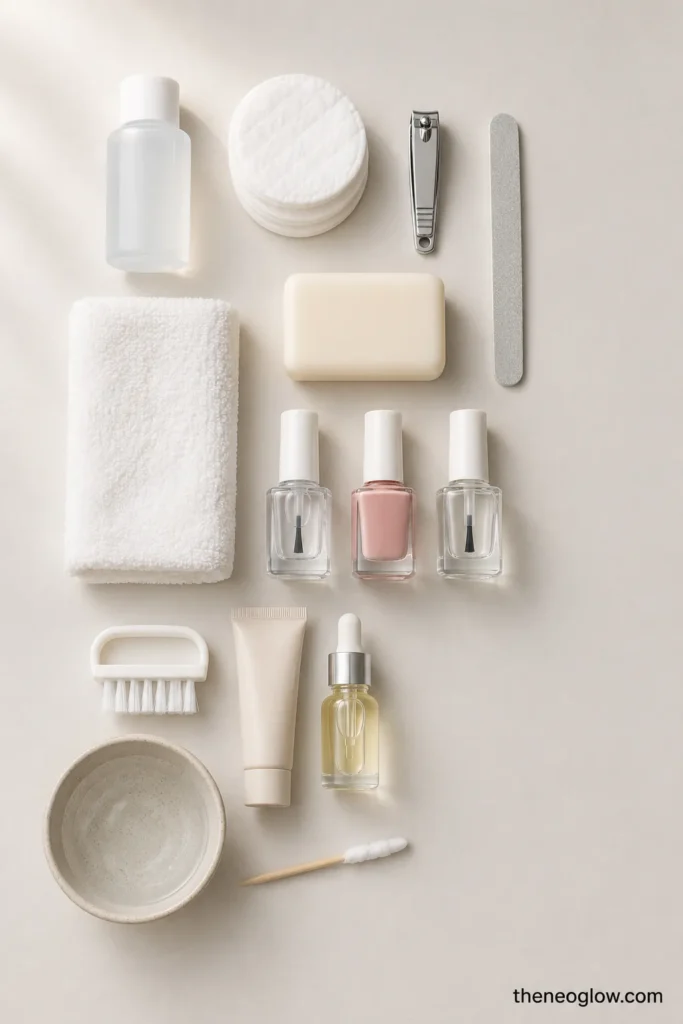
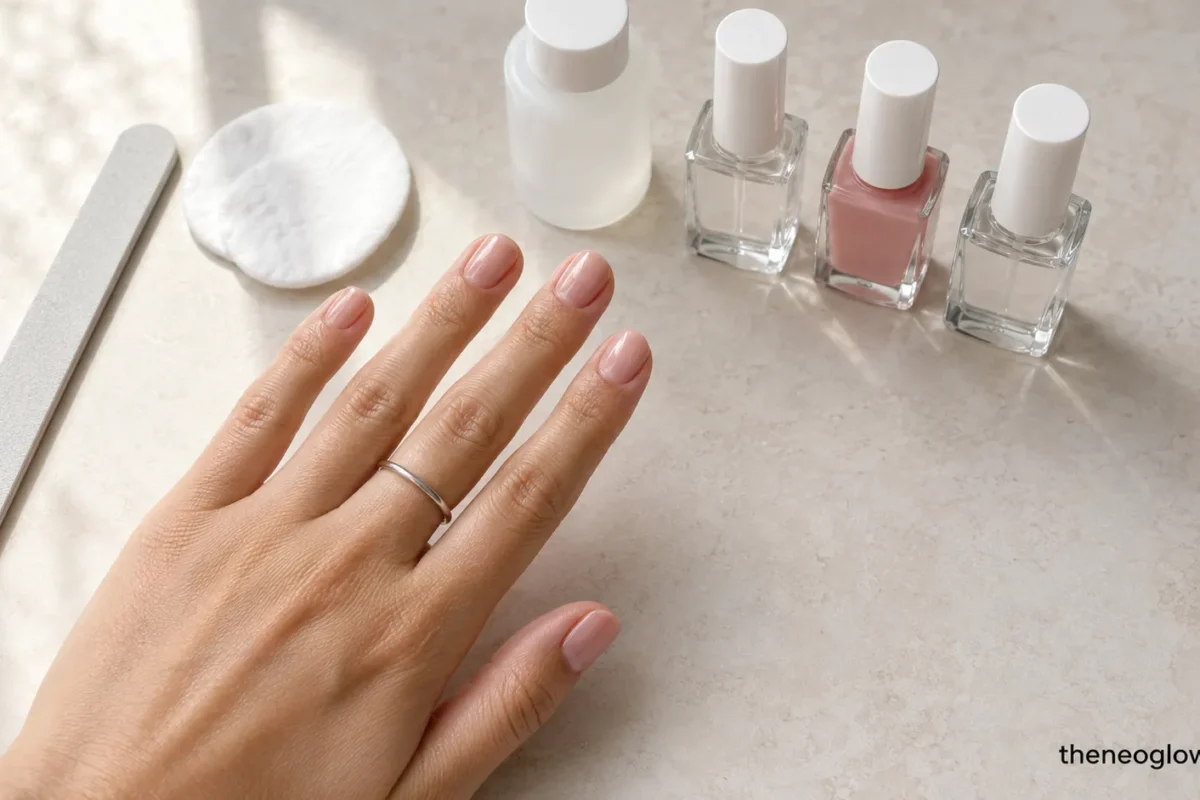
Required tools
- Regular nail-polish remover
- Cotton pads or lint-free wipes
- Nail clippers, if you need to shorten length
- Fine or medium-fine nail file
- Mild soap and clean towel
- Base coat suited to your polish system
- Regular nail polish
- Top coat
- Small cleanup brush or cotton swab
- Hand cream or cuticle oil for after the manicure is dry
Optional tools
- Bowl of comfortably warm water
- Cuticle softener used exactly as labeled
- Wooden manicure stick wrapped with a little cotton for removing loose residue from the nail plate
- Nail polish thinner made for lacquer
- Quick-dry drops or a quick-dry top coat
Skip electric drills, aggressive buffers, cuticle blades, and salon-only chemicals.
Before You Begin
Work near an open window or another well-ventilated area. Keep polish and remover away from candles, cigarettes, hot tools, and other heat or flame sources. The FDA advises reading nail-product labels, following warnings, maintaining ventilation, and stopping use if a product causes a reaction.
Wash reusable clippers and files when appropriate, dry them completely, and do not share tools that contact skin. Pause the manicure if the nail or surrounding skin is painful, swollen, bleeding, unusually discolored, or visibly infected-looking. Cosmetic polish should not be used to diagnose or cover a concerning change.
How to Do a Manicure at Home
1. Remove Old Polish Before Shaping
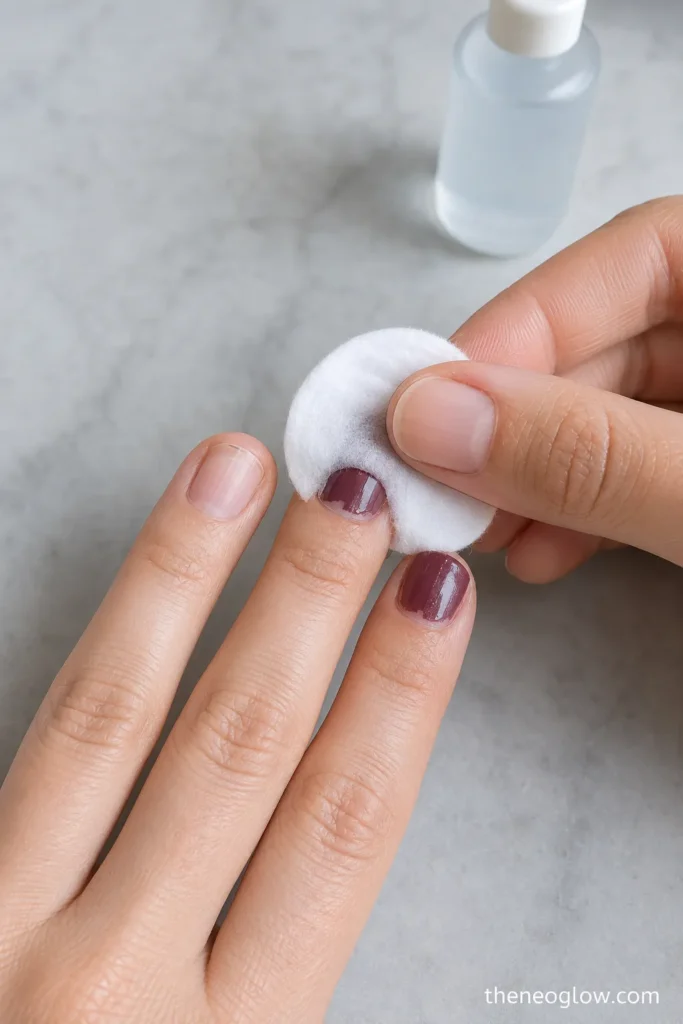
Saturate a cotton pad with remover, press it against the nail for several seconds, then wipe from the base toward the tip. Repeat with a clean section of the pad instead of scrubbing the same dissolved color back over the skin.
For stubborn regular glitter polish, hold the pad in place longer and work one nail at a time. Do not peel or scrape the coating from the nail surface. After the color is gone, wash your hands if the remover label directs you to do so.
This page covers standard lacquer. Press-ons, gel, dip, and acrylic systems need product-specific removal methods. For adhesive sets, use the vacation press-on removal guide and follow the exact product instructions.
2. Trim Only the Length You Want to Remove
Clip before filing when the nails are much longer than your target shape. Make small cuts rather than trying to remove the entire free edge in one squeeze. Leave enough length to refine the outline with a file.
For fingernails, the American Academy of Dermatology recommends trimming almost straight across and slightly rounding the corners. This helps avoid weak, over-filed sidewalls and sharp points that catch on fabric.
3. File the Shape With Light, Controlled Strokes
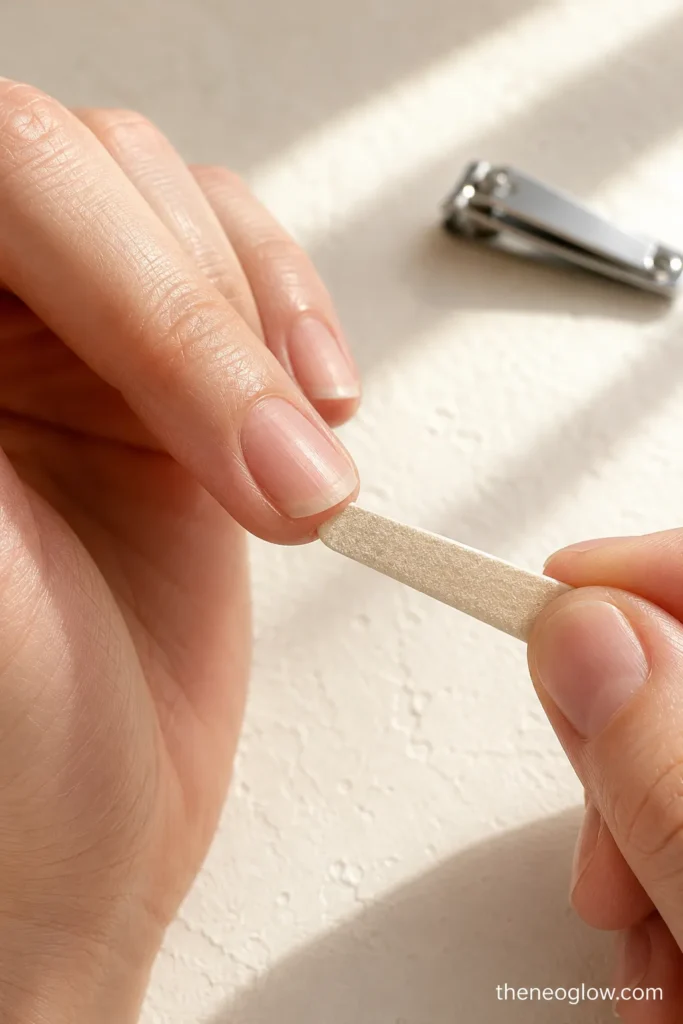
Choose one practical shape for all ten nails: short round, oval, soft square, or squoval. Begin at one side and move toward the center, then repeat from the other side. Keep the file under the free edge rather than sawing into the top surface.
The AAD advises filing in one direction because repeated back-and-forth motion can weaken the nail. Check the shape from the palm side. Matching the length and corner softness matters more than making every nail identical.
4. Soften the Cuticle Area Without Cutting Living Skin
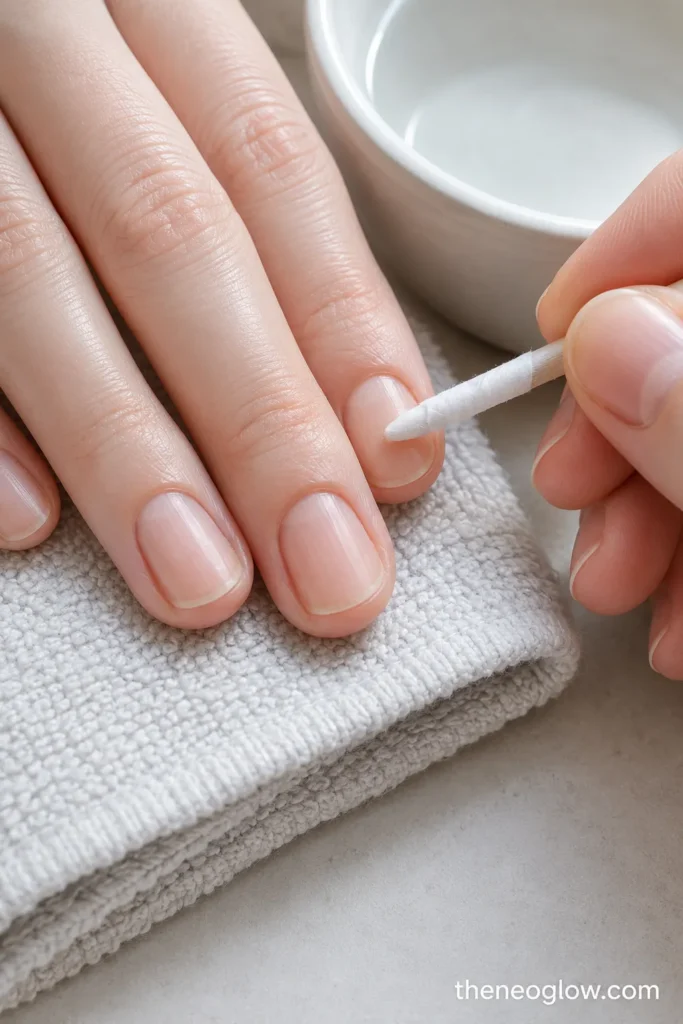
Cuticle softening and cuticle cutting are not the same step. Softening uses warm water, moisturizer, or a labeled cuticle product to loosen dry residue. It does not mean trimming the attached living skin at the base or sides of the nail.
Soak fingertips briefly in comfortably warm water, or apply softener according to its directions. Pat dry. If you can see a thin, loose film resting on the nail plate, gently wipe it away without digging beneath the skin fold. Leave attached skin intact.
Dermatology guidance is clear that cuticles form a protective barrier and should not be cut or forcefully pushed back. If you have a true hangnail—a fully loose piece of dead skin—clip only the detached tip with clean nippers. Never chase it into attached skin.
5. Wash, Dry, and Prepare the Nail Plate
Wash away softener, dust, and remover residue with mild soap, then dry the hands thoroughly. Moisturizer belongs after polish, not immediately before it, because oil on the nail plate can interfere with an even coating.
Right before base coat, wipe each nail with a small amount of remover or the prep product recommended for your polish system. Keep the wipe on the nail, not the surrounding skin. The goal is a clean, dry surface, not a rough or aggressively buffed one.
For design ideas after you master this foundation, the simple nail designs guide offers low-detail options that do not change the prep order.
6. Apply One Thin Base Coat
Roll the bottle between your palms if the manufacturer recommends mixing; avoid vigorous shaking that creates bubbles. Wipe excess from one side of the brush, place the brush slightly above the cuticle, then gently push toward the base without touching skin. Pull the polish toward the tip in three controlled strokes: center, left, and right.
Use one thin, even layer. Base coat can help color apply more evenly, but not every one-step polish uses a separate base. Follow the directions for your exact formula rather than combining incompatible systems.
7. Build Color With Two Thin Coats
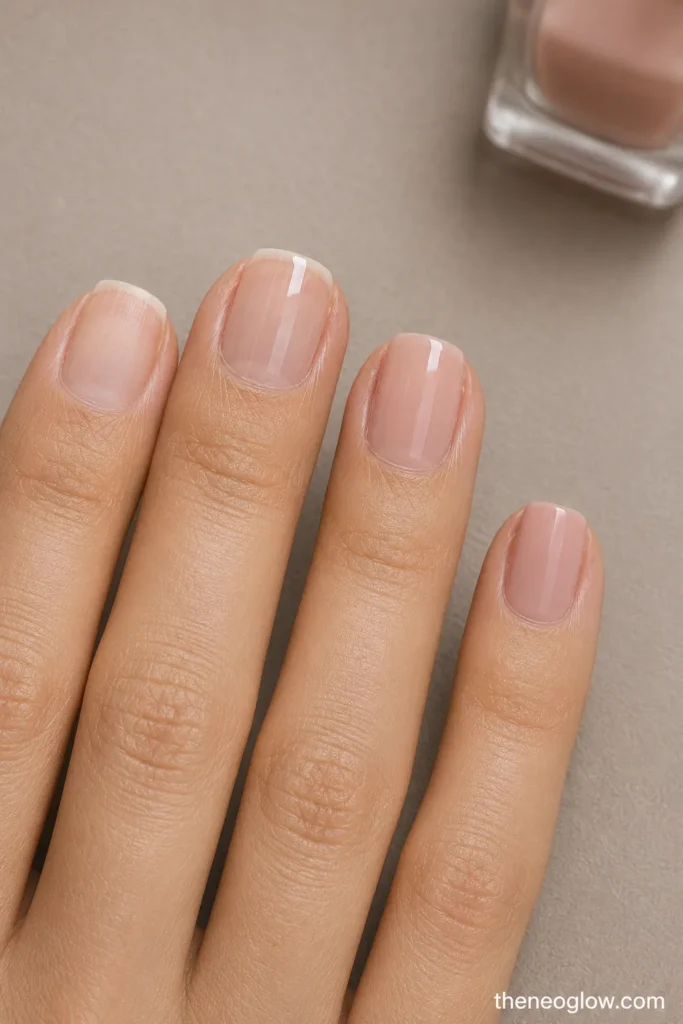
Apply the first color coat using the same center-and-sides pattern. Leave a hairline margin around the skin instead of flooding the cuticle area. Thin layers are easier to control and generally set more evenly than one heavy coat; both OPI and Essie’s regular-polish instructions use thin coats.
Wait until the first layer has begun to set before adding the second. If the brush drags, creates bare patches, or pushes the first coat around, stop and give it more time. Sheer polish may remain translucent, while cream polish may need two coats for even coverage.
When you are ready to add dots, tape, stickers, or a small accent, use the beginner methods in 20 easy summer nail designs you can do at home rather than squeezing nail art into the base routine.
8. Clean the Edges, Add Top Coat, and Let It Set
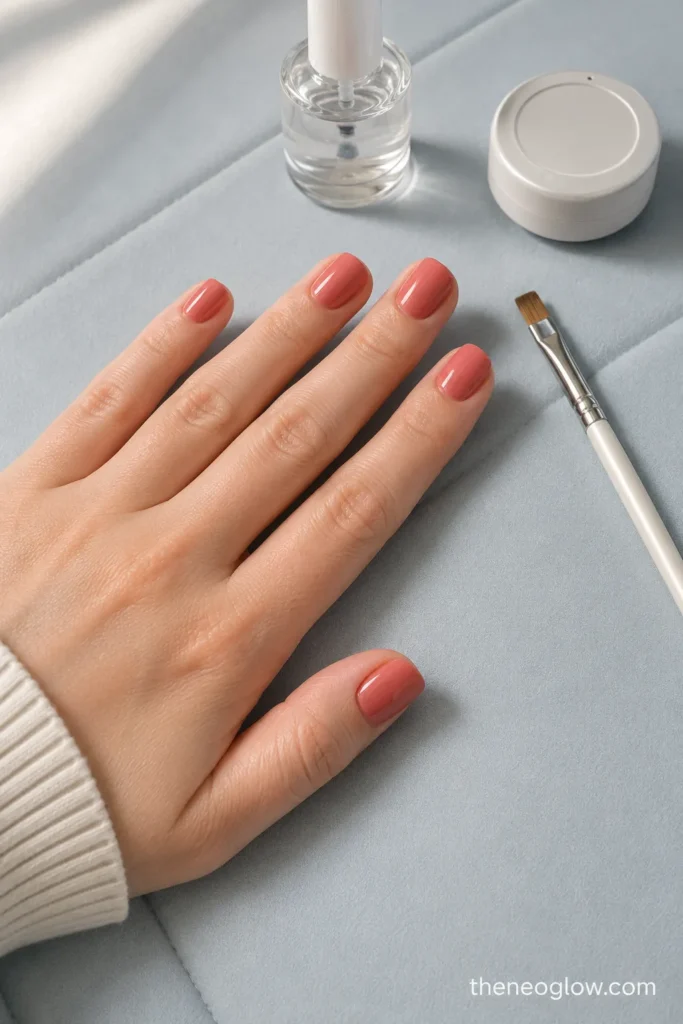
Before top coat, dip a small flat brush in remover, blot the excess, and trace around the polish edge. Use the smallest amount needed and avoid repeatedly bathing the skin in solvent.
Apply one even top-coat layer with light pressure. Do not scrub the brush back and forth over semi-set color. Some systems recommend lightly coating the free edge; do this only when it does not create a thick ridge.
Set a timer and keep your hands away from zippers, hair, bedding, hot water, and tight pockets. Regular polish may feel dry on the surface before the lower layers are firm. Give it at least 20 to 30 minutes of hands-off time after top coat and longer before chores or sleep. Follow the product’s own drying directions when they differ.
Regular-Polish Durability Guide
| Problem | Likely Cause | What to Change Next Time |
| Chips within a day | Oil or residue on the nail; thick coats; polish on skin | Clean and dry the nail plate, use thinner layers, and leave a narrow skin margin |
| Wrinkles or dents | Lower layers were still soft | Increase the wait between coats and extend hands-off drying time |
| Bubbles | Overworked polish, very thick layers, or a bubbly bottle | Use fewer brush strokes, thinner coats, and let a shaken bottle settle |
| Peeling in sheets | Polish-system mismatch, residue, or picking | Use compatible base, color, and top products and remove polish instead of peeling |
| Shrinkage from the tip | Heavy or fast-setting top coat dragged over soft color | Use a lighter pass and avoid repeated brushing |
| Streaky pale color | Too little polish on the brush or repeated strokes over a setting layer | Apply one controlled thin coat, let it set, then add the second |
No routine can promise a fixed wear time. Water exposure, formula age, nail flexibility, and application thickness all affect chipping.
Common DIY Manicure Mistakes
The most common mistake is doing wet cuticle care after cleaning the nail plate. Water and softener should come before the final cleansing step.
Another is trying to fix every uneven line with more polish. Extra passes can create ridges and bald spots. Let the layer set, correct only the edge, and use top coat for surface smoothness.
Do not thin old polish with remover. Remover changes the formula; use lacquer thinner intended for nail polish, following its label. Replace products that smell unusual, separate permanently, or no longer apply normally.
Finally, do not treat discomfort as part of the process. Burning, persistent redness, swelling, or pain is a reason to stop, remove the product safely, and seek professional advice if symptoms continue.
How to Remove Regular Nail Polish Safely
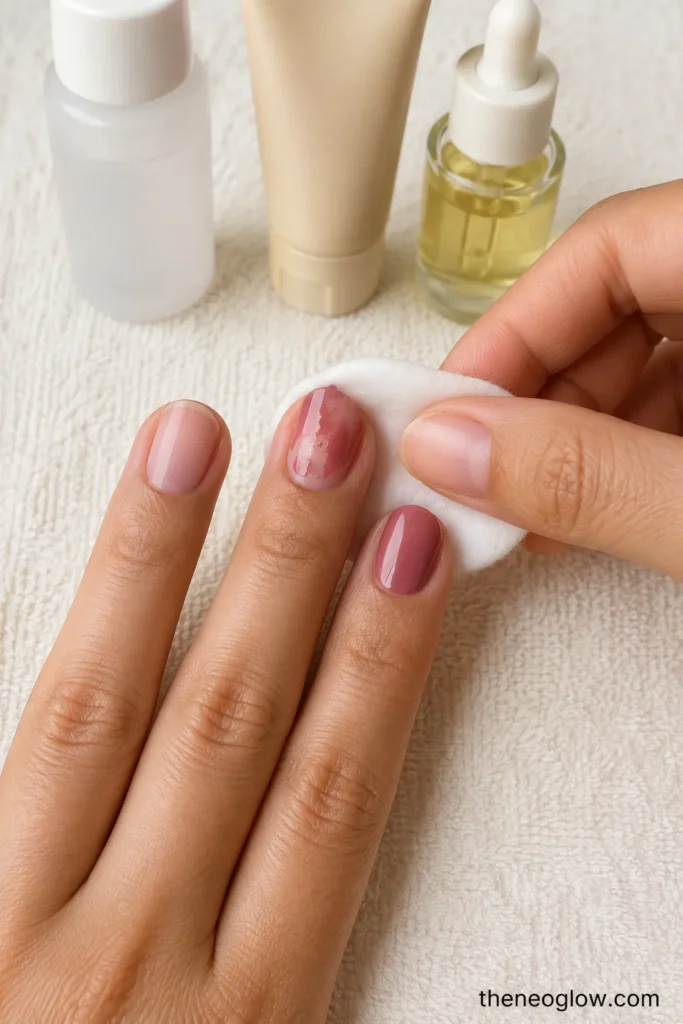
Use remover in a ventilated space and away from heat or flame. Poison Control recommends following the label, applying remover carefully to the nails, storing it out of children’s reach, and minimizing unnecessary skin contact.
Press a saturated pad onto each nail, allow the solvent to dissolve the coating, and wipe gently. Use a fresh pad as color builds up. Do not scrape, peel, or pry polish from the nail plate.
Wash and dry your hands afterward, then apply hand cream or cuticle oil. If acetone leaves your skin feeling dry, reduce repeated exposure and consider a remover formulated with moisturizing ingredients, provided it works with your polish and you follow the label.
Your Home Nail Care Checklist
Before polishing:
- Remove old lacquer without scraping.
- Trim only if needed.
- File a consistent practical shape.
- Soften the cuticle area, but do not cut attached living skin.
- Wash, dry, and clean the nail plate.
- Open a window and move away from flames or heat.
While polishing:
- Use compatible products.
- Apply one thin base coat if the system calls for it.
- Apply two thin color coats with adequate time between them.
- Keep polish off the skin.
- Add one even top coat.
- Protect the manicure during the initial drying period.
At removal:
- Use remover as labeled in a ventilated area.
- Press and wipe instead of peeling or scraping.
- Wash, dry, and moisturize afterward.
- Stop if you notice pain, swelling, bleeding, or a persistent reaction.
Make the Routine Easy to Repeat
A polished result comes from sequence: remove, shape, soften, clean, base, color, top coat, dry, and later remove gently. Save the checklist near your manicure supplies so you do not skip nail prep before polish or rush the drying stage.
Then choose a sheer neutral, glossy solid, or one small accent while keeping this process as your step-by-step foundation.