Summer can expose a manicure to frequent hand washing, sunscreen, pool time, travel, heat, and more everyday friction. Learning how to make a manicure last longer starts with finding the failure point instead of adding another thick layer of topcoat. A manicure may chip because the nail plate was oily, the coats were too thick, the free edge was left unsealed, regular polish was used before it hardened, gel was not cured as its system requires, or a press-on was poorly fitted. Use the diagnosis table first, then follow the instructions for your manicure type.
Find the Failure Point First
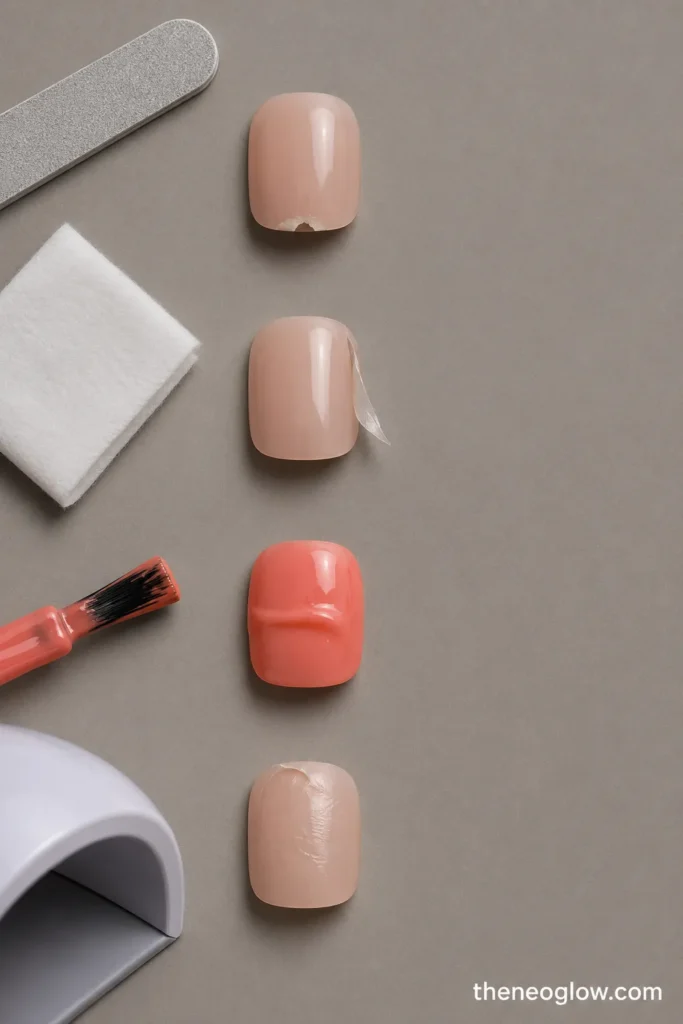
| What You See | Likely Cause | What to Change Next Time |
| Chips begin at the tips | Unsealed edge, flexible free edge, or repeated impact | Keep nails smooth, use thin coats, and cap the free edge when the product directions recommend it |
| Polish peels off in a sheet | Oil, lotion, water, or residue remained on the nail plate | Finish wet chores first, let nails dry, then prep with the cleanser required by your system |
| Dents or fabric marks appear hours later | Regular-polish layers were thick or only surface-dry | Apply thinner coats and protect the manicure from pressure, shoes, bedding, and bags while it continues hardening |
| Gel wrinkles, shrinks, or lifts near the cuticle | Coat was too thick, product touched skin, or curing did not match the system | Use thin layers, leave a clean skin margin, and follow the exact lamp and cure instructions |
| Shine becomes dull | Abrasive cleaning, sunscreen residue, pool products, or surface wear | Wear gloves for chores, wash residue away gently, dry well, and refresh only with a compatible topcoat |
| One press-on lifts at a sidewall | Incorrect size, trapped residue, uneven pressure, or water exposure too soon | Recheck fit, follow the adhesive prep and setting period, and replace a loose nail rather than forcing it down |
| Several nails chip in the same place | Nail shape catches during typing, luggage handling, or household tasks | Shorten or smooth the edge and stop using the nail tip as a tool |
The table is a troubleshooting guide, not a wear guarantee. Natural nail flexibility, product formulas, application skill, work, travel, and water exposure all affect the result.
Prepare the Nail Plate Without Overdoing It
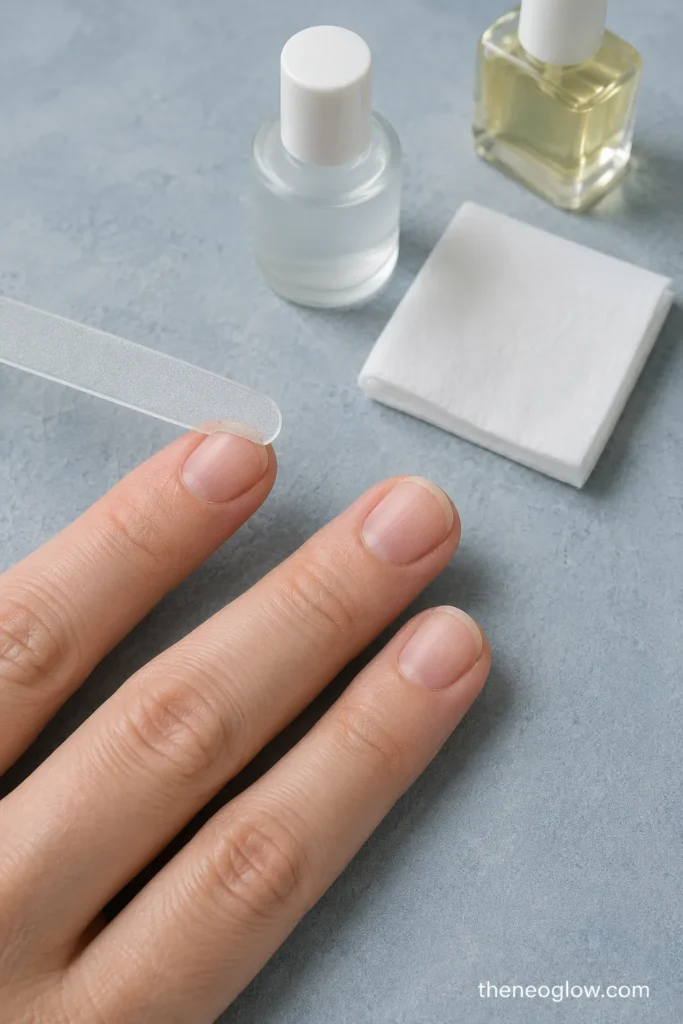
Finish water-heavy tasks before you start
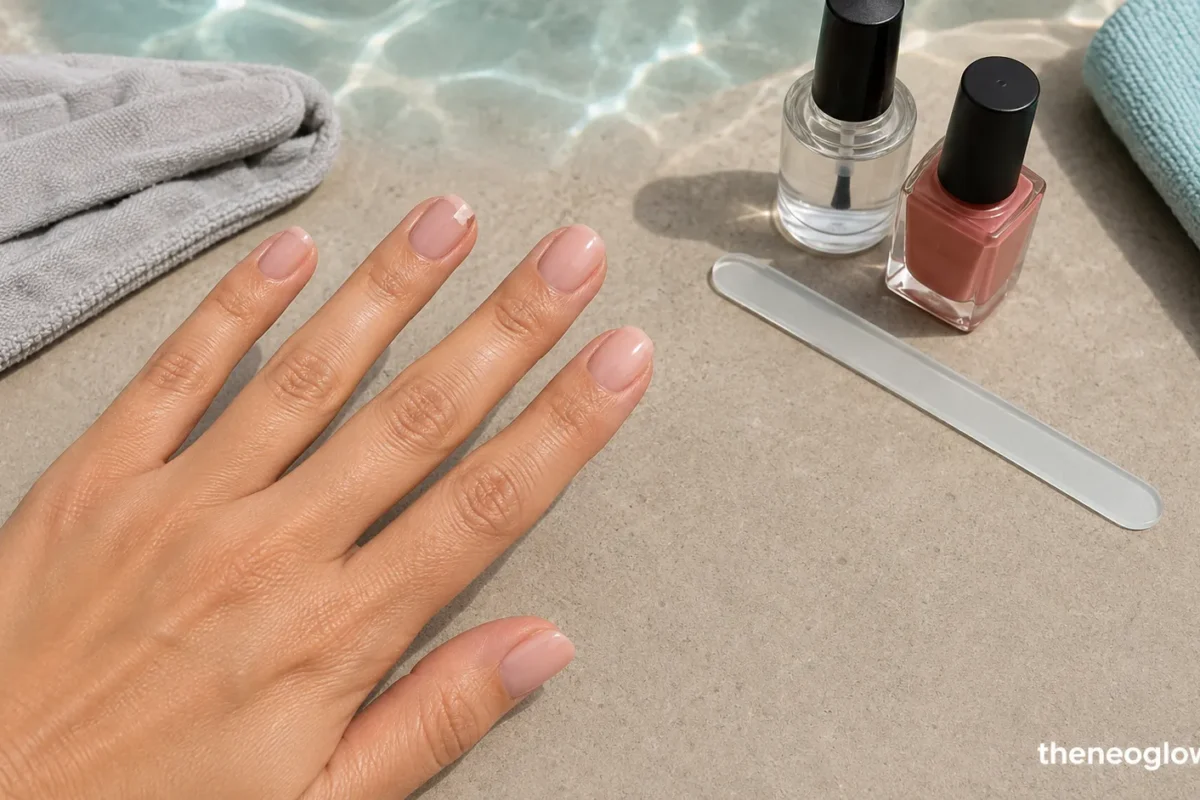
Shower, wash your hair, do dishes, and finish pool time before applying polish or press-ons. Begin only when the nails and surrounding skin are clean and fully dry. Avoid soaking the nails as a manicure-prep shortcut.
Shape and smooth the free edge
File away snags that can catch on towels, hair, luggage zippers, or clothing. A short oval, round, or squoval edge is often easier to protect during travel and frequent hand use than a long cornered shape. Do not aggressively thin the nail plate.
Leave the protective cuticle alone
Tidy loose surface skin gently, but do not cut or aggressively push back the cuticle to place color closer to the skin. Dermatologists note that the cuticle helps protect the nail area from infection. If the skin is painful, swollen, discolored, or broken, postpone the manicure rather than covering the problem. rface oil at the correct time
Cuticle oil is useful after the manicure, but oil, hand cream, sunscreen, and remover residue on the nail plate can interfere with adhesion. Immediately before applying a base coat, gel, or press-on, use only the prep method specified for that system. Keep oil on the surrounding skin after the manicure is dry or cured, not on the bare nail just before application.
Match the base coat to the polish system
A base coat is not interchangeable with every gel, lacquer, treatment, or adhesive. Use the base recommended for your color system, especially when working with gel or a long-wear lacquer line. Mixing unrelated products can change drying, curing, adhesion, or removal.
Make Regular Polish Last Longer
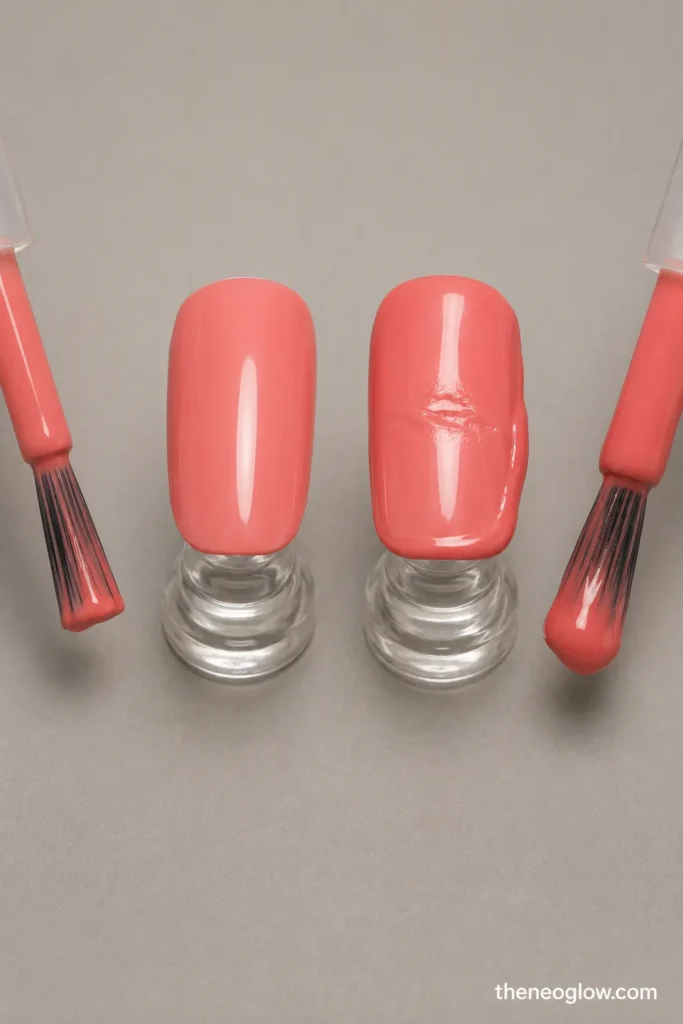
Regular lacquer dries in air; it does not become instantly hard when the surface stops feeling wet. Thick color may feel dry on top while remaining soft underneath, which is why a manicure can dent after you begin packing or go to bed.
Apply one thin base coat, then two thin color coats unless your formula directs otherwise. Wipe excess polish from the brush before painting. Keep each layer even and avoid flooding the sidewalls or cuticle, because polish attached to skin can lift and pull color from the nail.
Cap the free edge by lightly sweeping the brush across the nail tip when your product instructions recommend it. Keep this pass thin; a bulky ridge under the tip can catch, crack, or peel. Edge capping helps connect the color across the exposed tip, but it cannot compensate for oily prep, thick coats, or a rough free edge.
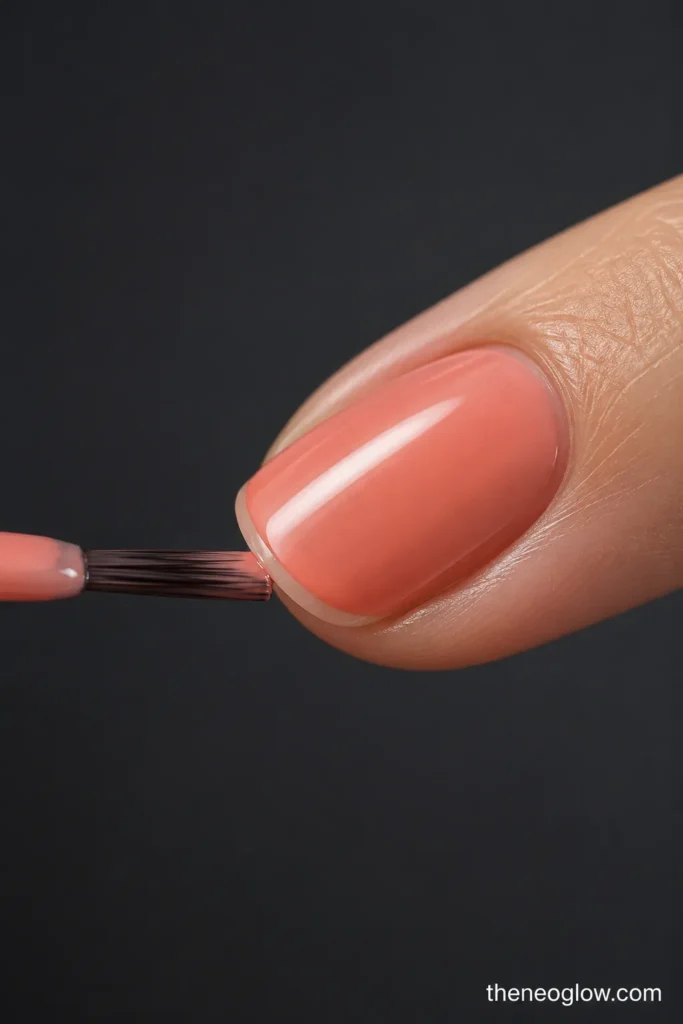
Finish with a compatible topcoat after the color has set enough that the brush will not drag it. “Float” the brush with light pressure over detailed nail art. Then give the manicure a protected window: avoid digging through luggage, fastening tight jewelry, washing dishes, or pressing nails into bedding while the layers continue to harden.
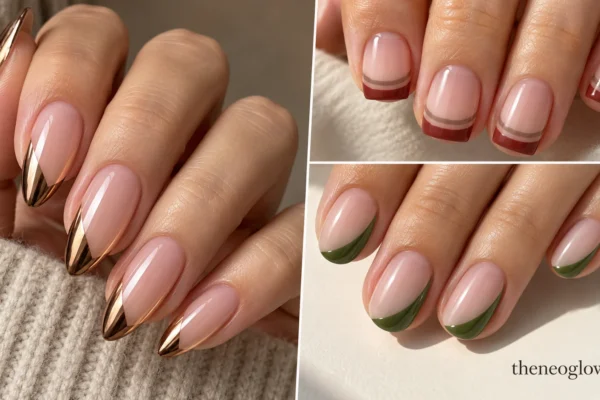
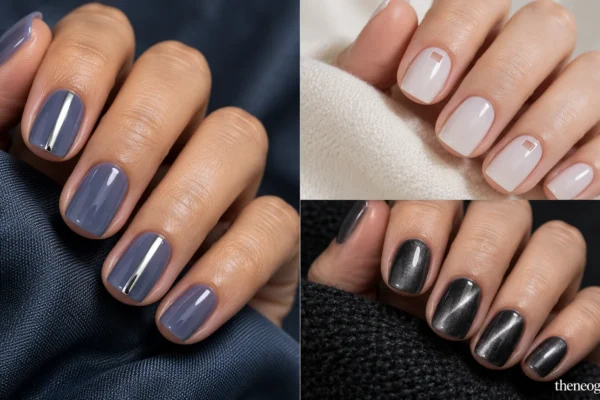
Choose forgiving designs when your schedule is rough on polish. Sheer pinks, jelly nudes, micro tips, and low-contrast accents usually make small chips and growth less obvious. The natural summer nails guide offers examples built around translucent color and simple shine, while the simple nail designs collection can help you choose artwork that is easier to repair.
Treat Gel as a Cured System, Not Faster Regular Polish
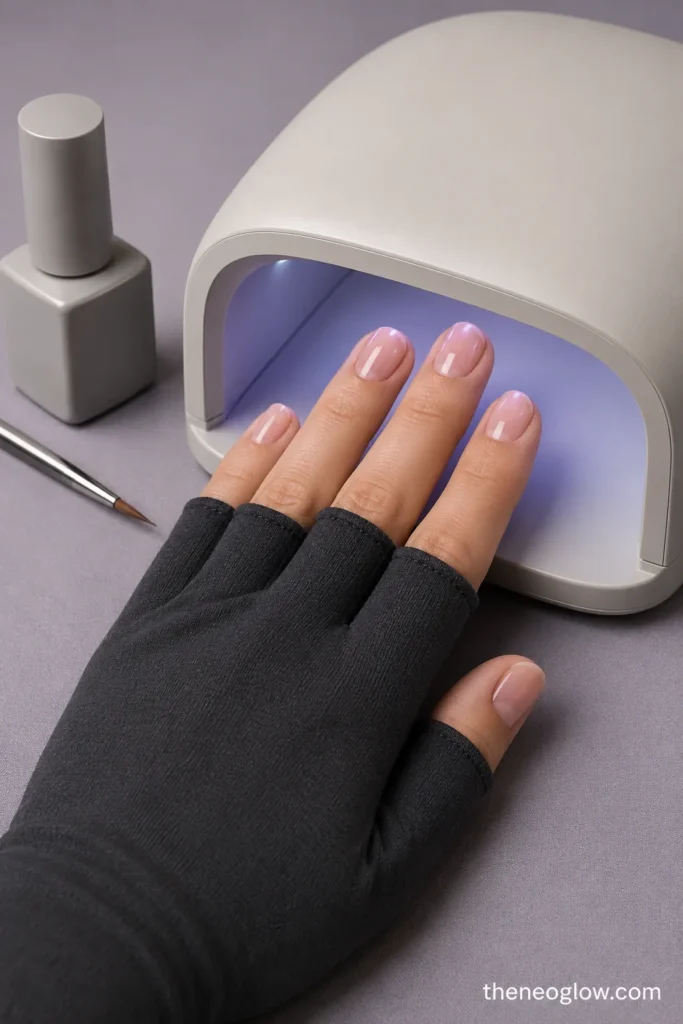
Gel color must be applied and cured as a complete compatible system. Do not guess the cure time from another brand or assume that a stronger-looking lamp fixes thick application. Use thin base, color, and top coats, cap the edge when directed, and cure each layer with the lamp and timing specified for that exact system. gel off the skin and cuticle area. If product floods the skin, remove it before curing. The FDA advises following labeled nail-product directions and paying attention to warnings because irritation and allergic reactions can occur. Stop using the product if you develop itching, burning, swelling, blistering, or a persistent rash. also create a separate skin-exposure decision. The American Academy of Dermatology recommends broad-spectrum, water-resistant SPF 30 or higher on the hands before a gel manicure or dark opaque fingerless gloves as a protective option. Follow the sunscreen label and avoid applying a greasy product to the nail plate itself before gel prep. ifting gel or seal a visibly lifted pocket with more product. Arrange correct removal according to the gel system. Peeling can remove surface layers from the natural nail and makes the next manicure harder to apply smoothly.
Keep Press-On Advice Separate
Press-ons fail for different reasons than liquid polish. Fit every tip from sidewall to sidewall without pinching or overlapping skin. Complete sizing before opening adhesive, and follow the exact prep, adhesive amount, pressure, setting period, and removal instructions supplied with the set.
Do not assume every glue or adhesive tab has the same water resistance. Avoid swimming, showering, or washing dishes during the manufacturer’s stated water-free period. If a nail lifts after pool time, remove or replace it according to the product directions rather than pushing fresh glue beneath an edge that may contain moisture, sunscreen, or debris.
For packing, spare sizes, adhesive choices, pool precautions, repair, and removal, use the vacation press-on nails guide instead of treating regular-polish advice as universal.
Protect the Manicure During Summer Life
Use gloves for wet and abrasive chores
Dishwashing, cleaning products, gardening, and repeated wet work combine water exposure with friction. Protective gloves reduce direct contact and also discourage you from scraping with the nail edge. Dermatology guidance links prolonged wet work and harsh chemicals without gloves with brittle nails, so glove use supports the natural nail as well as the finish.
Moisturize after washing, not before painting
Frequent washing and hand sanitizer can dry the hands, nails, and cuticles. After washing, pat the hands dry and apply hand cream around the fingertips and nails. The exception is the application window: keep lotion and oil away from the bare nail plate until prep and color are complete.
Plan pool time instead of fearing it
A properly applied manicure does not need to be hidden from every pool. The practical risk is repeated soaking followed by towel friction, sunscreen, opening cans, or using softened nail edges as tools. After swimming, rinse away residue, pat the hands dry, check for lifting, and moisturize the surrounding skin. Do not pick at a loose edge.
Build a small travel repair kit
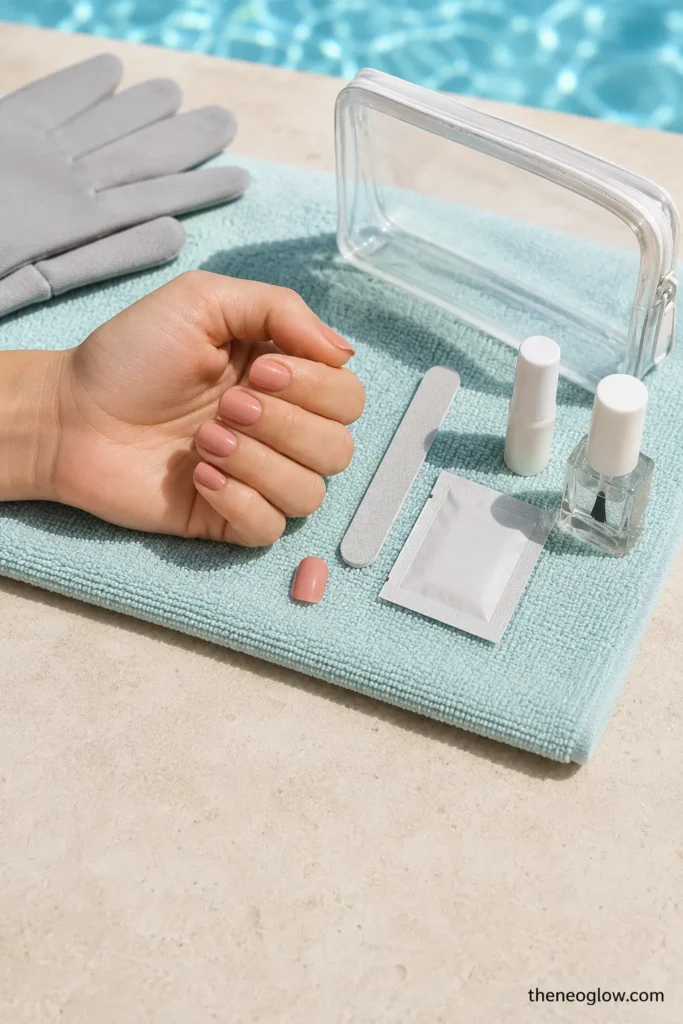
For regular polish, pack the exact color, a compatible topcoat, remover pad, and small file. For press-ons, carry confirmed spare sizes and the approved adhesive. Gel should not be patched casually with unrelated products; arrange a proper repair if lifting exposes a pocket or catches painfully.
Your Next-Manicure Checklist
Regular polish
Clean and dry nails; smooth edges; correct base coat; thin color layers; drying time between layers; capped free edge when directed; compatible topcoat; protected hardening window; gloves for chores; oil and hand cream after application.
Gel
Healthy intact nail area; compatible base, color, topcoat, and lamp; thin coats; no product on skin; exact cure instructions; edge sealed as directed; UV-protection choice; no picking; correct removal.
Press-ons
Correct sidewall-to-sidewall fit; clean dry nail plate; exact adhesive instructions; careful alignment and pressure; water-free setting period; spare nails; no glue beneath a contaminated lifted edge; manufacturer-approved removal.
Frequently Asked Questions
Does cuticle oil make nail polish lift?
Oil can interfere when it remains on the nail plate immediately before application. After regular polish has dried or gel has cured, apply oil to the cuticle and surrounding skin while avoiding aggressive rubbing under lifted edges.
Can I cap the free edge on very short nails?
Yes, when the product directions recommend it. Pull the fingertip skin slightly away from the edge and use a lightly loaded brush. A thick ridge under the tip can chip, so the pass should be thin.
Why does regular polish dent even when it feels dry?
The surface can dry before the lower layers fully harden, especially when coats are thick. Use thinner layers and avoid pressure for longer than the moment the polish first feels touch-dry.
Make the Next Manicure a Test
Change one or two variables rather than replacing your entire routine. Start with cleaner prep, thinner coats, and correct edge sealing. Then match drying, curing, water precautions, and aftercare to regular polish, gel, or press-ons. Save the cause-and-fix table and check it before your next manicure. When the same lifting, pain, swelling, or discoloration continues despite careful application, remove the product safely and seek professional advice instead of repeatedly covering the area.