Vacation press-on nails can give you a photo-ready manicure without fitting a salon appointment into an already busy travel week. The challenge is choosing a set that works with luggage, swimming, sunscreen, showers, and last-minute repairs—not simply picking the prettiest design. This guide focuses on the practical decisions: length, shape, fit, adhesive, timing, packing, water exposure, and safe removal. It does not repeat a full sizing tutorial or promise a fixed wear period. Instead, it helps you build a realistic plan around your trip, your activities, and the directions supplied with your exact nail set and adhesive.
Start With Your Vacation, Not the Nail Design
Before comparing colors, decide what your hands will actually do. A resort weekend with dinners and photos creates different demands from a road trip, a cruise, or a beach vacation filled with swimming and luggage handling.
Ask yourself four questions:
- Will I swim, snorkel, kayak, or spend long periods in water?
- Will I handle heavy suitcases, stroller straps, sports gear, or frequent outfit changes?
- Do I want the set mainly for one event, or for several days of travel?
- Am I comfortable repairing one nail away from home?
Your answers determine the best length and adhesive more reliably than a trend photo. For design inspiration, save the practical advice in this guide and browse these photo-ready beach nail ideas separately so the visual choice does not distract from fit and packing.
Use This Length and Shape Decision Tree
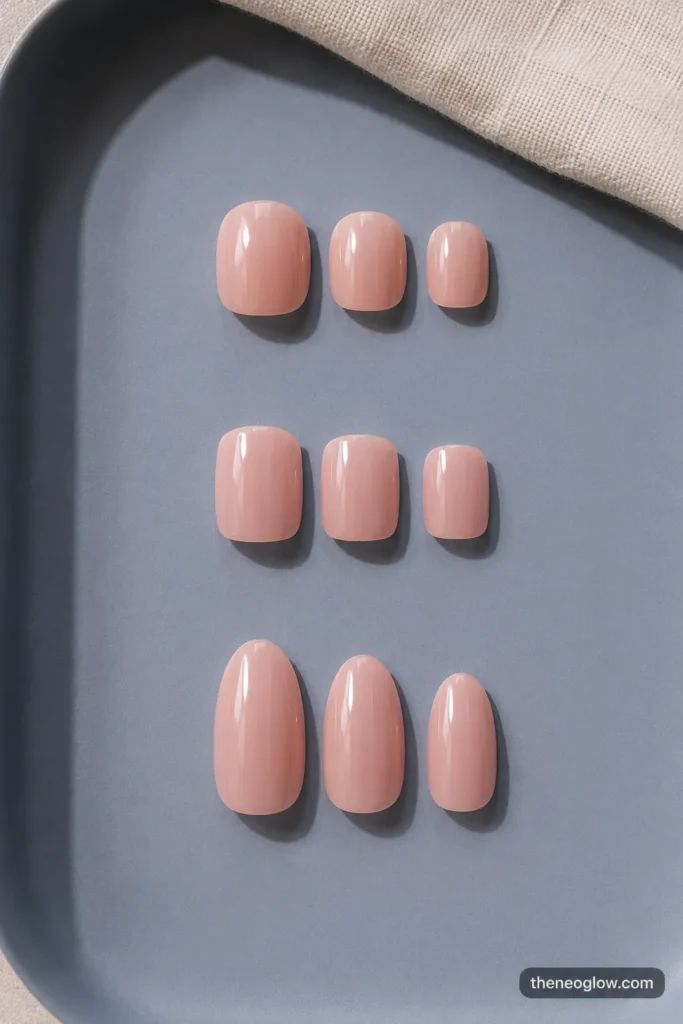
Follow the first statement that sounds like your trip.
You will handle luggage, type, cook, or stay highly active: choose short round or short squoval vacation press-ons. They offer less free edge to catch on zippers, straps, towels, and tight clothing.
You want a polished look but still need everyday function: choose short oval or a restrained medium oval. Check that the tip does not extend so far that basic tasks feel unfamiliar.
You mainly need a manicure for dinners, photos, or a special event: a medium almond shape may work, provided you have worn a similar length before and can manage it comfortably.
You have never worn press-ons while traveling: begin shorter than your ideal inspiration image. Familiar hand movement matters more on a trip than dramatic length.
Avoid choosing a shape only because it looks elegant in a product photo. The side profile, apex, curve, and free-edge length can feel very different once the nail is attached. Readers who prefer compact designs can also compare the proportions in this collection of short summer nails.
Check Fit Without Turning This Into a Full Sizing Tutorial
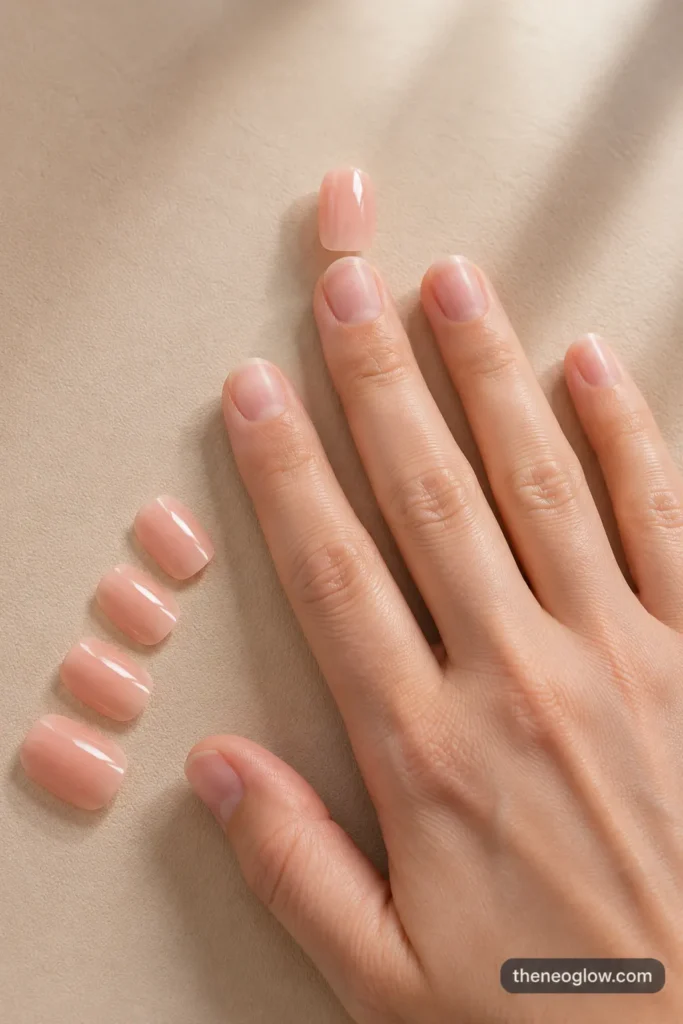
Lay out the set before travel and match every finger while your natural nails are clean and dry. Each tip should cover the natural nail from sidewall to sidewall without pinching, leaving exposed nail at the edges, or overlapping the surrounding skin.
If you are between sizes, follow the instructions for that exact set. Some systems advise sizing down, while others work better when a slightly larger tip is carefully filed at the sidewalls. Do not force a visibly undersized nail onto a wider nail plate.
Write the size number for each finger in your phone or on a small card. This creates a quick reference if you need a replacement during the trip and prevents you from guessing while standing in a hotel bathroom.
Adhesive Tabs vs. Nail Glue for Travel
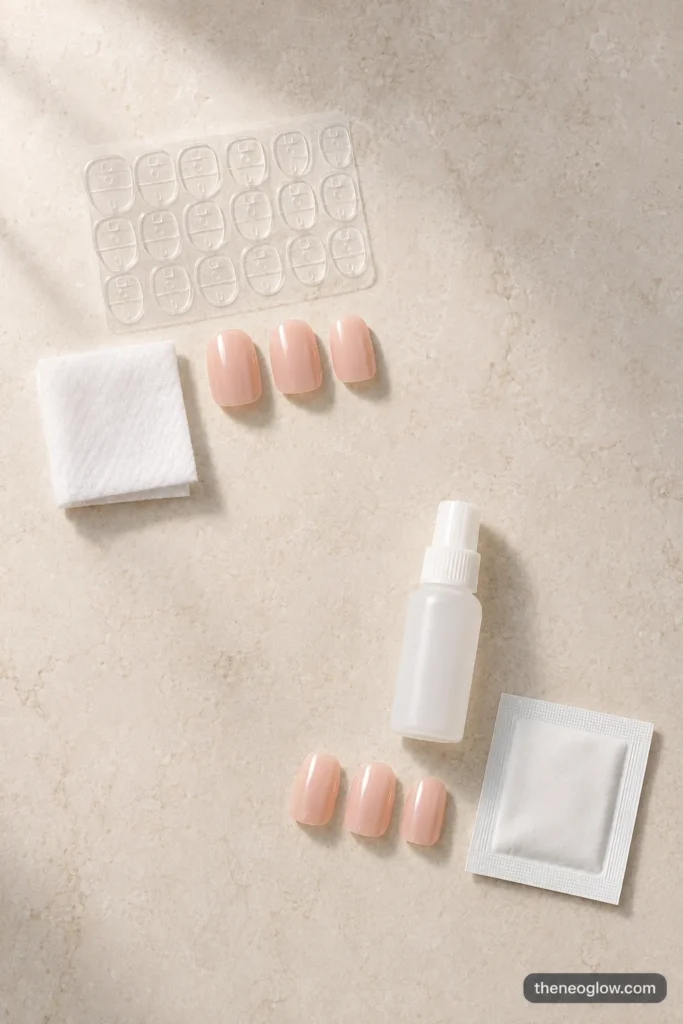
Neither method is universally better. Choose according to your schedule, water exposure, removal plan, and the system supplied with your nails.
| Factor | Adhesive Tabs | Nail Glue |
|---|---|---|
| Best fit | Short events, quick changes, lower-commitment wear | Trips where a firmer attachment is preferred |
| Application | Peel, align, and press as directed | Apply the brand’s recommended amount and press as directed |
| Removal | Often designed to loosen more easily | May require the brand’s remover, soaking method, or another specified process |
| Reuse potential | Often easier to preserve the nail, depending on the set | Dried glue may make reuse more difficult |
| Water planning | Keep exposure conservative and follow the tab instructions | Avoid assuming “waterproof” means unlimited soaking |
| Packing | Tabs are compact and spill-free | Glue must be checked for baggage and liquid restrictions |
Tabs are useful when you want a set for a welcome dinner, wedding, photos, or a short portion of the trip. Glue may suit a traveler who wants a firmer hold and is prepared to pack the correct removal supplies. Manufacturer instructions differ, so do not combine one brand’s glue with another brand’s removal advice unless both products say that is appropriate.
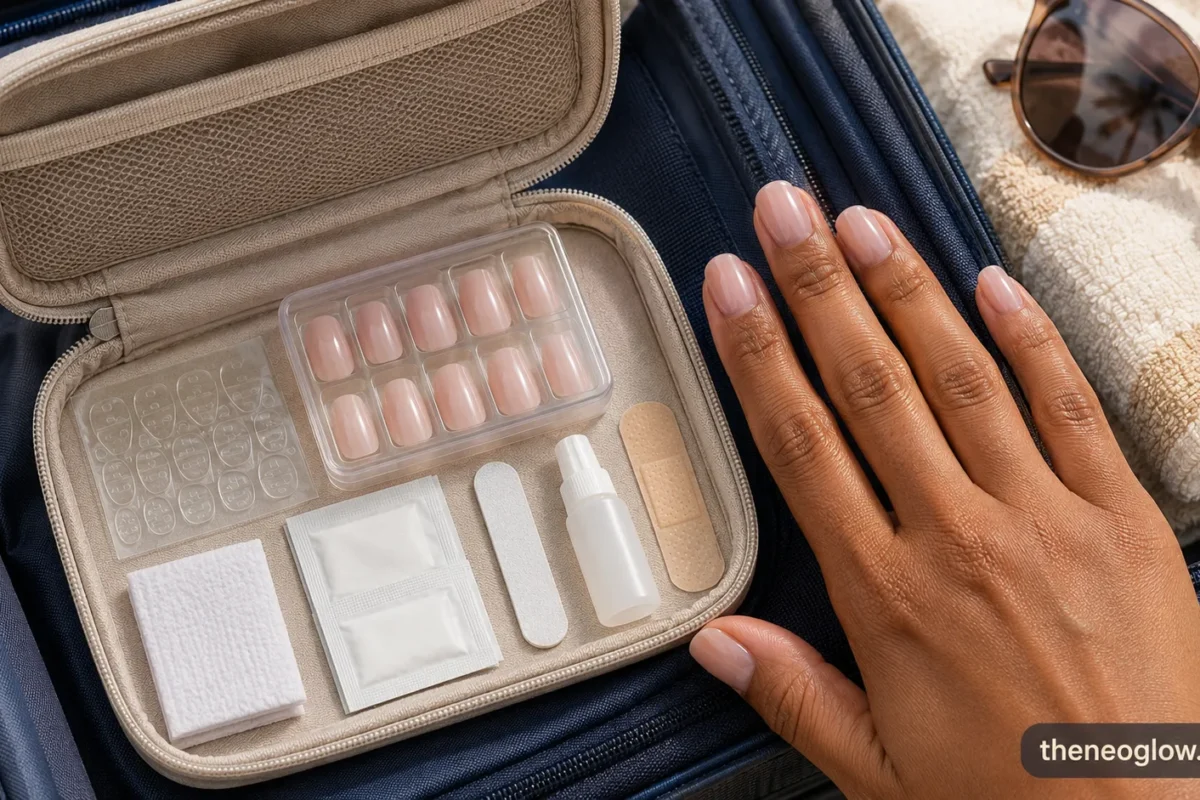
Build a Press-On Nail Travel Kit
Keep the kit compact enough to reach without unpacking your suitcase.
Carry-On Checklist
- Your fitted press-on set in a rigid case
- Two or more confirmed spare nails
- Matching adhesive tabs or the exact glue you plan to use
- One small nail file
- Alcohol prep pads, if required by the manufacturer
- A wooden manicure stick, if permitted and used by your system
- A lint-free wipe or clean tissue
- A tiny labeled bag for removed nails
- The adhesive and removal instructions, saved as a photo
- A small bandage for protecting a damaged natural nail
For U.S. airport screening, TSA’s liquids rule limits carry-on liquids, gels, and aerosols to containers of 3.4 ounces or 100 milliliters or less within the permitted liquids bag. TSA also lists metal nail files as allowed in carry-on and checked baggage, although the final decision remains with the officer at the checkpoint.
Glue requires an additional check. FAA PackSafe adhesive guidance says some adhesives are flammable and prohibited in both carry-on and checked baggage, while nonflammable household glues may be allowed; check the product label or safety data sheet rather than assuming every nail glue can fly. Airline rules and destination-country requirements may also differ.
Make a Spare-Nail Plan Before You Leave
Do not pack random leftovers and hope one fits. Select spares after completing your fit check.
At minimum, bring one confirmed replacement for each thumb and index finger because these fingers often handle luggage, doors, and packaging. Add one or two nails that can substitute for nearby sizes if carefully filed according to the set’s directions. Keep the matching adhesive with the spares.
Store each replacement in a small divided case or label it by finger. A loose press-on can crack inside a toiletry bag, and a mixed pile makes an emergency repair slower.
Photograph the finished manicure in natural light before departure. If you replace one nail, the photo helps you confirm orientation, design order, and accent placement.
Apply the Set at the Right Time
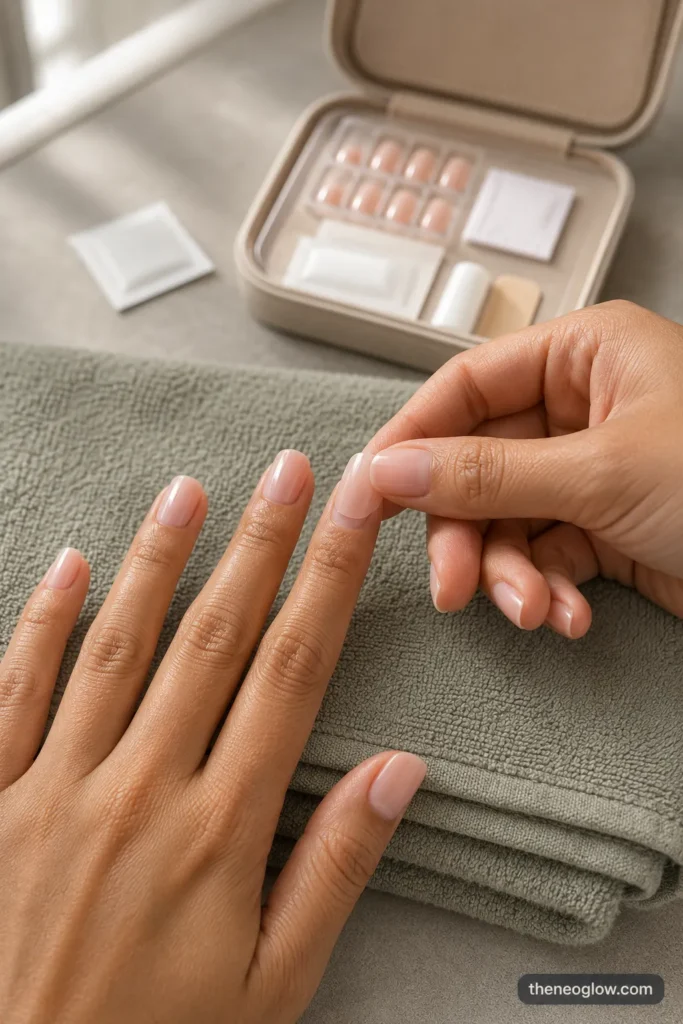
Do not rush application five minutes before leaving for the airport. Choose a calm window when your hands can remain clean, dry, and free from heavy tasks for the period stated by the manufacturer.
Complete showers, hair washing, laundry, packing, and dishwashing first. Then prepare the natural nails exactly as directed. Avoid applying over irritated, split, painful, or visibly damaged nail tissue.
Work one nail at a time. Align the press-on near the cuticle without placing it on the skin, lower it onto the nail plate, and use the pressure and hold time specified by the brand. If the nail sits crooked, traps a large air gap, pinches, or overlaps skin, remove it according to the product instructions rather than pressing harder.
For simple designs that are easier to replace individually, browse these polished, easy nail designs and choose a set with repeatable solids, micro tips, or minimal accents.
Reduce Water-Related Lifting
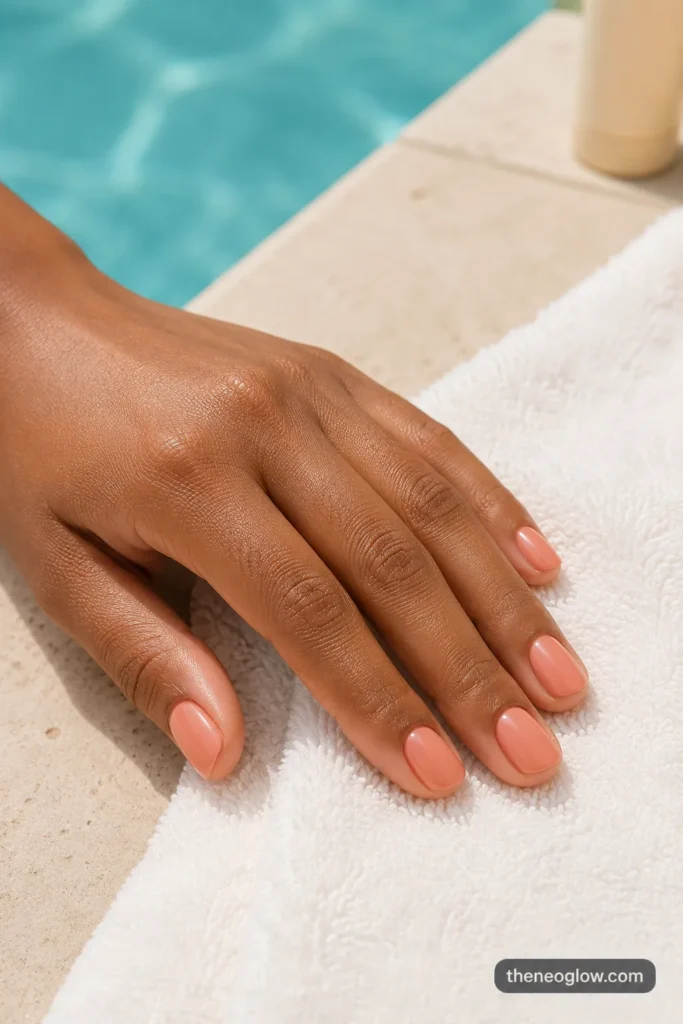
A pool, ocean, shower, or hot tub does not automatically ruin a set, but repeated soaking and careless use can challenge the edges. “Waterproof” is also a product-specific claim, not permission to ignore application and care instructions.
Use these precautions:
- Follow the stated water-free period after application.
- Apply before a low-water part of the day rather than immediately before swimming.
- Wear gloves for dishwashing or cleaning when possible.
- Do not use the nail tips to open cans, scrape labels, or pry lids.
- Pat hands dry after swimming and check the sidewalls for movement.
- Never push fresh glue beneath a partly lifted nail that has trapped water, sand, sunscreen, or debris.
- Remove and replace a loose nail if you cannot clean and dry the area properly.
Sunscreen and body oils can also make repairs harder if they remain on the nail plate. Before replacing a nail, wash and dry your hands and follow the prep steps provided with the adhesive.
Handle an Emergency Press-On Repair
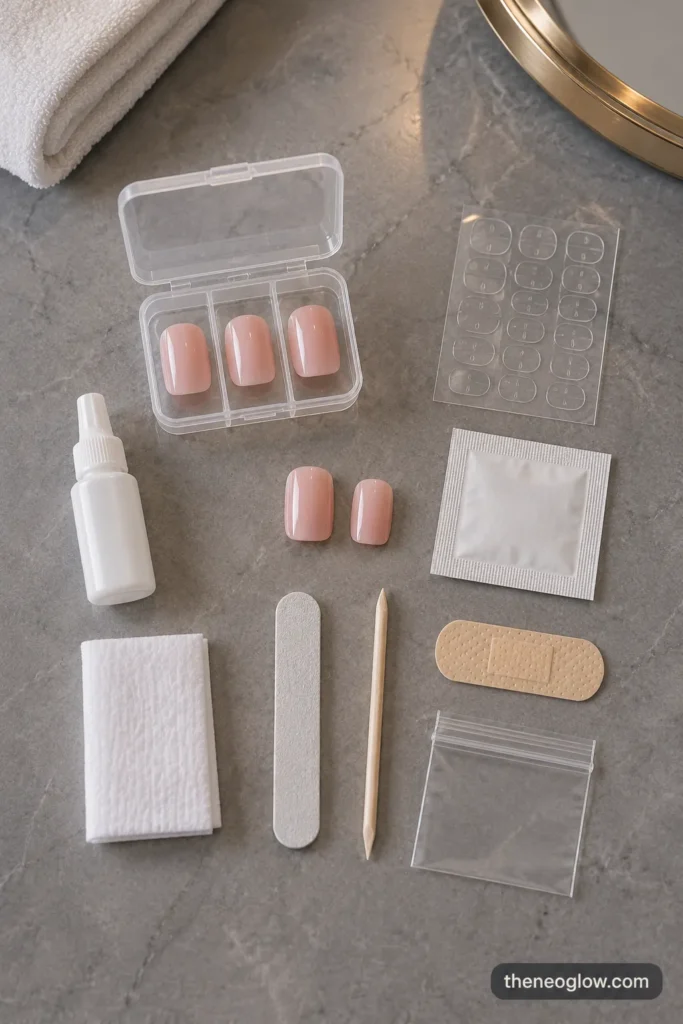
When a nail loosens, stop using that finger as a tool. Find the nail if it has detached and place it in your labeled bag.
If the Natural Nail Is Uninjured
- Wash and dry your hands.
- Clean the natural nail and replacement tip according to the system’s directions.
- Confirm that the nail and surrounding skin are fully dry.
- Use a fresh tab or glue only if the manufacturer permits reapplication.
- Align the replacement carefully and hold it for the stated time.
- Keep the finger away from water and heavy use for the recommended setting period.
If the Natural Nail Hurts or Is Damaged
Do not cover pain, bleeding, a split, swelling, or marked discoloration with another press-on. Protect the area from snagging and leave it uncovered or bandaged as appropriate until you can assess it properly. Seek medical care for persistent pain, spreading redness, warmth, swelling, pus, or other signs that concern you.
The FDA’s nail-product safety guidance notes that some nail products can cause irritation, allergic reactions, or infections. Stop using the product if you develop a reaction, and contact a healthcare professional when symptoms are significant or persistent.
Remove Vacation Press-Ons Safely
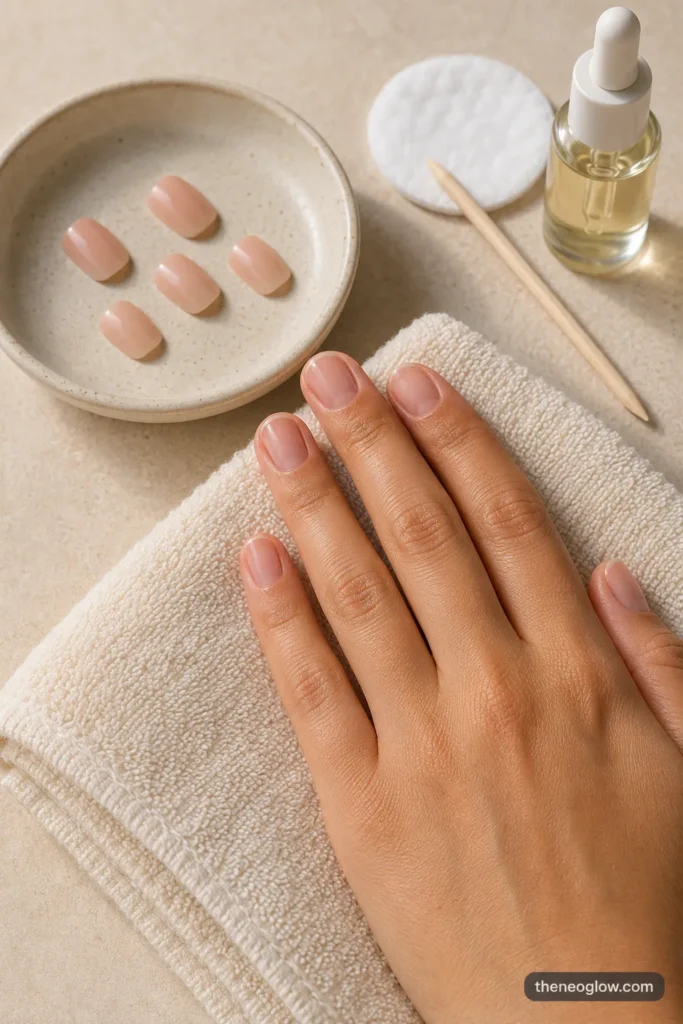
Plan removal before you pack. Tabs and glue may require different methods, and one brand’s instructions should not be treated as universal.
Follow the directions supplied with the exact adhesive, remover, and nail set. Allow the adhesive to soften for as long as instructed. If the nail resists, repeat the approved loosening process instead of twisting, peeling, or prying it away.
Never force a press-on off to save time before checkout or a flight. Aggressive removal can take surface layers from the natural nail or injure surrounding skin. After removal, wash your hands, gently address residue only as directed, and moisturize the nails and cuticles.
Choose a Set You Can Maintain Away From Home
The best travel press-on nails are not necessarily the longest, most detailed, or strongest-looking option. They are the set you can size correctly, apply without rushing, pack with confirmed spares, protect during your planned activities, and remove according to the adhesive instructions.
Choose short vacation press-ons for active itineraries, tabs for flexible event-focused wear, or glue when its directions and travel status fit your plan. Save the carry-on checklist, record your sizes, and build the repair kit before closing your suitcase. A little planning makes your manicure easier to enjoy—and much easier to fix—while you are away.
![Pin number: 5. Selected click job / creative role: SALON-REFERENCE UTILITY. Exact article title: “21 Brown Nails From Chocolate and Espresso to Chrome and French Tips.” Exact Pin angle: Create a save-worthy close salon-reference image for Article Idea #18, showing exactly how a two-tone mocha French should be structured: a medium mocha main tip with an espresso line tracing its lower edge, and the espresso outline visibly thinner than the main tip. Matching Pinterest title for semantic reference only — DO NOT render: “Brown French Nails: Mocha Tips With an Espresso Outline” Matching Pinterest description angle for semantic reference only — DO NOT render: Give readers a precise two-tone brown French reference they can save for an appointment while the linked article explains additional brown finishes and French options. Selected Pinterest Board for semantic reference only — DO NOT render: Trending Nail Colors 2026 Destination URL metadata only — DO NOT render: [ADD FINAL ARTICLE URL] Exact overlay headline with exact line breaks: SAVE THIS BROWN FRENCH Exact supporting line: Mocha tip + espresso outline Selected layout family: MINIMAL CAPTION HERO. FINAL CANVAS: Exactly 1000 × 1500 pixels. Strict vertical 2:3. Never stretch. VISUAL-PROOF TYPE: Single Hero / Salon-Reference Utility. SUBJECT: Article Idea #18 — Two-Tone Mocha Outline French. Show one anatomically correct adult feminine hand with medium neutral skin. Use medium oval or softly almond-leaning nails with sufficient surface area for both brown lines to remain readable. Do not make the nails extremely long. Use a sheer neutral natural-looking base. Create: - one medium mocha-brown main French tip, - one extremely fine deep espresso line tracing the LOWER edge of the mocha tip. The espresso line must be clearly thinner than the mocha tip. The two browns must be distinguishable without introducing any other color family. Do not add gold, white, black, burgundy, glitter, chrome, cat-eye, dots, flowers, charms, or metallic outlines. POSE: Use a salon-reference four-finger close-up with fingers gently aligned rather than curled tightly into the palm. Angle the nails toward the camera so the tip structure is immediately inspectable. The manicure should occupy roughly 72%–80% of the useful image area. Protect a small quiet caption zone approximately: x = 70–570 y = 105–355. Keep nail tips out from under the text. BACKGROUND: Use a clean warm ivory-to-taupe seamless studio background. A restrained dark-mocha tonal shadow may add depth. No salon bottle lineup. No manicure tools unless extremely soft and fully secondary; preferably no props. No coffee. No leaves. No stone slab. TYPOGRAPHY: Use one high-contrast editorial serif or bold clean sans-serif for: SAVE THIS BROWN FRENCH Exact line break required. Use clean sans-serif for: Mocha tip + espresso outline The copy must feel like a useful visual reference, not a promotional CTA button. MOBILE 200 × 300 VALIDATION: At thumbnail size: - BROWN FRENCH must remain obvious, - at least three nail tips must remain crisp, - both the mocha main tip and thinner espresso outline must still be distinguishable, - the sheer base must remain visible. RENDERED TEXT ALLOWLIST SAVE THIS BROWN FRENCH Mocha tip + espresso outline SnapLuxe by theneoglow.com INTENTIONAL-OVERLAY-TEXT-ONLY RULE: No additional readable text anywhere. Do not render Pinterest title, description, board, article title, URL, Pin number, creative role, layout name, filenames, dimensions, or metadata. UNBRANDED PROP RULE: No branded salon tools, bottles, packaging, appointment cards, magazines, or readable background objects. SIGNATURE SYSTEM: Render exactly: SnapLuxe by theneoglow.com Place bottom-center inside the standardized approximately 90-pixel footer zone, y = 1410–1500. High contrast. Clean sans-serif. Consistent perceived size. Fully crop-safe. Never use only “theneoglow.com.” COMPETITOR-ORIGINALITY LOCK: Do not copy a competitor salon-reference Pin, existing SnapLuxe minimal hero, NeoGlow body image, manicure pose, typography geometry, website footer, badge, logo, or watermark treatment. BEFORE/AFTER: Not applicable. NEGATIVE CONSTRAINTS: Do not widen the espresso outline until both colors look equal. Do not place the espresso line on the outer edge instead of the lower edge. No classic white French. No chocolate micro French substitution. No caramel deep-curve substitution. No side-French substitution. No metallic line. No coffee imagery. No random jewelry covering fingers. No blurry tip detail. No shallow depth of field that leaves some compared lines out of focus. No extra fingers, fused fingers, warped tips, duplicated nails, or plastic skin. No unsupported trend, ranking, or performance wording. SEMANTIC ALIGNMENT: Overlay, visible two-tone French structure, Pinterest title, description angle, color-board placement, and destination article must all communicate one precise article-supported brown French reference: medium mocha tip plus a much finer espresso outline. Generate or assemble the image, then inspect the actual final output. Confirm exact 1000 x 1500 dimensions, exact allowlisted spelling and line breaks, correct anatomy, crisp nail detail, faithful polish color and finish, safe margins, readable signature, and readability at a 200 x 300 thumbnail. If any check fails, revise or regenerate. If actual-file inspection is unavailable, state QA NOT PERFORMED; do not call the asset publish-ready.Pin number: 5. Selected click job / creative role: SALON-REFERENCE UTILITY. Exact article title: “21 Brown Nails From Chocolate and Espresso to Chrome and French Tips.” Exact Pin angle: Create a save-worthy close salon-reference image for Article Idea #18, showing exactly how a two-tone mocha French should be structured: a medium mocha main tip with an espresso line tracing its lower edge, and the espresso outline visibly thinner than the main tip. Matching Pinterest title for semantic reference only — DO NOT render: “Brown French Nails: Mocha Tips With an Espresso Outline” Matching Pinterest description angle for semantic reference only — DO NOT render: Give readers a precise two-tone brown French reference they can save for an appointment while the linked article explains additional brown finishes and French options. Selected Pinterest Board for semantic reference only — DO NOT render: Trending Nail Colors 2026 Destination URL metadata only — DO NOT render: [ADD FINAL ARTICLE URL] Exact overlay headline with exact line breaks: SAVE THIS BROWN FRENCH Exact supporting line: Mocha tip + espresso outline Selected layout family: MINIMAL CAPTION HERO. FINAL CANVAS: Exactly 1000 × 1500 pixels. Strict vertical 2:3. Never stretch. VISUAL-PROOF TYPE: Single Hero / Salon-Reference Utility. SUBJECT: Article Idea #18 — Two-Tone Mocha Outline French. Show one anatomically correct adult feminine hand with medium neutral skin. Use medium oval or softly almond-leaning nails with sufficient surface area for both brown lines to remain readable. Do not make the nails extremely long. Use a sheer neutral natural-looking base. Create: - one medium mocha-brown main French tip, - one extremely fine deep espresso line tracing the LOWER edge of the mocha tip. The espresso line must be clearly thinner than the mocha tip. The two browns must be distinguishable without introducing any other color family. Do not add gold, white, black, burgundy, glitter, chrome, cat-eye, dots, flowers, charms, or metallic outlines. POSE: Use a salon-reference four-finger close-up with fingers gently aligned rather than curled tightly into the palm. Angle the nails toward the camera so the tip structure is immediately inspectable. The manicure should occupy roughly 72%–80% of the useful image area. Protect a small quiet caption zone approximately: x = 70–570 y = 105–355. Keep nail tips out from under the text. BACKGROUND: Use a clean warm ivory-to-taupe seamless studio background. A restrained dark-mocha tonal shadow may add depth. No salon bottle lineup. No manicure tools unless extremely soft and fully secondary; preferably no props. No coffee. No leaves. No stone slab. TYPOGRAPHY: Use one high-contrast editorial serif or bold clean sans-serif for: SAVE THIS BROWN FRENCH Exact line break required. Use clean sans-serif for: Mocha tip + espresso outline The copy must feel like a useful visual reference, not a promotional CTA button. MOBILE 200 × 300 VALIDATION: At thumbnail size: - BROWN FRENCH must remain obvious, - at least three nail tips must remain crisp, - both the mocha main tip and thinner espresso outline must still be distinguishable, - the sheer base must remain visible. RENDERED TEXT ALLOWLIST SAVE THIS BROWN FRENCH Mocha tip + espresso outline SnapLuxe by theneoglow.com INTENTIONAL-OVERLAY-TEXT-ONLY RULE: No additional readable text anywhere. Do not render Pinterest title, description, board, article title, URL, Pin number, creative role, layout name, filenames, dimensions, or metadata. UNBRANDED PROP RULE: No branded salon tools, bottles, packaging, appointment cards, magazines, or readable background objects. SIGNATURE SYSTEM: Render exactly: SnapLuxe by theneoglow.com Place bottom-center inside the standardized approximately 90-pixel footer zone, y = 1410–1500. High contrast. Clean sans-serif. Consistent perceived size. Fully crop-safe. Never use only “theneoglow.com.” COMPETITOR-ORIGINALITY LOCK: Do not copy a competitor salon-reference Pin, existing SnapLuxe minimal hero, NeoGlow body image, manicure pose, typography geometry, website footer, badge, logo, or watermark treatment. BEFORE/AFTER: Not applicable. NEGATIVE CONSTRAINTS: Do not widen the espresso outline until both colors look equal. Do not place the espresso line on the outer edge instead of the lower edge. No classic white French. No chocolate micro French substitution. No caramel deep-curve substitution. No side-French substitution. No metallic line. No coffee imagery. No random jewelry covering fingers. No blurry tip detail. No shallow depth of field that leaves some compared lines out of focus. No extra fingers, fused fingers, warped tips, duplicated nails, or plastic skin. No unsupported trend, ranking, or performance wording. SEMANTIC ALIGNMENT: Overlay, visible two-tone French structure, Pinterest title, description angle, color-board placement, and destination article must all communicate one precise article-supported brown French reference: medium mocha tip plus a much finer espresso outline. Generate or assemble the image, then inspect the actual final output. Confirm exact 1000 x 1500 dimensions, exact allowlisted spelling and line breaks, correct anatomy, crisp nail detail, faithful polish color and finish, safe margins, readable signature, and readability at a 200 x 300 thumbnail. If any check fails, revise or regenerate. If actual-file inspection is unavailable, state QA NOT PERFORMED; do not call the asset publish-ready.](https://theneoglow.com/wp-content/uploads/2026/09/brown-nails-espresso-chrome-french-600x400.webp)