A press-on can match your nail’s width and still look wrong if its curve does not match your nail plate. That is why a useful press-on nail sizing guide must go beyond choosing a number from the back of a tip. You need to measure every finger, dry-fit the actual nails, check sidewall coverage, and identify whether a gap comes from width or curvature.
Use the steps and worksheet below before applying adhesive. You will finish with a labeled set for both hands, a clear plan for any between-size nails, and fewer last-minute guesses.
What a Correct Press-On Fit Looks Like
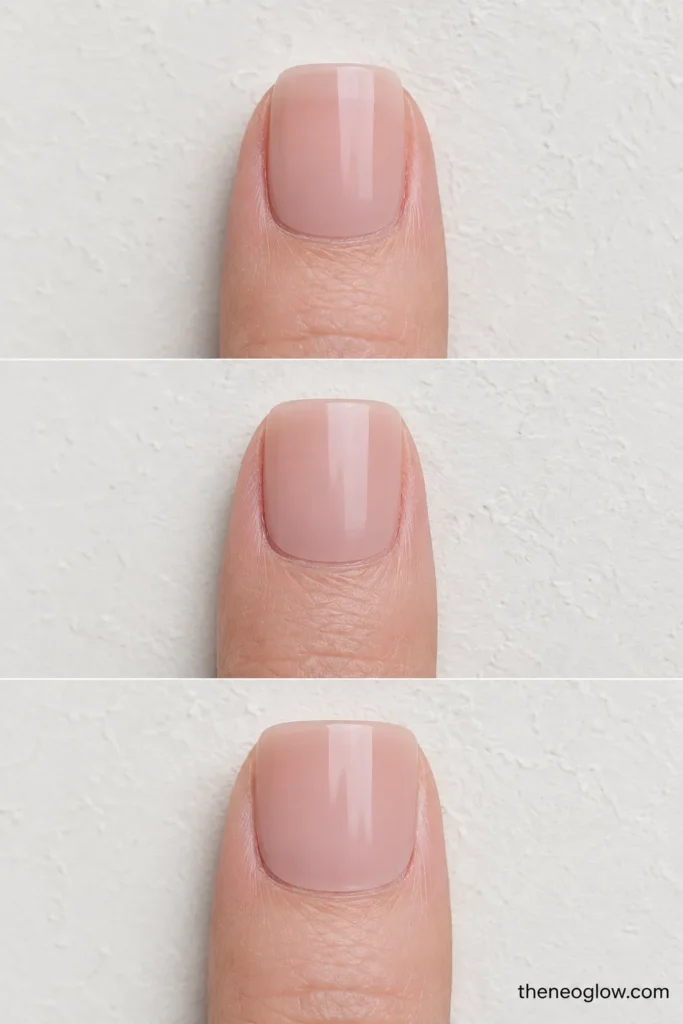
A correctly fitted tip covers the natural nail from sidewall to sidewall without exposing nail, pinching, or resting on the surrounding skin. Near the cuticle, the press-on should follow the visible nail line rather than sitting on the cuticle.
Dry-fit each tip with light pressure only. Do not force a curved tip flat or squeeze a narrow tip over a wider nail. The nail should feel stable enough to assess, but sizing is not an application test.
Use this quick diagnosis before measuring:
| What You See During a Dry Fit | Most Likely Issue | Next Move |
| Natural nail is visible along one or both sides | Tip is too narrow | Try the next wider option |
| Tip overlaps skin or presses into both sidewalls | Tip is too wide | Try a narrower option or assess whether minimal filing is allowed |
| Width looks correct, but the side edges float | Tip may be too flat for your nail’s curve | Try another tip profile or shape |
| Side edges touch, but there is a hollow space under the center | Tip may be too curved for a flatter nail | Try a flatter or more flexible tip |
| Tip rocks from side to side | Curve mismatch or uneven contact | Stop treating it as a simple size-number problem |
| One corner fits while the other sits outside the nail | Tip is off-center, asymmetrical, or the wrong shape | Recenter it, flip orientation if relevant, or test another tip |
How to Measure Press-On Nails in Millimeters
Millimeters give you a useful starting point, especially for custom sets or online orders. They do not replace a dry fit because brand numbering, shape, length, and curve can vary.
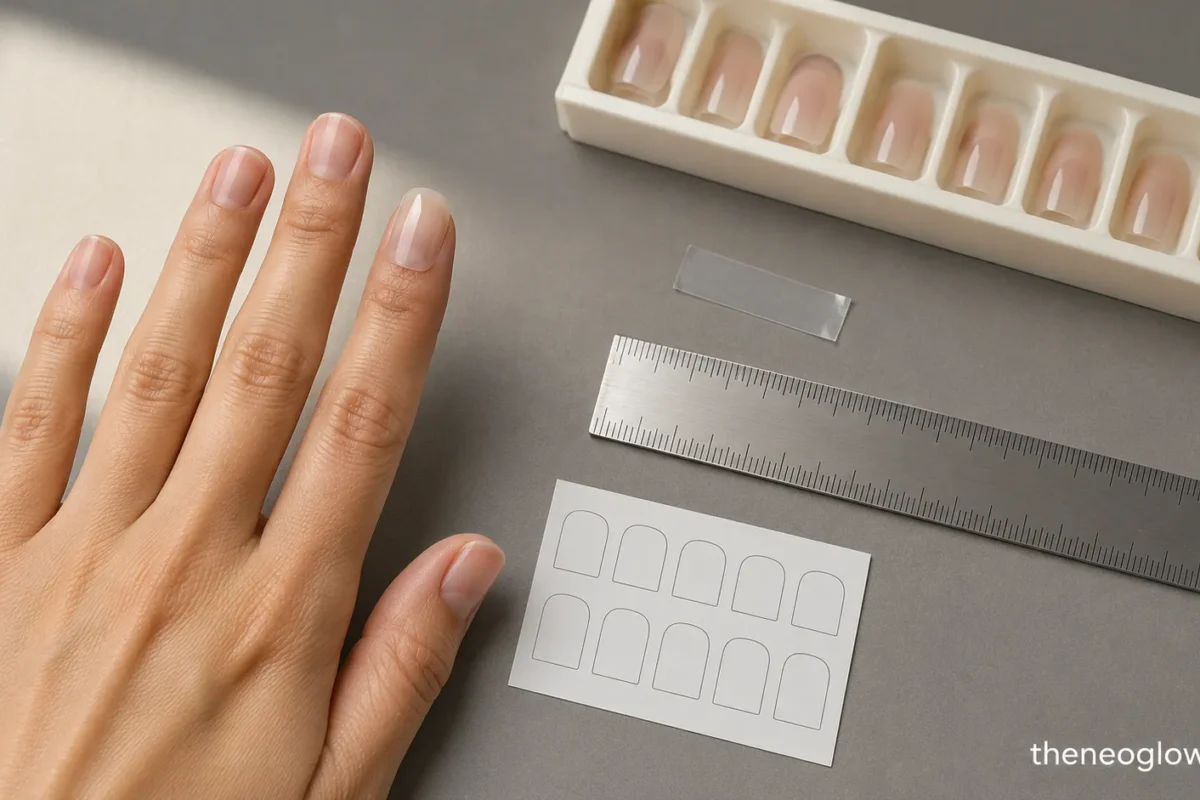
Method 1: Clear Tape and a Ruler
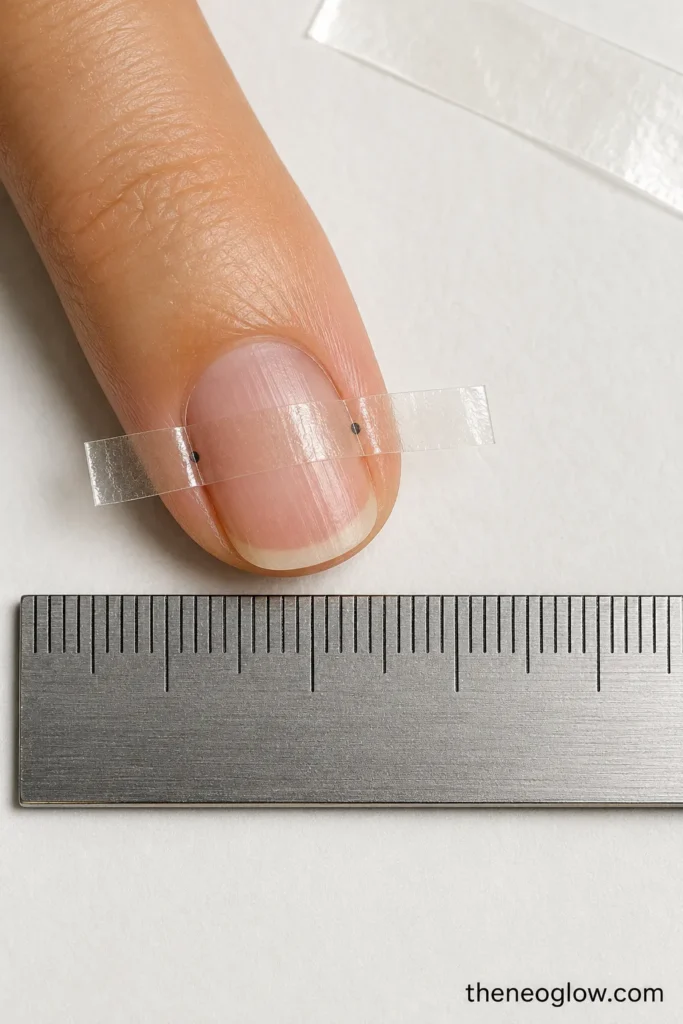
- Place a small strip of clear tape across the widest part of the bare natural nail.
- Smooth it from sidewall to sidewall so it follows the nail’s curve.
- Mark the two points where the nail plate meets the sidewalls. Do not include skin.
- Remove the tape and lay it flat.
- Measure between the marks with the millimeter side of a ruler.
- Repeat for all ten nails.
This method converts the curved width into a flat line that is easier to read. A first-party millimeter sizing walkthrough from LUNAIL also shows both the tape method and a soft measuring-tape option, while noting that trying a sizing kit can reduce measurement error.
Method 2: Flexible Measuring Tape
Place a soft sewing tape across the widest part of the nail and let it follow the curve. Read the measurement in millimeters without measuring the surrounding skin. Avoid stretching the tape or pulling it so tightly that it sinks into the sidewalls.
A rigid ruler placed straight across the top can underrepresent a curved nail because it measures a flatter path. Use it with the clear-tape method instead.
Measure Both Hands
Do not assume matching fingers are identical. Record the left and right thumb, index, middle, ring, and pinky separately. Measure twice if the marks are unclear or the widest point is difficult to identify.
Press-On Nail Sizing Worksheet
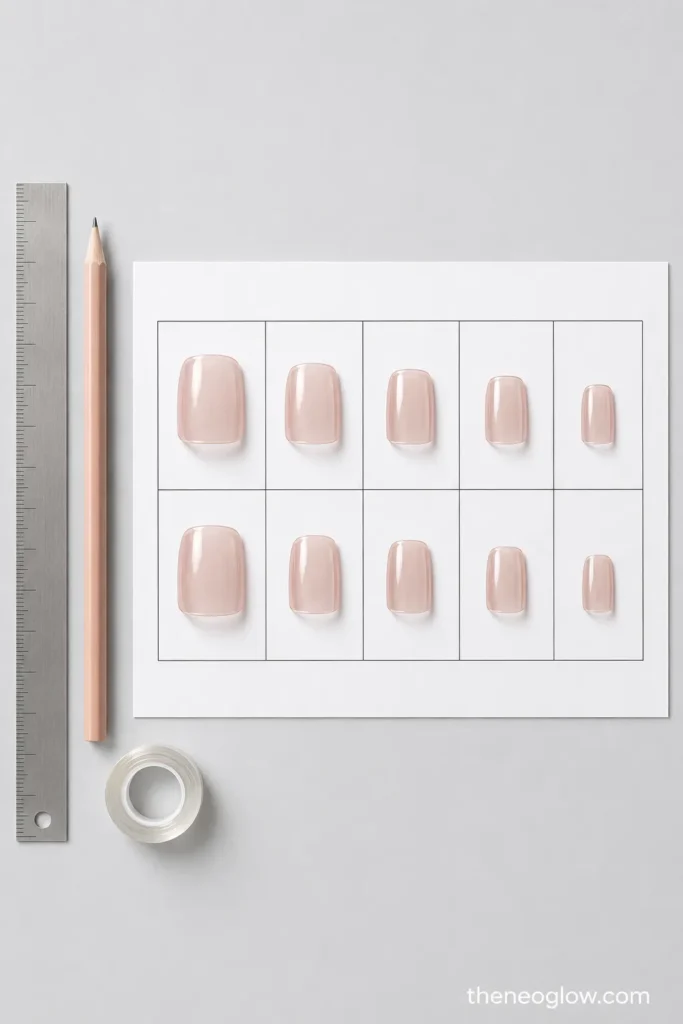
Complete this before matching numbers from any press-on size chart.
Set or brand: ____________________
Shape and length: ____________________
Measurement method: Clear tape / flexible tape / sizing kit
Date measured: ____________________
| Hand | Finger | Natural-Nail Width (mm) | Tip Number for This Exact Set | Dry-Fit Result | Filing Needed? |
| Left | Thumb | ||||
| Left | Index | ||||
| Left | Middle | ||||
| Left | Ring | ||||
| Left | Pinky | ||||
| Right | Thumb | ||||
| Right | Index | ||||
| Right | Middle | ||||
| Right | Ring | ||||
| Right | Pinky |
Under “Dry-Fit Result,” write a brief note such as full coverage, skin overlap, left-side gap, center gap, or sidewalls lift. Those notes help you separate a width problem from a curve problem.
Keep a photo of the finished worksheet and the numbers printed inside the tips. If you reorder the same set, confirm that the brand, shape, and length are unchanged before reusing the record.
How to Use a Press-On Size Chart
Match your millimeter measurements only to the chart supplied for the exact brand and product line you plan to wear. Do not assume that “size 5,” “small,” or “medium” has the same width across companies.
Even within one brand, a short square and a medium almond may taper differently or use a different curve. The chart narrows your options; the actual tip decides the fit.
For a boxed set with several loose sizes:
- Use your measurement to find the closest candidates.
- Place those candidates over the natural nail without adhesive.
- Check the sidewalls, cuticle line, center contact, and comfort.
- Write the final tip number in the worksheet.
- Arrange the confirmed nails in finger order before application.
If you are ordering a handmade or custom set, a physical sizing kit in the same shape and length is usually more informative than transferring numbers from another brand.
The Five-Point Sidewall and Curve Check
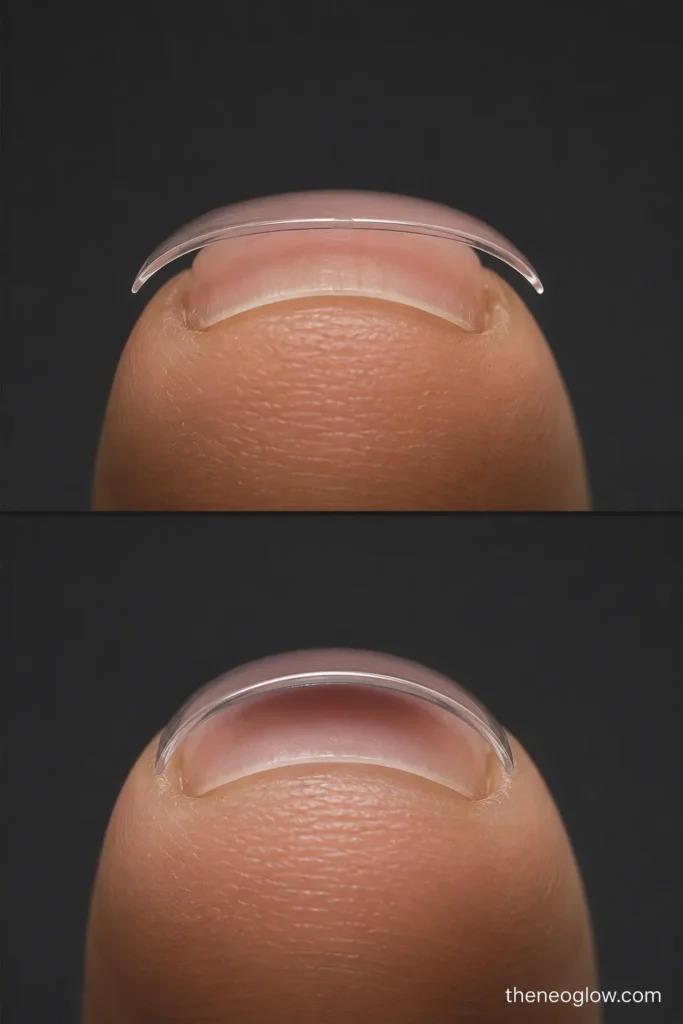
A tip passes only when all five checks work together.
1. Sidewall Coverage
Look straight down. The natural nail should not peek out along either side. A visibly undersized tip is not a better choice simply because it feels snug.
2. Skin Clearance
The press-on should not sit on the skin at the sidewalls or cuticle. If it overlaps skin before adhesive is added, it is not ready to apply.
3. Center Contact
View the tip from the free edge. A large hollow space under the center suggests the press-on has a deeper curve than your nail can fill.
4. Side Contact
If the center rests on the nail but both side edges remain raised, the tip may be too flat for a more curved nail plate. Choosing a wider number may not solve that profile mismatch.
5. Comfort Without Force
Hold the tip in place gently. Pinching, sidewall pressure, or the need to push hard is a stop sign. A press-on should not depend on adhesive pressure to correct an unsuitable fit.
What to Do When You Are Between Sizes
There is no universal “always size up” or “always size down” rule. Manufacturer instructions differ. Glamnetic’s official press-on application guide tells users of its system to choose the larger tip and file while repeatedly rechecking the fit. Olive & June’s official sizing instructions tell users of its system to choose the smaller option when between sizes.
That difference is exactly why you should follow the directions for your set rather than borrowing a rule from another kit.
Use these general decision boundaries:
- Never choose a tip that leaves obvious natural nail exposed at the sidewalls.
- Do not use a larger tip if it must rest on skin to cover the nail.
- Choose the manufacturer-approved option, then dry-fit again.
- Treat persistent sidewall or center gaps as curve problems, not only width problems.
- Switch shape, length, profile, or brand when neither neighboring size sits correctly.
How Much Can You File a Press-On?
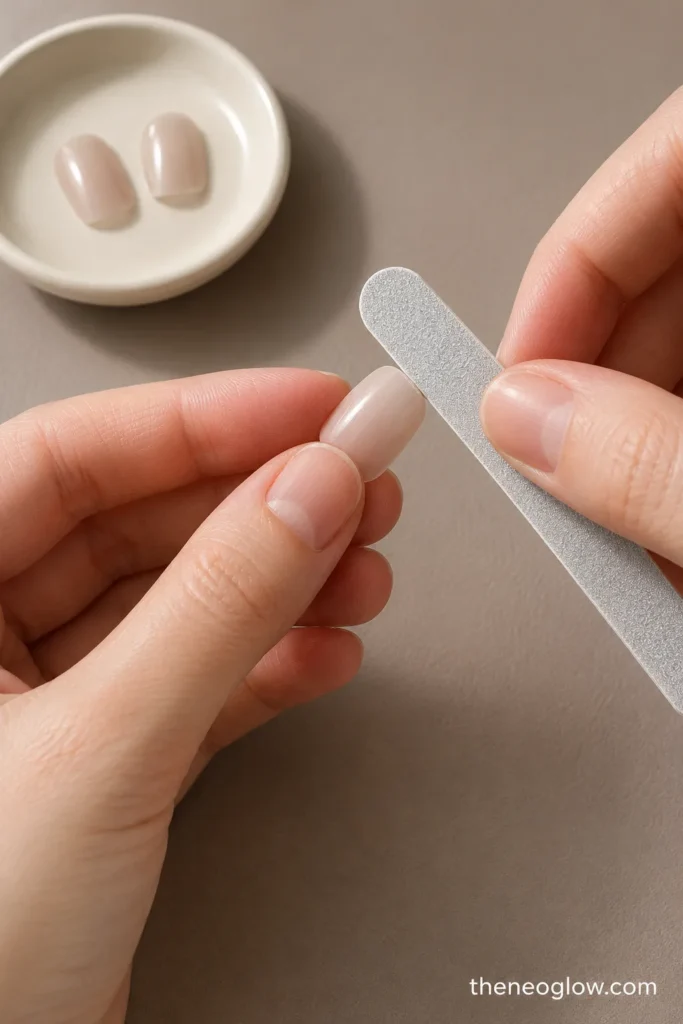
File only when the manufacturer permits it. Filing is best for a slightly wide tip that needs a small, controlled adjustment—not for turning a clearly oversized nail into a different size.
Use a fine nail file and alternate sides so the tip stays centered. Make a few light strokes, remove dust, and dry-fit again. Stop when the edges align with the natural nail without touching skin.
Do not continue if:
- the tip becomes visibly asymmetrical;
- the sidewall edge becomes thin, sharp, or distorted;
- the design or French line shifts noticeably off-center;
- the cuticle shape no longer follows your nail;
- substantial width must be removed from both sides;
- filing still does not fix center or sidewall gaps.
A curve mismatch cannot be reliably solved by narrowing the tip. When major reshaping is required, another tip profile is the cleaner choice.
Troubleshooting Common Press-On Fit Problems
The Tip Is Too Small
Do not stretch, flatten, or force it. Move to a wider candidate. If the wider tip overlaps skin, compare another shape or product line instead of settling for exposed sidewalls.
The Tip Is Too Large
Try the next narrower tip first. When that option is visibly too small, check the exact set’s instructions to see whether minimal sidewall filing is permitted. If the larger tip needs extensive filing, the available size range may not suit that finger.
The Tip Is Too Flat
A too-flat press-on often touches the highest part of a curved natural nail while its side edges lift. A wider tip may create more skin overlap without improving contact. Look for a tip with a deeper or more flexible curve.
The Tip Is Too Curved for a Flat Nail
A deeply curved tip can press at the sidewalls while leaving a center air space or creating a pinched feeling. Choose a flatter profile. Some tab systems are marketed as more flexible for flatter nail beds, but use only the adhesive and fit method approved for the exact product.
Only One Side Has a Gap
Recenter the tip and confirm that it is facing the correct direction. Natural nails are not always perfectly symmetrical. If one side consistently misses the sidewall, compare a different shape or a custom size rather than filing only one edge until the design looks crooked.
Matching Fingers Need Different Sizes
Record them separately. Your right index finger does not have to use the same number as your left index finger. A ten-nail worksheet prevents a convenient assumption from becoming a poor fit.
Prepare the Correct Set Before Application
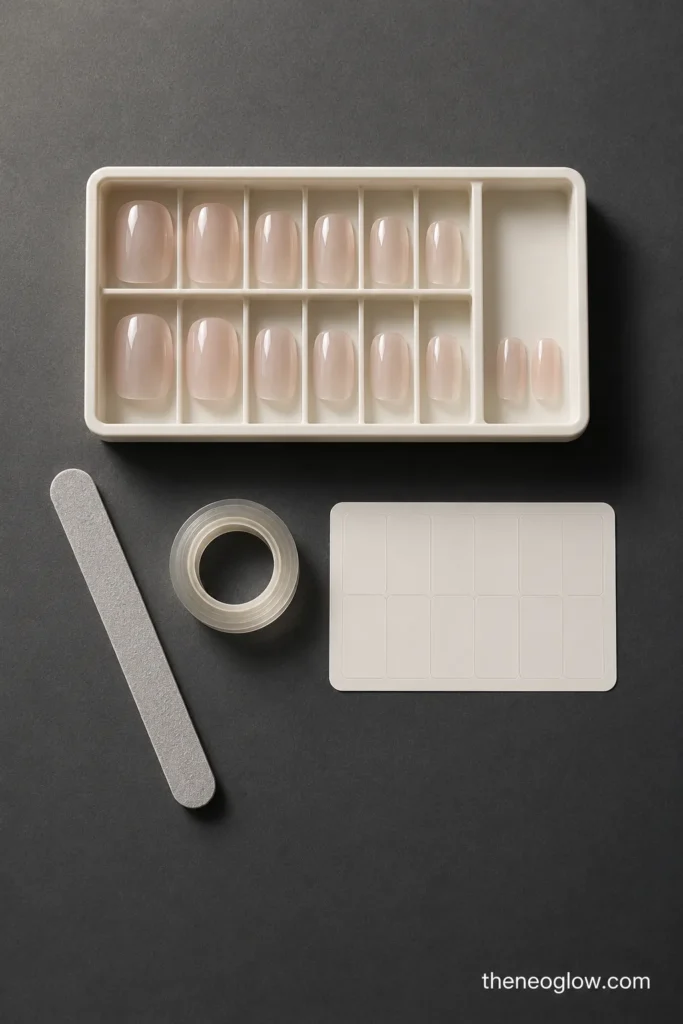
Place the ten confirmed tips in order from left thumb to left pinky, then right thumb to right pinky. Add any approved filing notes and keep one correctly fitted spare for frequently used fingers when the set includes extras.
Sizing is now complete; preparation, adhesive choice, application pressure, and removal should follow the instructions for your exact set. For travel-specific timing, packing, repairs, and care, continue with the vacation press-on nails guide.
Still choosing a look? Compare simple nail designs that translate well to press-ons or browse short nail ideas with compact proportions after you have confirmed the width and curve your nails need.
Final Fit Check
Before opening the adhesive, confirm that every assigned tip covers the nail plate, clears the skin, follows the curve, sits comfortably, and is recorded on the worksheet. A correct set is not the one with matching numbers across both hands. It is the set in which every individual tip passes the same sidewall and curve test.